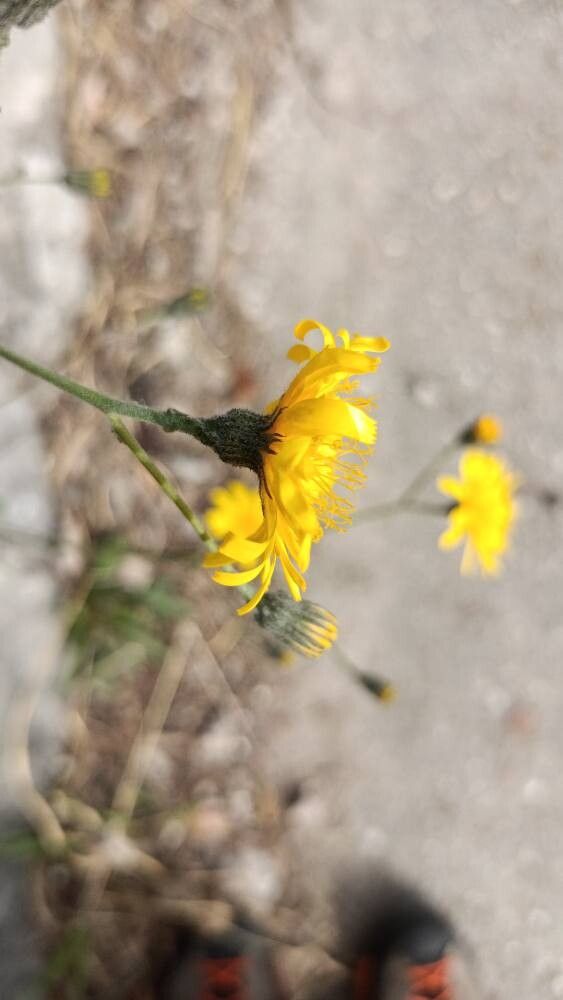
Hello fellow garden enthusiasts! Today, we’re diving into the delightful world of Hieracium bifidum. If you’re looking for a plant that offers cheerful yellow blooms and a robust presence in the garden, you’re in for a treat. Hieracium bifidum, also known as hawkweed, brings a touch of sunshine and its unique charm. Propagating it is a wonderfully rewarding process. For beginners, I’d say it’s moderately easy. It requires a little observation and care, but the results are well worth the effort.
The Best Time to Start
Honestly, the best time to get your hands dirty with Hieracium bifidum propagation is in late spring or early summer. This is when the plant is actively growing and has plenty of enthusiastic energy to put into developing new roots. You’ll want to look for healthy, non-flowering stems. Starting at this time gives your new babies a good long growing season to establish themselves before cooler weather arrives.
Supplies You’ll Need
Before we get started, let’s gather our tools. Having everything ready makes the process so much smoother.
- Sharp pruning shears or a clean knife: For making clean cuts.
- Rooting hormone (optional, but helpful): Encourages faster and stronger root development.
- Well-draining potting mix: A blend of peat moss, perlite, and compost works wonders. You want something that doesn’t hold too much moisture.
- Small pots or propagation trays: Clean ones are essential to prevent disease.
- Watering can or spray bottle: For gently moistening the soil.
- Plastic bags or cloches: To create a humid environment for cuttings.
- Labels: Don’t forget to label your new plants!
Propagation Methods
Hieracium bifidum is quite amenable to a couple of propagation methods. I’ve had the most success with stem cuttings and division.
Stem Cuttings
This is my go-to method for Hieracium bifidum. It’s efficient and allows you to multiply your plants relatively quickly.
- Take Your Cuttings: In late spring or early summer, select a healthy, non-flowering stem from your mature plant. Using your sharp shears, make a clean cut about 4-6 inches long, just below a leaf node (where a leaf attaches to the stem). Remove the lower leaves, leaving just a few at the top.
- Consider Rooting Hormone: If you have rooting hormone, dip the cut end of the stem into it. This step isn’t strictly necessary, as Hieracium bifidum can root without it, but it can give your cuttings a helpful boost.
- Plant Your Cuttings: Fill your small pots or propagation trays with the well-draining potting mix. Make a small hole with your finger or a pencil and gently insert the cut end of your stem. Firm the soil around it.
- Water Gently: Water the soil thoroughly but gently. You don’t want to dislodge your cuttings.
- Create Humidity: To keep your cuttings from drying out, cover the pots with a clear plastic bag or a propagation dome. Make sure the leaves do not touch the plastic. If you don’t have a dome, you can use stakes to prop up the bag.
- Provide Light and Warmth: Place the pots in a bright location but out of direct, harsh sunlight. A gentle warmth from a heating mat can significantly speed up root development, but it’s not essential if your home is warm.
Division
If your Hieracium bifidum has grown into a clump, division is a very straightforward and effective way to propagate.
- Dig Up the Plant: In spring, before it gets too vigorous, carefully dig up the entire plant. Loosen the soil around its base and gently lift it out.
- Separate the Divisions: Gently tease apart the root ball with your hands. You’re looking to separate the plant into smaller sections, each with its own healthy roots and some shoots. If the roots are very tangled, you might need to use a clean trowel or knife to help separate them.
- Replant Immediately: Get your new divisions into the ground or new pots as soon as possible. Plant them at the same depth they were growing before.
- Water Well: Water each division thoroughly to help settle the soil and reduce transplant shock.
The “Secret Sauce” (Pro Tips)
Here are a couple of little tricks I’ve learned over the years that can really help your propagation efforts.
- Don’t let the leaves touch the water (for stem cuttings): If you’re doing stem cuttings and one or two leaves dip into the soil or water, they’re more likely to rot. This can spread to the cutting and kill it. Prune them off if they’re in the way. If you’re using water propagation, this rule is even more critical – only the stem should be submerged.
- Bottom heat is a game-changer: Especially for stem cuttings, placing your pots on a gentle heating mat can make a huge difference. It mimics the warmth of spring and encourages roots to form much faster and more robustly. I find it particularly useful if I’m starting things a little earlier in the season.
Aftercare & Troubleshooting
Once you see signs of new growth – tiny leaves emerging or roots poking through the drainage holes – congratulations! Your new Hieracium bifidum is on its way.
- Acclimatize Gradually: If you’ve used a plastic bag or dome, start by removing it for a few hours each day to gradually expose your new plants to normal humidity levels.
- Water When Needed: Keep the soil consistently moist but not waterlogged. As they establish, you can slowly begin to reduce watering to a less frequent schedule, allowing the soil to dry slightly between waterings.
- Transplant When Ready: Once your new plants have a good root system and are showing strong growth, they’re ready to be transplanted into larger pots or their permanent garden spots.
The most common pitfall is overwatering, which leads to rot. If your cuttings look limp and mushy, or the stems turn black and soft at the base, you’ve likely got rot setting in. In this case, it’s unfortunately time to start again. Sometimes, despite our best efforts, a cutting just won’t take. It’s part of the gardening process!
A Little Patience Goes A Long Way
Propagating Hieracium bifidum is a journey, and like any good journey, it takes a little time and patience. Don’t get discouraged if your first few attempts aren’t perfect. Observe your plants, adjust your care, and most importantly, enjoy the process of nurturing new life. Happy gardening!
Resource:
https://identify.plantnet.org/k-world-flora/species/Hieracium%20bifidum%20Kit.%20ex%20Hornem./data