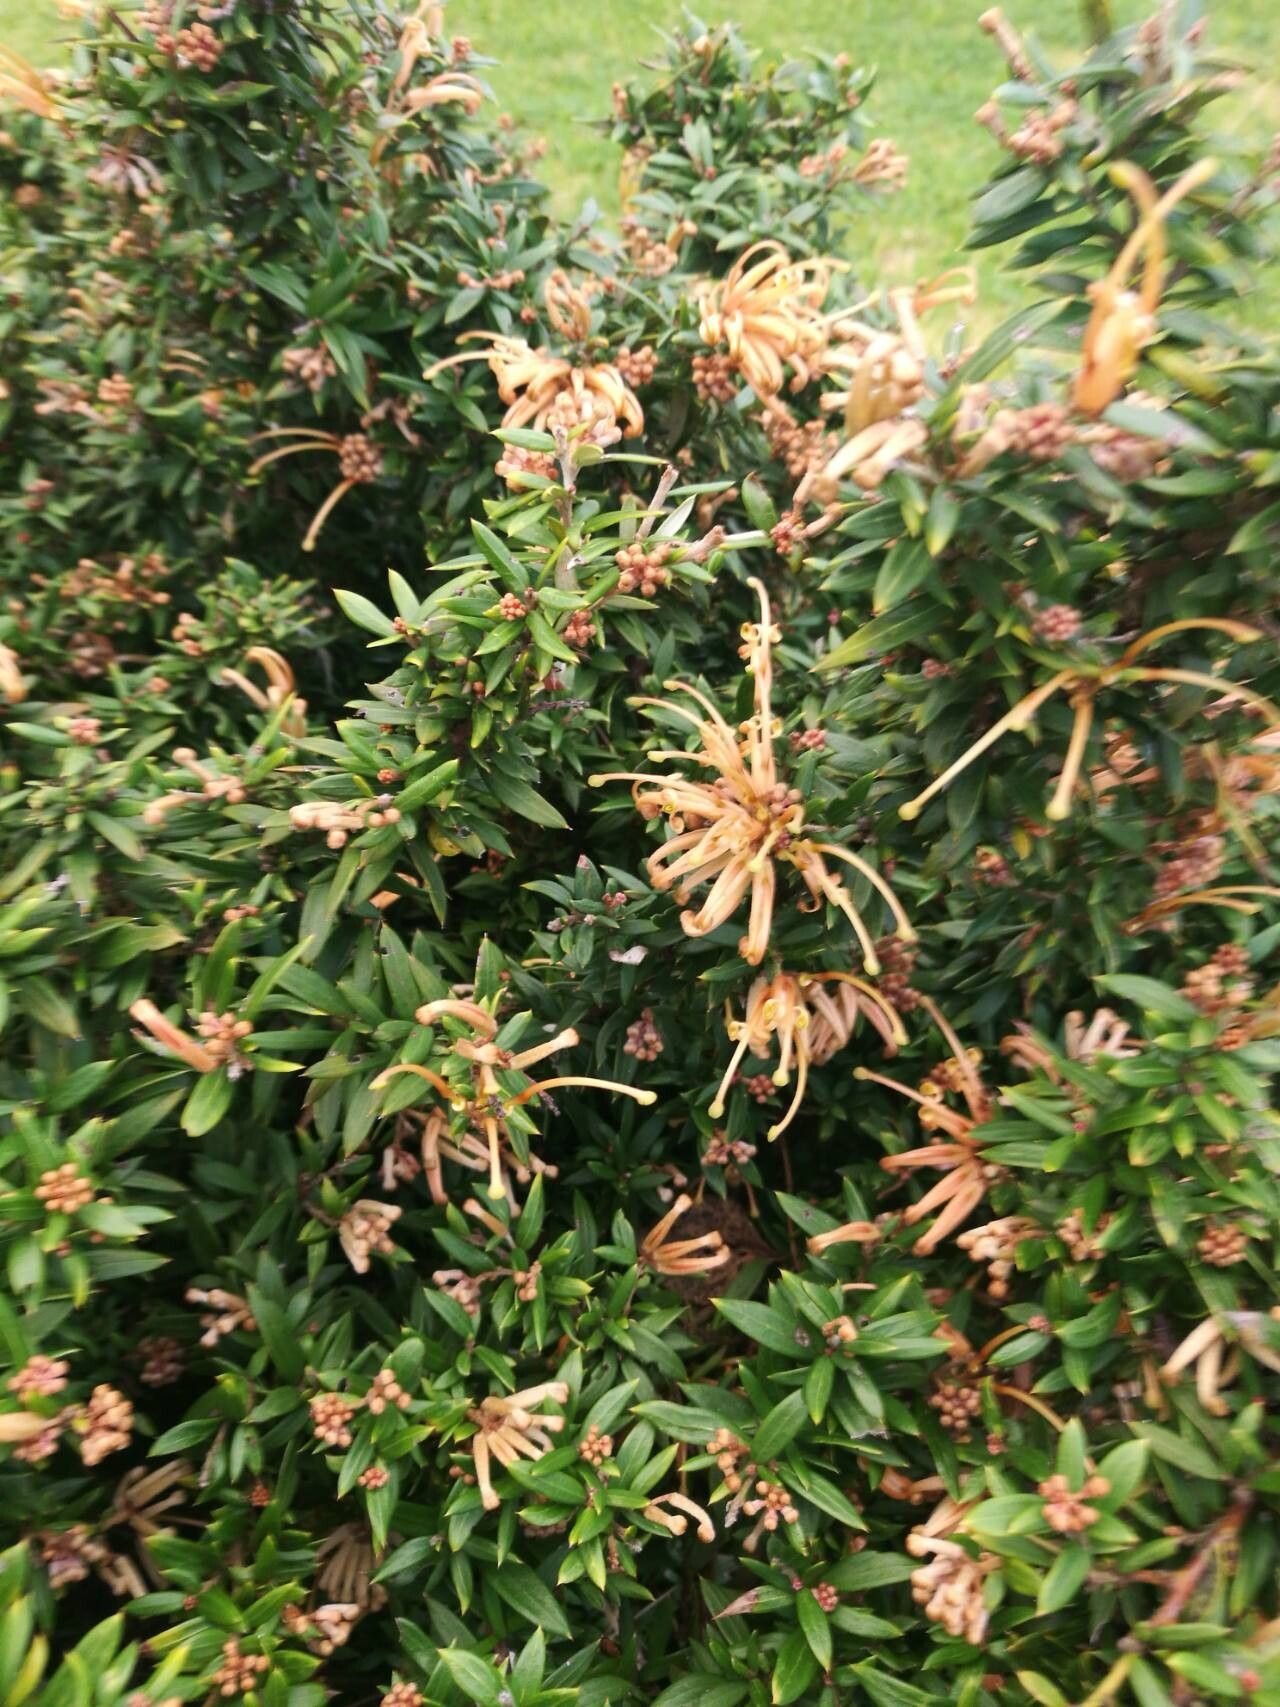
Oh, Grevillea juniperina! If you’ve ever gazed upon its delicate, spiky foliage and striking, toothbrush-like blooms, you’ve likely felt that tug of wanting one for your own garden – or perhaps more! It’s a tough yet beautiful native that brings a lovely splash of colour and texture, especially to drier climates. And the joy of coaxing a new plant from a cutting? Well, that’s a feeling that never gets old. Grevillea juniperina can be a bit of a finicky one for absolute beginners, but with a little patience and some focused attention, you’ll find it quite achievable.
When to Get Your Hands Dirty
The best time to propagate Grevillea juniperina from stem cuttings is in late spring to early summer. This is when the plant is actively growing, and those semi-hardwood stems have enough flexibility and stored energy to root successfully. You’re looking for stems that are no longer brand-new and floppy, but not yet woody and rigid. They should snap cleanly when bent, rather than bending weakly.
Your Propagation Toolkit
Before we dive in, let’s gather our essentials:
- Clean, sharp pruning shears or a sharp knife: For making precise cuts.
- Rooting hormone powder or gel: This really gives your cuttings a helping hand.
- A well-draining potting mix: I like a blend of 50% perlite and 50% peat moss or coco coir. Some growers also add a bit of coarse sand.
- Small pots or seed trays: Cleaned thoroughly, of course!
- A clear plastic bag or a propagation lid: To create a humid environment.
- Water: For misting and for the optional water propagation method.
- Labels and a permanent marker: To keep track of what you’ve planted!
Let’s Grow! Propagation Methods
I find stem cuttings to be the most successful and straightforward method for Grevillea juniperina.
- Take Your Cuttings: Using your clean shears, select healthy, semi-hardwood stems. Aim for cuttings that are about 10-15 cm (4-6 inches) long. Make your cut just below a leaf node, which is where roots tend to form most readily. Remove any lower leaves, leaving just a few at the very tip to allow for photosynthesis. You can also gently scrape away a thin strip of bark on one side of the very bottom of the stem, about 1-2 cm long, to expose more of the cambium layer – this can encourage faster rooting.
- Apply Rooting Hormone: Dip the cut end of the stem into the rooting hormone, tapping off any excess. Make sure the node where you scraped the bark is well-coated.
- Pot Them Up: Fill your clean pots with your well-draining potting mix. Make a small hole in the center of the mix with a pencil or your finger. Gently insert the cutting into the hole, ensuring the leaf node with the hormone is buried in the soil. Firm the soil gently around the stem.
- Create Humidity: Water the soil lightly until it’s evenly moist but not waterlogged. Then, cover the pots with a clear plastic bag, securing it around the rim with a rubber band, or place them under a propagation lid. This traps moisture and creates the humid environment your cuttings need. Place them in a bright, indirect light location, away from harsh sun.
The “Secret Sauce” from My Garden
- Bottom Heat is Your Friend: If you have a heat mat designed for propagations, use it! A little under-bench warmth (around 20-25°C or 70-75°F) can significantly speed up root development. It mimics the warmth you’d find in the soil during its natural growing season.
- Don’t Overwater, Mist Wisely: While humidity is crucial, soggy soil is the enemy of cuttings. Mist the leaves from time to time if they start to look a bit limp, but primarily let the soil’s moisture do the work. If you find condensation is constantly dripping down the sides of your plastic bag, open it up for a few hours to let it air out a bit and prevent fungal issues.
- The “Snap Test” for Hardening Off: When you see new growth appearing on your cuttings, it’s a good sign. To check for roots, give the stem a very gentle tug. If there’s resistance, you likely have roots. If it pulls out easily, it hasn’t rooted yet. Once you see good root development, gradually acclimate your new plants to outside conditions by opening the bag or lid for longer periods each day over a week or two before potting them up into slightly larger containers.
Nurturing Your Little Grevilleas
Once you see new leaf growth, that’s your cue that roots have formed! Gently try to lift a pot or give a cutting a light tug – if you feel resistance, they’re ready for a bit more space. Pot them up into individual pots using a well-draining native plant mix. Keep them in a bright, protected spot for a few weeks to allow them to establish.
The most common sign of failure is rot, which usually occurs if the soil is too wet or there’s poor air circulation. You might see the stem turn mushy and black at the soil line, or the leaves will wilt and discolour without any sign of rooting. This is usually a sign that the cutting is beyond saving, so don’t be too hard on yourself. Every gardener loses cuttings!
Happy Gardening!
Propagating Grevillea juniperina is a rewarding journey. It’s a chance to learn more about how plants grow and to fill your garden with these delightful shrubs without buying new ones. Be patient, observe your cuttings closely, and enjoy the process. Before you know it, you’ll have a whole bunch of Grevilleas to admire!
Resource:
https://identify.plantnet.org/k-world-flora/species/Grevillea%20juniperina%20R.Br./data