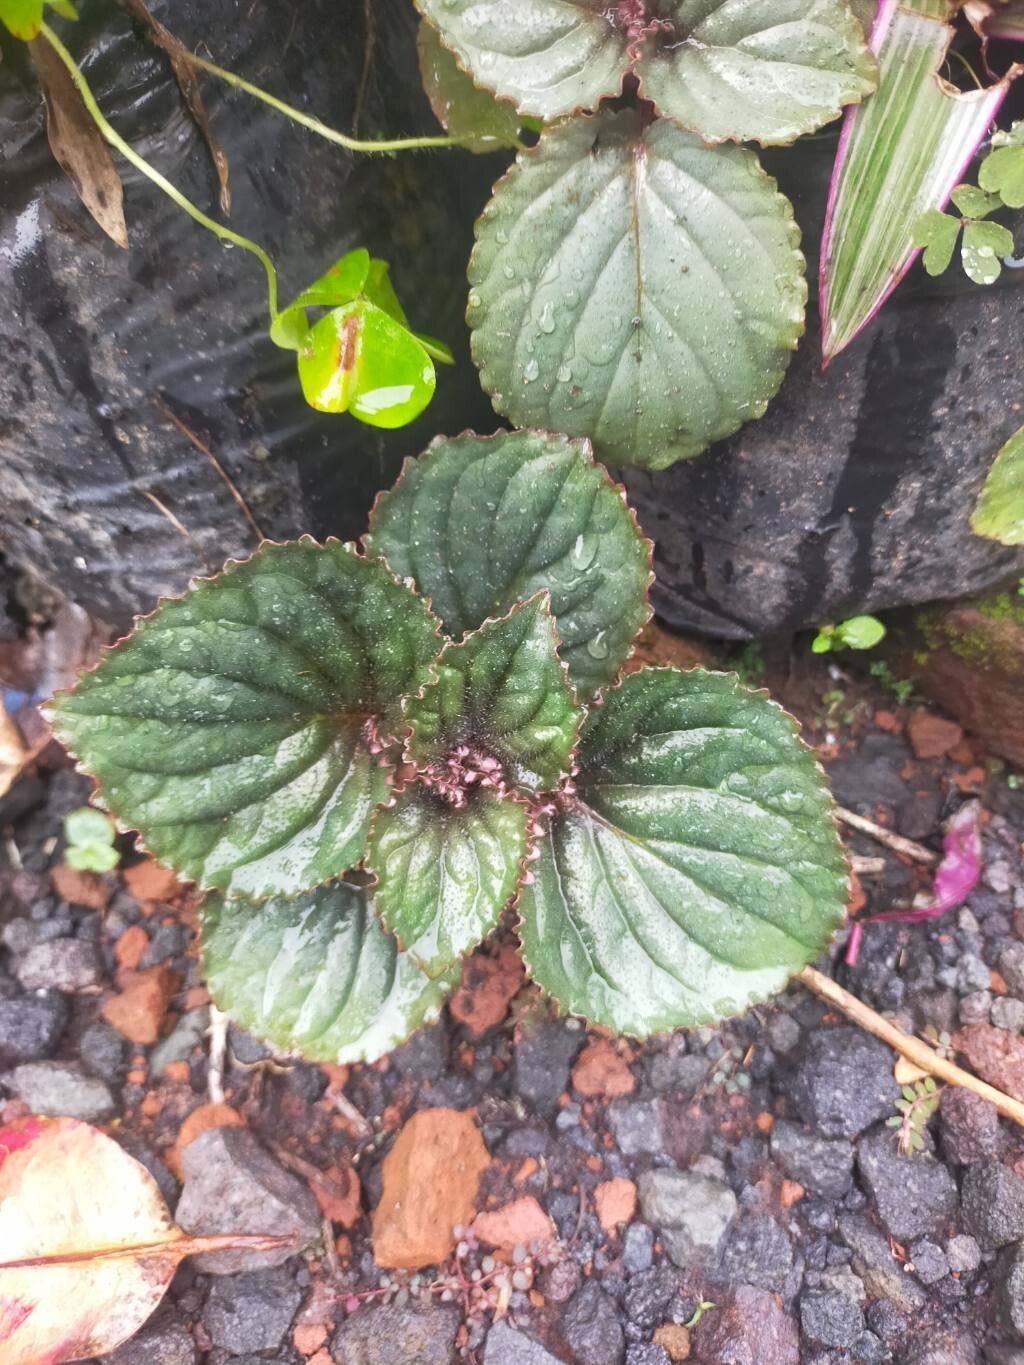
Oh, Gloxinia perennis! Isn’t she a beauty? Those trumpet-shaped blossoms, often in such vibrant shades of purple and pink, are just a joy to behold. If you’ve ever admired this plant, you’ll be delighted to know that growing more of them is entirely achievable. And let me tell you, there’s a special kind of satisfaction that comes from seeing a tiny cutting transform into a flourishing new plant. For beginners, I’d say Gloxinia propagation is moderately easy. It’s not a “set it and forget it” kind of deal, but with a little care and attention, you’ll be rewarded.
The Best Time to Start
The sweet spot for propagating Gloxinia perennis is really during its active growing season. Think spring and early summer. This is when the plant is brimming with energy and much more receptive to putting forth new roots. You want to start while the plant is healthy and vigorous, not when it’s stressed or going dormant.
Supplies You’ll Need
Gathering your supplies beforehand makes the whole process so much smoother. Here’s what I usually have on hand:
- Sterilized pots or containers: Small ones are perfect for cuttings.
- Well-draining potting mix: A blend of peat moss, perlite, and a little bit of coarse sand works wonders. You can also use a seed-starting mix.
- Sharp, clean pruning shears or a craft knife: For making clean cuts.
- Rooting hormone (optional but recommended): This really gives your cuttings a head start. I like to use a powder or gel form.
- Plastic bags or a propagation dome: To create a humid environment.
- Water: For watering and potentially for water propagation.
- Labels and a marker: To keep track of what you’ve planted.
Propagation Methods
Let’s get our hands dirty! There are a couple of great ways to multiply your Gloxinnias.
Stem Cuttings: My Go-To
This is my favorite and often the most successful method for me.
- Select your cutting material: Look for healthy, non-flowering stems. You want a stem that’s about 3-4 inches long and has at least two sets of leaves.
- Make the cut: Using your clean shears or knife, make a clean cut just below a leaf node. The node is the little bump where a leaf attaches to the stem – that’s where the magic of root development happens!
- Prepare the cutting: Gently remove the lower leaves, leaving just the top set or two. This prevents them from rotting in the soil or water.
- Apply rooting hormone (optional): Dip the cut end into your rooting hormone, tapping off any excess.
- Pot it up: Fill your small pot with your prepared potting mix. Make a small hole with your finger or a pencil and gently insert the cutting, ensuring the leaf nodes are buried. Firm the soil around the stem.
- Water gently: Water the soil lightly to settle it around the cutting.
- Create a humid environment: Cover the pot with a plastic bag or place it under a propagation dome. This is crucial for keeping the humidity high, which cuttings need to thrive. You can secure the bag with a rubber band.
- Provide bright, indirect light: Place your pot in a spot where it gets good light but no direct sun, which can scorch the delicate leaves.
Water Propagation
This method is a bit more visually satisfying as you can see the roots forming!
- Take your cutting: Follow steps 1-3 from the stem cuttings method.
- Place in water: Put your prepared cutting in a clear glass or jar filled with clean water. Make sure the leaf nodes are submerged, but critically, the leaves themselves should NOT be touching the water. This is key to preventing rot.
- Find a good spot: Place the glass in a location with bright, indirect light.
- Change the water regularly: Refresh the water every few days to keep it clean and oxygenated.
- Watch for roots: You should start to see little white roots emerging from the nodes within a few weeks. Once the roots are about an inch long, it’s time to move them to soil. Follow step 5 from the stem cuttings method to pot them up.
The “Secret Sauce” (Pro Tips)
Over the years, I’ve learned a few tricks that really make a difference.
- Bottom heat is your friend: If you have a seedling heat mat, placing your pots on it can significantly speed up root formation. Gloxinias love a bit of warmth from below to encourage those roots to stretch and grow.
- Don’t overwater, but don’t let it dry out: This is a fine balance. The soil should always feel slightly moist, like a wrung-out sponge. If it feels soggy, you’re heading towards rot. If it’s bone dry, your cutting will shrivel. Check the moisture by gently poking your finger into the soil.
- Cleanliness is paramount: Always use sterilized tools and pots. This dramatically reduces the risk of fungal diseases and rot, which are the biggest culprits when cuttings fail.
Aftercare & Troubleshooting
Once you spot those lovely little roots, congratulations! Now it’s time for continued care.
- Acclimate your new plant: If you’ve been using a plastic bag or dome, gradually remove it over a week or so. This allows the new plant to adjust to normal humidity levels.
- Continue with bright, indirect light: Keep them in a similar location.
- Water consistently: Water when the top inch of soil starts to feel dry. Avoid letting water sit in the saucer.
- Watch for signs of trouble:
- Yellowing leaves: This can be a sign of overwatering or not enough light.
- Wilting: Often a sign of underwatering, but also check if the stem looks mushy at the soil line, indicating rot.
- Rot: If the stem base turns black or mushy, it’s likely rot. Unfortunately, there’s usually no coming back from this. Prevention through good watering and airflow is key.
A Encouraging Closing
Propagating Gloxinia perennis is a rewarding journey. Be patient with your little ones, and don’t get discouraged if a cutting doesn’t make it. Every gardener has had them! The important thing is to learn from each attempt. Enjoy the process of nurturing new life, and soon you’ll have a whole collection of beautiful Gloxinnias to share. Happy growing!
Resource:
https://identify.plantnet.org/k-world-flora/species/Gloxinia%20perennis%20(L.)%20Druce/data