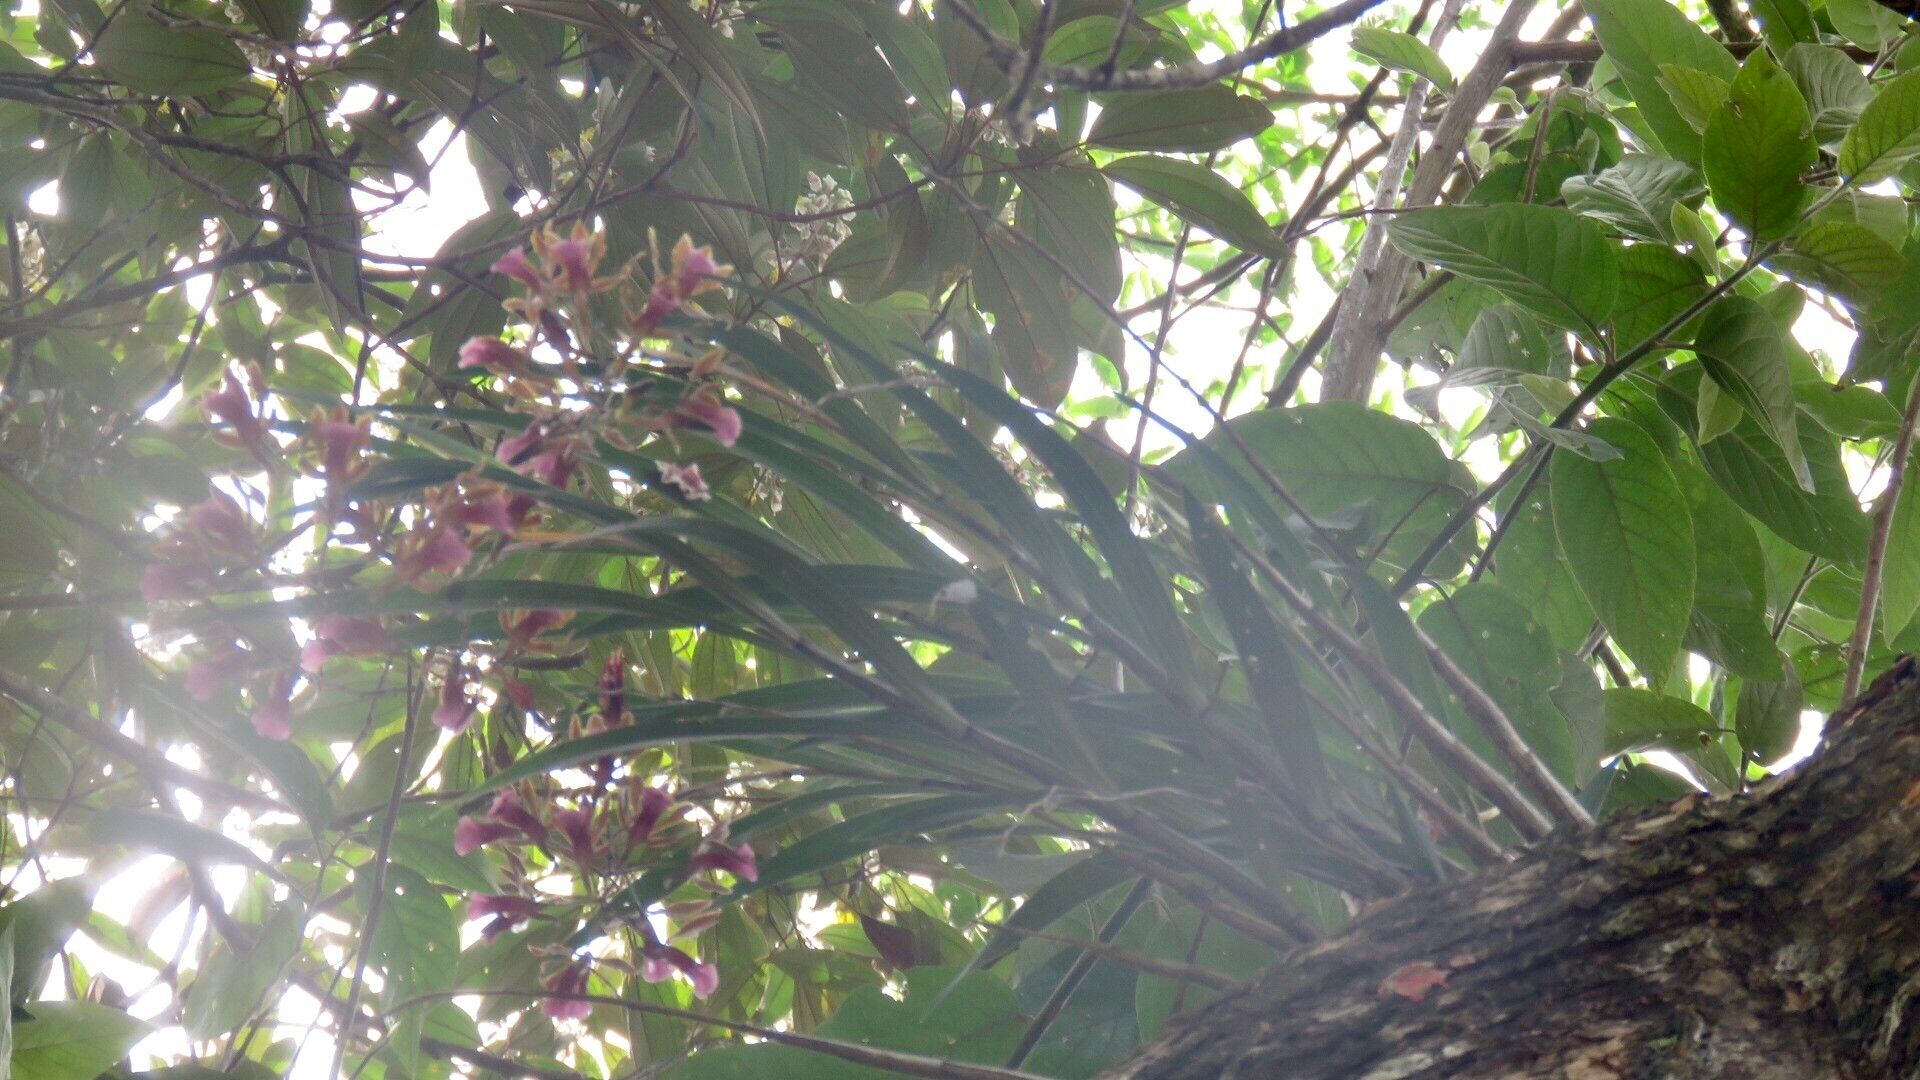
Hello fellow plant lovers! I’m so thrilled you’re here. Today, we’re diving into the wonderfully rewarding world of propagating Galeandra stangeana. This orchid, with its elegant blooms, is a real showstopper. And trust me, growing your own from cuttings or divisions? That’s a feeling like no other. Now, Galeandra stangeana can be a bit of a diva, so it’s not the absolute easiest plant to start with, but with a little patience and the right approach, you’ll be celebrating success!
The Best Time to Start
When it comes to propagating Galeandra stangeana, timing is key. You’ll have the best luck after the plant has finished flowering. This is when the new pseudobulbs are gaining strength and pushing out fresh growth. Think late spring or early summer, when the days are getting longer and warmer, and the plant has put its energy into blooming. This period of active growth is when it’s most receptive to new beginnings.
Supplies You’ll Need
Before we get our hands dirty, let’s gather our tools and ingredients:
- Sharp, sterile pruning shears or a clean knife: For making precise cuts.
- Potting mix: A well-draining orchid mix is essential. I like a blend of bark, perlite, and sphagnum moss.
- Small pots or containers: Clean, with drainage holes.
- Rooting hormone (optional but recommended): A powder or gel can give your cuttings a helpful boost.
- Watering can or spray bottle: For gentle hydration.
- Clear plastic bags or a propagation dome: To create a humid environment.
- Sphagnum moss (optional): For some methods, it’s a lifesaver.
Propagation Methods
There are a couple of reliable ways to multiply your Galeandra stangeana. Let’s explore them!
Division
This is often the most straightforward method for Galeandra stangeana.
- Gently remove the orchid from its pot. You want to loosen the root ball a bit.
- Inspect the pseudobulbs. Look for sections of the plant that have at least two or three healthy pseudobulbs and some good roots.
- Using your sterile shears, gently separate the divisions. Try to keep as many roots intact as possible with each new piece. Don’t worry if a few roots break; it happens!
- Pot each division into its own clean pot. Use your orchid mix, ensuring the pseudobulbs are just at the surface.
- Water very lightly. Just enough to settle the mix, and then wait for roots to establish before watering more thoroughly.
Stem Cuttings (Keikis)
Sometimes, Galeandra stangeana will produce little baby plants, called keikis, on its stems. This is a beautiful bonus!
- Locate a developed keiki. It should have its own pseudobulb and some small roots emerging.
- Carefully cut the stem connecting the keiki to the mother plant, just above the keiki’s base.
- Pot the keiki in a small pot with your orchid mix, burying the base of its pseudobulb slightly.
- Mist regularly and keep it in a humid environment.
The “Secret Sauce” (Pro Tips)
Here are a few tricks I’ve picked up over the years that can make a big difference:
- Don’t drown it! Especially after division or potting a keiki, it’s far better to underwater them initially than to overwater. Wait until you see signs of new growth or feel the mix is drying out between waterings.
- Bottom heat is your friend. If you’re struggling with rooting, placing your pots on a seedling heat mat can significantly speed up root development. It mimics the warmth of a tropical environment.
- Patience is more than a virtue, it’s a necessity. Galeandra stangeana can be a slow starter. Don’t get discouraged if you don’t see immediate new growth. Keep an eye out for tiny new roots peeking from the drainage holes or the emergence of a new leaf or pseudobulb.
Aftercare & Troubleshooting
Once your divisions or keikis have started to show signs of life – a new leaf unfurling, or roots filling the pot – you can begin to water slightly more regularly. They still need to dry out between waterings, but you can be a bit more generous.
The biggest challenge you might face is rot. This usually happens from overwatering, especially in cooler conditions or if the potting mix isn’t draining well. You’ll see the pseudobulbs turn mushy and dark. If you spot this, remove the affected parts immediately with your sterile tool. Often, you can save a part of the stem or pseudobulb if it’s not too far gone.
A Warm Encouragement
Propagating plants, especially a gem like Galeandra stangeana, is a journey. Be patient with yourself and with your new charges. Celebrate every little success, from a tiny root tip to a new leaf. Enjoy the process of nurturing and watching these precious new plants thrive. Happy growing!
Resource:
https://identify.plantnet.org/k-world-flora/species/Galeandra%20stangeana%20Rchb.f./data