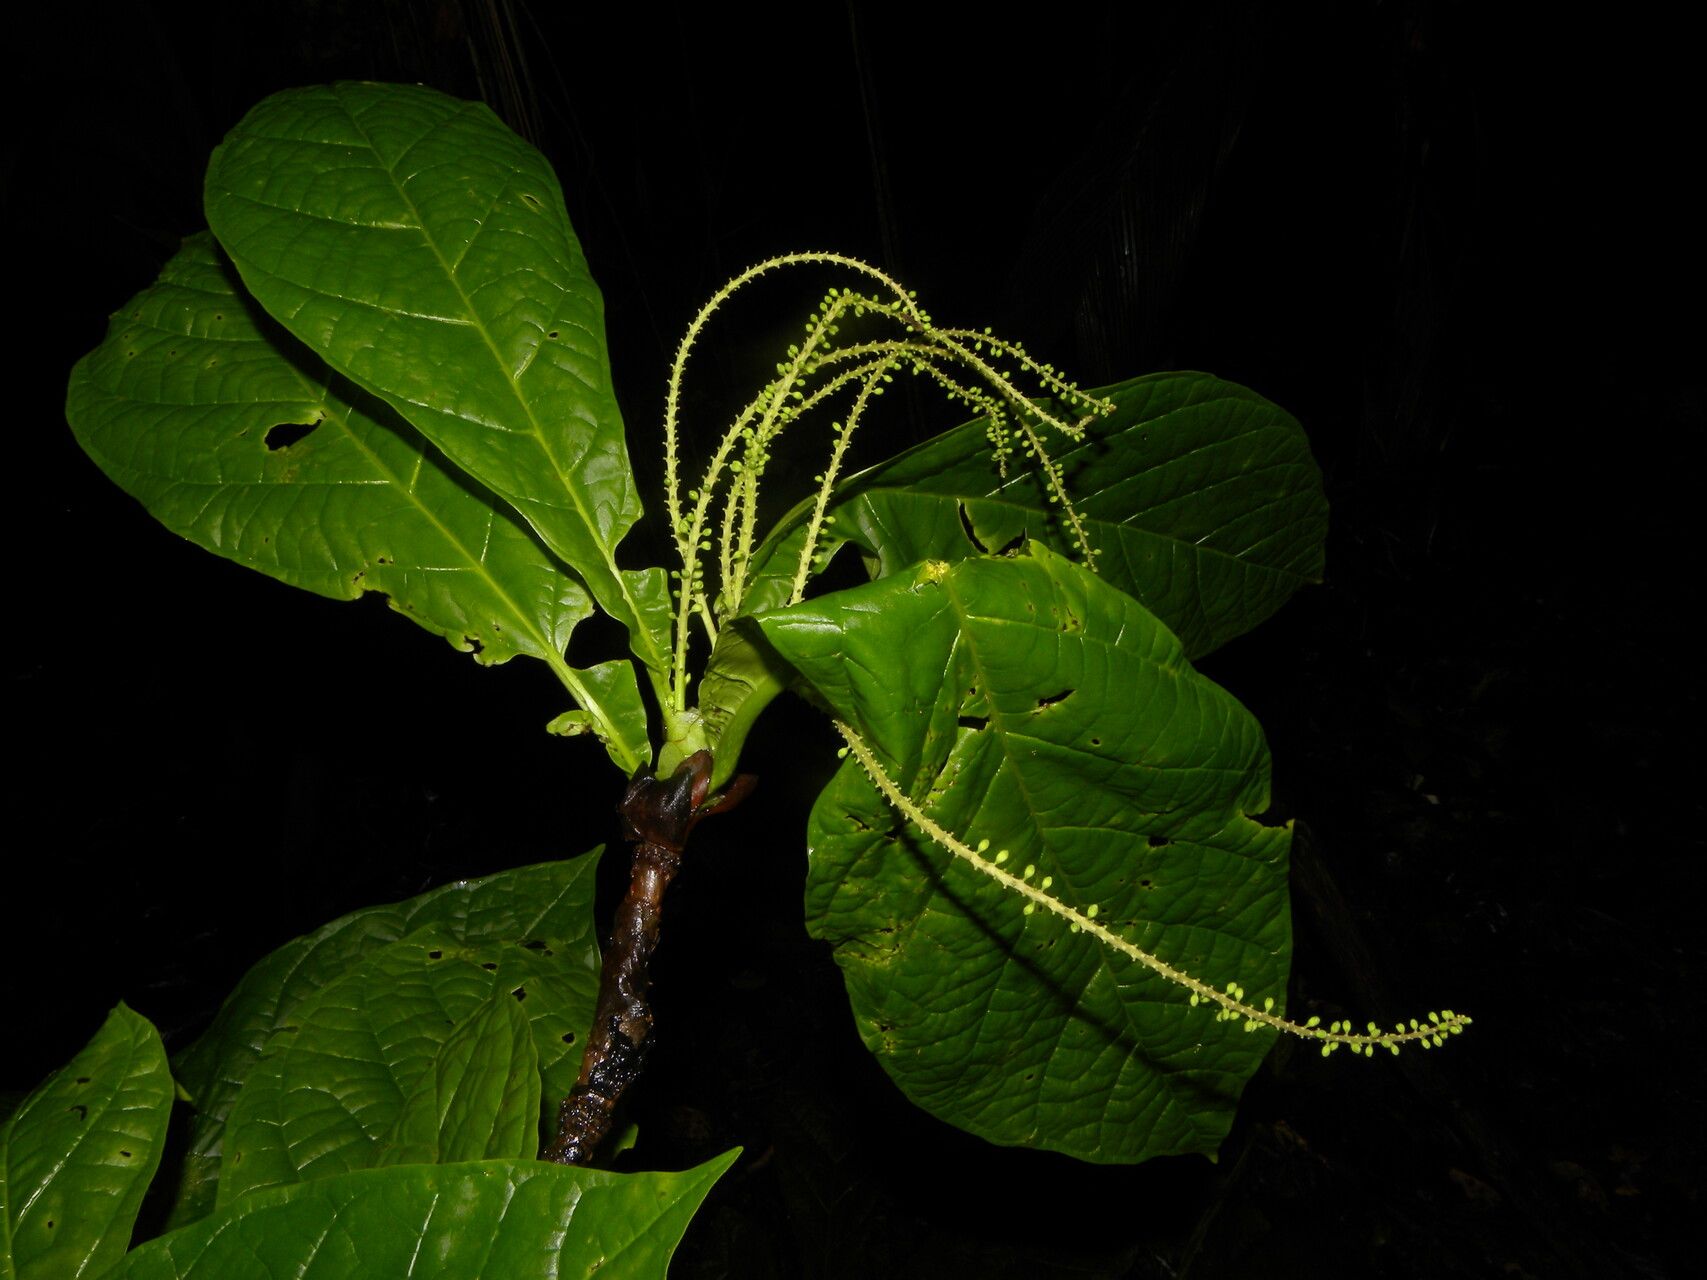
Oh, Faramea glandulosa! If you haven’t met this beauty yet, you’re in for a treat. Its glossy, dark green leaves and those darling little star-shaped white flowers, often tinged with a subtle perfume, make it a real showstopper. And the best part? Bringing more of these beauties into your life through propagation is incredibly satisfying. Think of it as giving the gift of green, a little bit of your garden to share. Now, if you’re just starting out, Faramea glandulosa might be a tiny bit fussier than, say, a pothos, but with a little care and these tips, you’ll be a pro in no time.
The Best Time to Start
My favorite time to get propagating is when your Faramea glandulosa is really showing off its energetic growth. That usually means late spring through summer. You want to be working with healthy, actively growing stems. Avoid any bits that look tired or are just coming out of a rest period. It’s like baking a cake – you need all your ingredients at their peak freshness for the best results!
Supplies You’ll Need
Gathering your tools beforehand makes the whole process so much smoother. Here’s what I like to have on hand:
- Sharp, clean pruning shears or a razor blade: For making those crucial, clean cuts.
- Rooting hormone (optional, but recommended): A little boost can make a big difference. Look for one containing IBA.
- Well-draining potting mix: A 50/50 blend of perlite and a good quality potting soil works wonders. You can also use a specialized seedling or propagation mix.
- Small pots or nursery trays: Clean ones are a must to prevent any nasty bacteria from setting up shop.
- Clear plastic bags or a propagation dome: To create a humid environment around your cuttings.
- Watering can with a fine rose or a spray bottle: For gentle watering.
- Labels and a marker: So you don’t forget what you planted where!
Propagation Methods: Let’s Get Our Hands Dirty!
There are a couple of ways to go about this, and each has its charm.
Stem Cuttings: My Go-To Method
This is where I usually have the most success.
- Select Your Cuttings: Look for healthy, non-flowering stems. Aim for pieces that are about 4-6 inches long and have at least two to three sets of leaves.
- Make the Cut: Using your sharp shears or razor, make a clean cut just below a leaf node (where a leaf attaches to the stem). This is where the magic happens, as roots are most likely to emerge.
- Prepare the Cutting: Gently remove the lower leaves. You want to expose a bit of the stem where new roots can form. If the remaining leaves are very large, you can cut them in half horizontally. This reduces water loss while still allowing for photosynthesis.
- Apply Rooting Hormone (Optional): Dip the cut end of the stem into your rooting hormone. Tap off any excess.
- Plant Your Cuttings: Moisten your potting mix. Then, make a small hole in the center of the pot with your finger or a pencil. Insert the cutting, ensuring the leaf nodes that were buried are now covered by the soil. Gently firm the soil around the stem.
- Create Humidity: Place the potted cuttings into a clear plastic bag or under a propagation dome. Make sure the bag doesn’t touch the leaves too much. You want to trap that moisture.
Water Propagation: A Visual Treat
This is a wonderful way to watch the roots develop!
- Select and Cut: Follow steps 1 and 2 from the stem cuttings method.
- Place in Water: Take your prepared cuttings and place them in a clean jar or glass of water. Make sure the leaf nodes are submerged but the leaves themselves are above the water line. This is crucial!
- Change the Water: Change the water every couple of days to keep it fresh and prevent bacterial growth. You want clear, clean water.
- Watch for Roots! Be patient. You should start seeing little white roots emerge from the leaf nodes. Once they are about an inch long, it’s time to move them to soil. It’s a bit like transplanting a baby once it’s strong enough!
The “Secret Sauce” (Pro Tips)
Here are a few things I’ve learned over the years that make a difference:
- Bottom Heat is Your Friend: If you can manage it, using a seedling heat mat under your pots can significantly speed up root formation. Faramea glandulosa loves a little warmth to get those roots going vigorously.
- Don’t Treat Them Like Adults (Yet!): When you have your cuttings in their humid environment, avoid direct sunlight. Bright, indirect light is perfect. Too much sun can scorch those tender baby leaves.
- The “Tap Test” for Moisture: Instead of just poking the soil, I often gently tip a potted cutting to feel the weight. If it feels light, it’s likely too dry. This gives you a better sense of the soil’s moisture level without disturbing the roots.
Aftercare & Troubleshooting
Once you see signs of life – new leaf growth or a healthy root system when you gently inspect the water or carefully lift a soil cutting – you’re almost there!
- Gradual Acclimation: If you’ve used a plastic bag, slowly start to ventilate it over a week or so to get your new plant used to less humidity before removing the bag completely.
- Regular Watering: Keep the soil consistently moist, but not soggy. Overwatering is the quickest way to invite trouble.
- Troubleshooting: The biggest issues I see are rotting stems or leaves turning yellow and dropping. This usually points to too much water and not enough air circulation. If you see rot, you might need to discard the affected cutting and try again, making sure your soil drains well and you’re not overwatering. Yellowing leaves can sometimes be a sign of shock, or again, too much moisture.
A Little Patience Goes a Long Way
Propagating these lovely plants is a journey, not a race. There will be times when some cuttings don’t make it, and that’s perfectly okay. Every gardener has a few “failed experiments” under their belt! The key is to observe, learn, and keep trying. Enjoy the process of nurturing new life. Happy propagating!
Resource:
https://identify.plantnet.org/k-world-flora/species/Faramea%20glandulosa%20Poepp./data