Hello fellow plant lovers! Today, we’re diving into the fascinating world of Strychnos nux-vomica, also known as the strychnine tree. Now, I know that name might sound a little daunting, but hear me out! This plant, while certainly not for the faint of heart due to its potent nature, is incredibly rewarding to propagate. Watching a tiny seed or cutting transform into a vigorous new plant is one of the greatest joys in gardening, and Strychnos nux-vomica is no exception. For beginners, I’d say this one leans towards the challenging side, but with a bit of patience and plenty of care, you can definitely get there.
The Best Time to Start
The absolute sweet spot for propagating Strychnos nux-vomica is when the plant is actively growing, usually in the spring and early summer. This is when it has the most energy to put into developing new roots and shoots. If you’re working with seeds, it’s best to sow them as soon as you collect them, as their viability can decrease over time.
Supplies You’ll Need
Here’s a little rundown of what you’ll want to have on hand:
- Sharp pruning shears or a clean, sharp knife: To make clean cuts for cuttings. Sterilize them between uses!
- Well-draining potting mix: A blend of peat moss, perlite, and sand is excellent. You want something that won’t hold too much moisture.
- Rooting hormone (optional but recommended): This can significantly boost your chances of success, especially with cuttings. Look for one containing IBA.
- Small pots or seed trays: Clean ones are a must to prevent disease.
- Plastic bags or a propagation dome: To create a humid environment for cuttings.
- Watering can or spray bottle: For gentle watering.
- Labels and a marker: So you don’t forget what you planted!
- A warm location: For bottom heat if you’re using cuttings.
Propagation Methods
Let’s get our hands dirty!
From Seed:
This is often the most straightforward method if you can get your hands on fresh seeds.
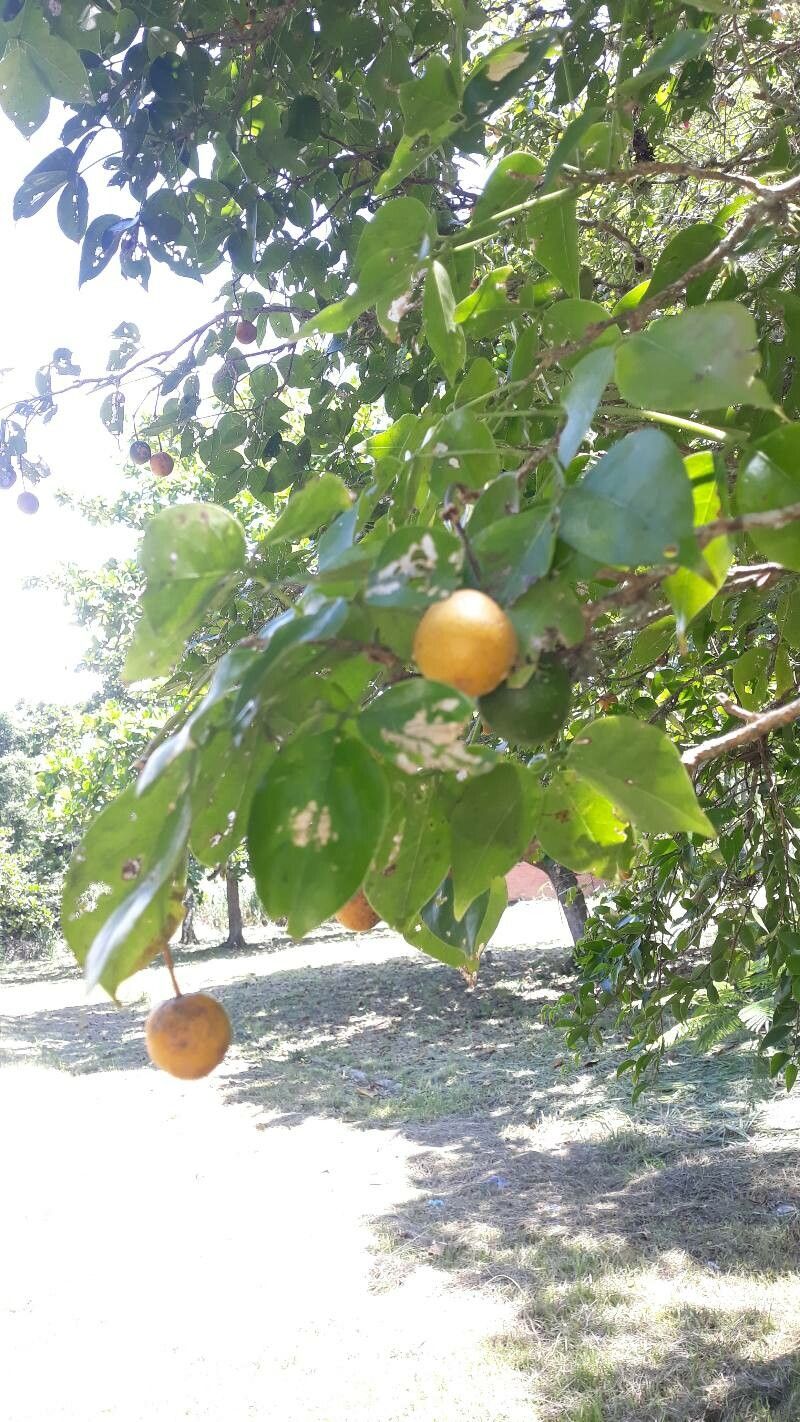
- Gather seeds: Harvest them from ripe fruits. Be extremely careful handling the fruits and seeds – remember their potency!
- Prepare seeds: Gently clean the seeds of any pulp. Some sources suggest soaking them in water for 24 hours, but I’ve had success just planting them fresh.
- Sow: Fill your clean pots or trays with your well-draining mix. Plant the seeds about 1-2 cm deep.
- Water gently: Moisten the soil thoroughly but avoid waterlogging.
- Cover: Place the pots in a plastic bag or under a propagation dome to retain humidity.
- Location: Keep them in a warm spot, ideally with consistent temperatures around 25-30°C. Bright, indirect light is best.
- Patience: Germination can be slow and erratic, sometimes taking weeks or even months. Don’t give up! Keep the soil consistently moist, but not soggy.
From Cuttings:
This method requires a bit more precision.
- Take cuttings: In spring or early summer, select a healthy, semi-hardwood stem that’s about 10-15 cm long. Make a clean cut just below a leaf node.
- Prepare cuttings: Remove the lower leaves, leaving just a couple at the top. If you’re using rooting hormone, dip the cut end into it now, shaking off any excess.
- Plant: Insert the cuttings into pots filled with your well-draining mix. Gently firm the soil around them.
- Water: Water thoroughly and allow any excess to drain.
- Create humidity: Cover the pots with a plastic bag, ensuring the plastic doesn’t touch the leaves. This is crucial for preventing dehydration. You can use stakes to keep the bag elevated.
- Location: Place the pots in a warm, bright spot with indirect light. Bottom heat from a heat mat can be very beneficial here, helping to encourage root development. Keep the temperature stable.
- Wait and check: It can take several weeks to a couple of months for cuttings to root. Gently tug on a cutting; if there’s resistance, it’s likely rooting.
The “Secret Sauce” (Pro Tips)
Here are a few things I’ve learned over the years that really make a difference:
- Don’t drown your cuttings! While humidity is key, stagnant, soggy soil is the fastest way to invite root rot. Ensure excellent drainage and only water when the top inch of soil feels dry.
- Bottom heat is your friend. For cuttings, providing consistent warmth from underneath literally jump-starts root formation. A heat mat designed for seedlings is perfect for this.
- Freshness matters for seeds. If you can get your hands on seeds directly from a harvested fruit, that’s the best scenario. They lose viability quickly, so sow them as soon as possible.
Aftercare & Troubleshooting
Once you see signs of new growth, your little Strychnos nux-vomica is on its way!
- Gradual acclimatization: If you used a plastic bag for cuttings, slowly start to introduce them to drier air by opening the bag for increasing periods each day.
- Gentle watering: Continue to water as needed, letting the soil dry out slightly between waterings.
- Light: Gradually move them to a brighter spot, but always protect them from harsh, direct sun for too long, which can scorch young leaves.
- Signs of trouble: The most common issue is rot, indicated by mushy stems or yellowing leaves that then turn brown and drop. This is usually a sign of overwatering. If you see this, you might need to repot into drier soil and adjust your watering habits. Leggy, weak growth suggests not enough light.
A Little Encouragement to Wrap Up
Propagating Strychnos nux-vomica is a journey, and like any good journey, it requires a bit of patience. Don’t get discouraged if your first attempt isn’t a roaring success. Learn from it, adjust your approach, and try again. The reward of nurturing a new life from something so small is truly magnificent. Happy propagating!
Resource:
https://identify.plantnet.org/k-world-flora/species/Strychnos%20nux-vomica%20L./data