Hello, fellow plant enthusiasts!
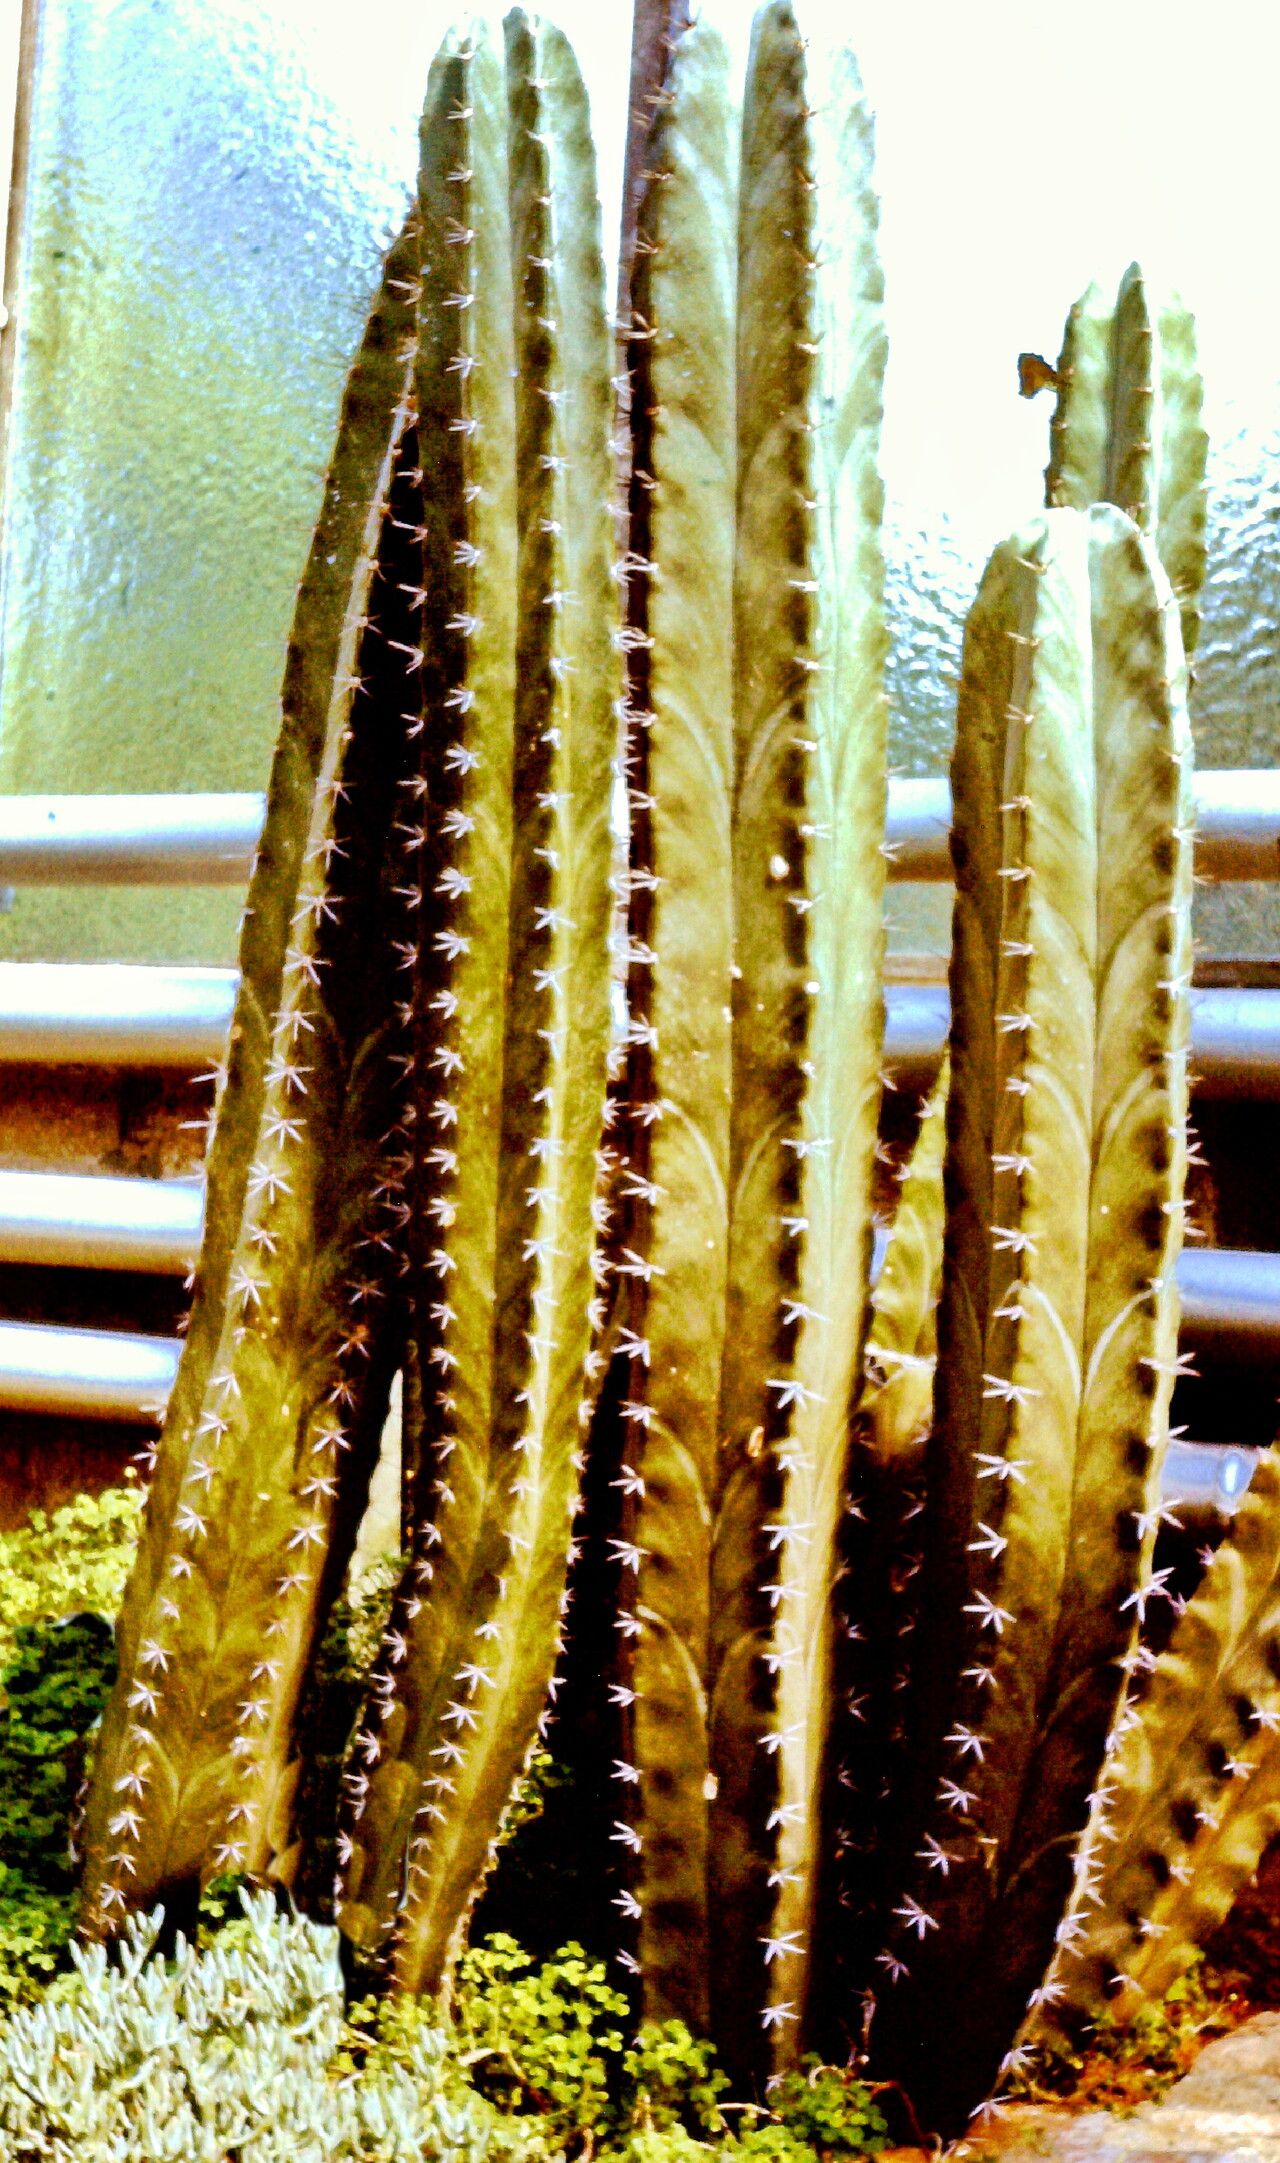
Stenocereus griseus, or the Pipe Organ Cactus as it’s often called, has such a captivating presence. Its tall, ribbed stems, sometimes branching, add such a unique architectural element to a collection. And the beauty of it? You can easily get more of these stunners! Propagating them is a deeply satisfying way to expand your cactus family and share the joy of these desert beauties. While not as straightforward as some succulents, I’ve found Stenocereus griseus to be quite rewarding, even for those just starting out with propagation, as long as you’re a tad patient.
The Best Time to Start
My absolute favorite time to propagate these guys is during their active growing season. For Stenocereus griseus, this generally means spring and summer. You’ll notice them plumped up and showing signs of new growth. Starting then gives your cuttings the best energy reserves to get roots going. Trying to do it in the middle of winter is like asking a bear to go for a swim in February – not ideal!
Supplies You’ll Need
Before we get our hands dirty, let’s gather our tools:
- Sharp, clean pruning shears or a knife: For making clean cuts on your parent plant and cuttings. Sterilize them with rubbing alcohol to prevent disease.
- Rooting hormone (optional but recommended): This can give your cuttings a little boost in getting established. Look for a powder or gel specifically for succulents or cacti.
- Well-draining potting mix: A cactus/succulent mix is perfect. You can also create your own by mixing equal parts potting soil, perlite, and coarse sand.
- Terra cotta pots or nursery pots: Pots with drainage holes are non-negotiable!
- Gravel or small stones (optional): For a drainage layer at the bottom of the pot.
- Spray bottle: For gentle watering.
- Newspaper or cardboard: To protect your work surface and catch any soil spills.
- Thick gloves (optional but wise): Those spines can be sharp!
Propagation Methods
Stenocereus griseus is most commonly propagated from stem cuttings, and it’s quite straightforward. Water propagation can work too, though I find it slightly riskier for cacti due to potential rot.
Stem Cuttings
- Select a healthy stem: Choose a mature, healthy stem from your parent plant. Look for one that’s a good length, at least 6-12 inches, and feels firm.
- Make the cut: Using your sterilized pruning shears or knife, make a clean, decisive cut at the base of the stem you want to propagate. You can also take off smaller branches if you prefer.
- Let it callus: This is crucial! Place the cut stem in a dry, well-ventilated spot away from direct sunlight for several days to a couple of weeks. You’ll see the cut end dry and form a callus. This prevents rot when you plant it. Don’t rush this step!
- Apply rooting hormone (optional): Once callused, dip the dry end of the cutting into rooting hormone. Tap off any excess.
- Plant the cutting: Fill your pot with your well-draining mix. Make a hole with your finger or a pencil, deep enough to anchor the cutting. Gently insert the callused end of the cutting into the hole.
- Do NOT water immediately: For the first week or two after planting, do not water. This is key to allowing any tiny, invisible cuts to heal and further encouraging root development.
Water Propagation (Proceed with caution!)
If you’re feeling adventurous, you can try water propagation, but I find it’s best for smaller, softer succulents. For a robust Stenocereus, I’d stick to soil.
- Take your cutting and let it callus as described above.
- Place the callused end in water: Use a clean glass or jar and fill it with water. Submerge only the callused end, ensuring no part of the stem is underwater.
- Change the water regularly: Change the water every few days to keep it fresh and prevent bacterial growth.
- Wait for roots: Patience is a virtue here. Roots may take several weeks to appear.
- Plant when roots are established: Once you see good root development (at least an inch or two long), you can carefully transplant it into a well-draining soil mix, following the planting steps for stem cuttings.
The “Secret Sauce” (Pro Tips)
Here are a few little tricks I’ve picked up over the years that can really make a difference:
- Bottom heat is your friend: If you can, place your pots on a heat mat designed for seedlings. This gentle warmth from below mimics ideal growing conditions and can significantly speed up root formation. You don’t need it super hot, just consistently warm.
- Don’t overcrowd: When planting multiple cuttings in one pot, give them plenty of space. They’ll need room to grow once they start rooting, and overcrowding can lead to competition for light and nutrients, and potentially fungal issues. Let them breathe!
- The “wiggle test” is your guide to watering: After about 3-4 weeks from planting (and after you’ve started watering!), gently try to wiggle the cutting. If it resists and feels secure, congratulations – it has roots! If it moves easily, it hasn’t rooted yet, and you should hold off on watering and give it more time.
Aftercare & Troubleshooting
Once your cutting shows signs of rooting (you’ll see new growth on top, or it passes the wiggle test!), it’s time to start watering.
- Watering: Begin by watering lightly. Allow the soil to dry out completely between waterings. Overwatering is the quickest way to invite rot. In drier climates, this might be every 2-4 weeks, while in humid regions, it could be longer.
- Light: Place your new plants in a spot that receives bright, indirect sunlight. Once they are visibly growing, you can slowly introduce them to more direct sun, but avoid intense midday sun initially, as it can scorch their tender new growth.
- Troubleshooting – Rot: The most common issue you’ll face is rot. You’ll see the stem become soft, mushy, and discolored, often with dark spots. If you catch it early, you might be able to salvage the healthy part by cutting off the rotted section and letting the remaining healthy part callus and try again. Prevention is key – that dry callus period and well-draining soil are your best defenses.
- Troubleshooting – No Growth: Don’t panic if you don’t see immediate growth! Some cacti are slow starters. Ensure it’s in good light and that you’re not overwatering. Patience is a gardener’s superpower!
A Little Encouragement
Propagating Stenocereus griseus is a journey, and like all good garden projects, it’s about the process as much as the outcome. Take your time, observe your cuttings, and trust your instincts. You’ll be rewarded with magnificent new cacti to admire and share. Happy propagating!
Resource:
https://identify.plantnet.org/k-world-flora/species/Stenocereus%20griseus%20(Haw.)%20Buxb./data