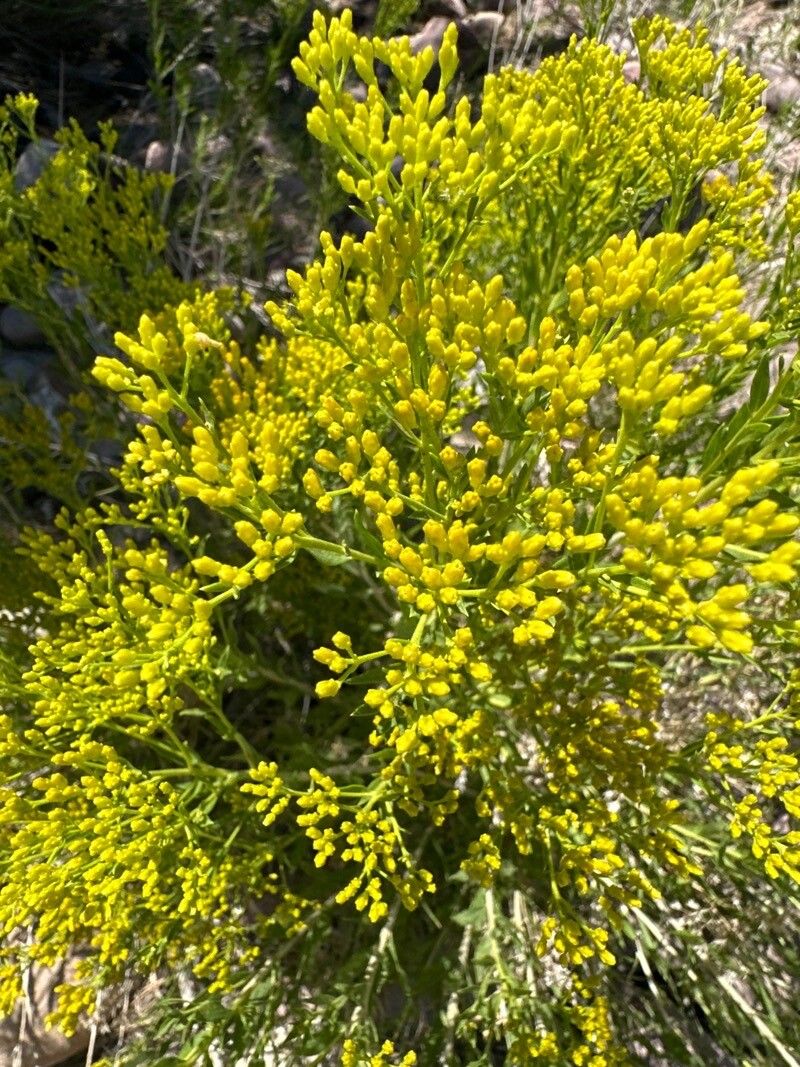
Hello there, fellow garden enthusiasts! Today, we’re diving into the wonderful world of Solidago ohioensis, often called Ohio goldenrod or Ohio sand goldenrod. If you love those sunny, cheerful blooms that trumpet the arrival of autumn, you’re in for a treat. Propagating this beauty is incredibly rewarding, and I’m happy to report, it’s quite achievable, even for those just starting their gardening journey. Seeing a tiny cutting unfurl its first leaves is just magical, isn’t it?
The Best Time to Start
For Solidago ohioensis, the sweet spot for propagation is late spring to early summer. This is when the plant is actively growing, meaning its energy reserves are high, and it’s primed to produce new shoots and roots. Waiting until after it has established itself in the season gives you the best chance of success.
Supplies You’ll Need
Gathering your tools beforehand makes the whole process much smoother. Here’s what I typically have on hand:
- Sharp Pruning Shears or a Knife: Clean cuts are crucial for healthy root development.
- Rooting Hormone: This isn’t strictly essential for goldenrod, but it can give your cuttings a helpful boost.
- A Well-Draining Potting Mix: I like to use a blend of equal parts peat moss, perlite, and compost. For division, your garden soil will suffice.
- Small Pots or Seed Trays: For starting cuttings. Ensure they have drainage holes!
- Watering Can with a Fine Rose: To avoid disturbing delicate cuttings.
- Labels: To keep track of what you’ve planted!
Propagation Methods
Solidago ohioensis is a fantastic candidate for a couple of easy propagation methods.
Division (The Easiest Way!)
This is my go-to method for goldenrods. It’s simple, effective, and gives you bigger plants right away.
- Dig Up the Clump: In late spring or early summer, carefully dig up your mature goldenrod plant. You’ll want to get as much of the root ball as possible.
- Gently Separate: You can often pull the clump apart with your hands. If it’s a bit stubborn, use a clean spade or trowel to help. Aim to create pieces that have a good portion of roots and at least one or two healthy stems. I usually aim for divisions that are about the size of a softball.
- Replant Immediately: Find a new spot in your garden or a larger container, dig a hole slightly larger than the root ball of your division, and replant. Water it well.
Stem Cuttings (For the Patient Gardener)
This method takes a bit more time but is incredibly satisfying.
- Take Cuttings: Snip off 4-6 inch sections of new, non-flowering stem growth. Make your cut just below a leaf node (where a leaf attaches to the stem).
- Prepare the Cuttings: Remove the lower leaves from the cutting, leaving only the top two or three sets. If you’re using rooting hormone, dip the cut end into it now.
- Pot Them Up: Fill small pots with your well-draining potting mix. Make a small hole with your finger or a pencil and insert the cutting, ensuring the leaf nodes are buried. Gently firm the soil around it.
- Water Gently: Water thoroughly until the soil is moist but not waterlogged.
The “Secret Sauce” (Pro Tips)
Here are a few little tricks I’ve learned over the years that really help things along:
- Mist Regularly (for Cuttings): Cuttings without roots can dry out very quickly. I like to lightly mist the leaves of my cuttings once or twice a day, especially in warmer weather. This keeps them turgid and happy while they search for water through their newly developing roots.
- Patience is Key for Division: When dividing, don’t be afraid to get your hands dirty! Gently tease apart the roots. If you damage a few small ones, it’s okay. The plant is resilient.
- Consider Bottom Heat (for Cuttings): While not strictly necessary for goldenrod, placing your pots on a heated propagator mat can significantly speed up root development for cuttings. It mimics the warmth of spring soil and encourages those roots to form faster.
Aftercare & Troubleshooting
Once your divisions are replanted or your cuttings have started to show signs of new growth (which usually means roots!), it’s time to treat them as mini versions of the mature plant.
- Watering: Keep the soil consistently moist, but never soggy. As they grow stronger, you can gradually reduce the frequency but ensure a good soaking.
- Light: Place cuttings in a bright spot with indirect light. Once they’ve established, you can introduce them to more sun.
- Troubleshooting: The most common issue you’ll face is rot. This is usually due to overwatering or poor drainage. If you see stems turning mushy or a blackening at the soil line, unfortunately, the cutting is likely lost. Make sure your pots have good drainage and aren’t sitting in a saucer of water. If dividing, make sure the soil isn’t compacted.
There you have it – a simple guide to multiplying your Solidago ohioensis! Don’t be discouraged if every single cutting doesn’t make it. Gardening is an experiment, and each season brings new lessons. Just enjoy the process, get your hands in the dirt, and soon you’ll have an abundance of cheerful goldenrod to brighten your garden and share with friends. Happy propagating!
Resource:
https://identify.plantnet.org/k-world-flora/species/Solidago%20ohioensis%20Riddell/data