Hello there, fellow plant lovers! It’s so good to have you join me today. We’re going to dive into the wonderful world of propagating one of my favorite summer bloomers: Scaevola balansae, often called fan flower.
Why Propagate Scaevola?
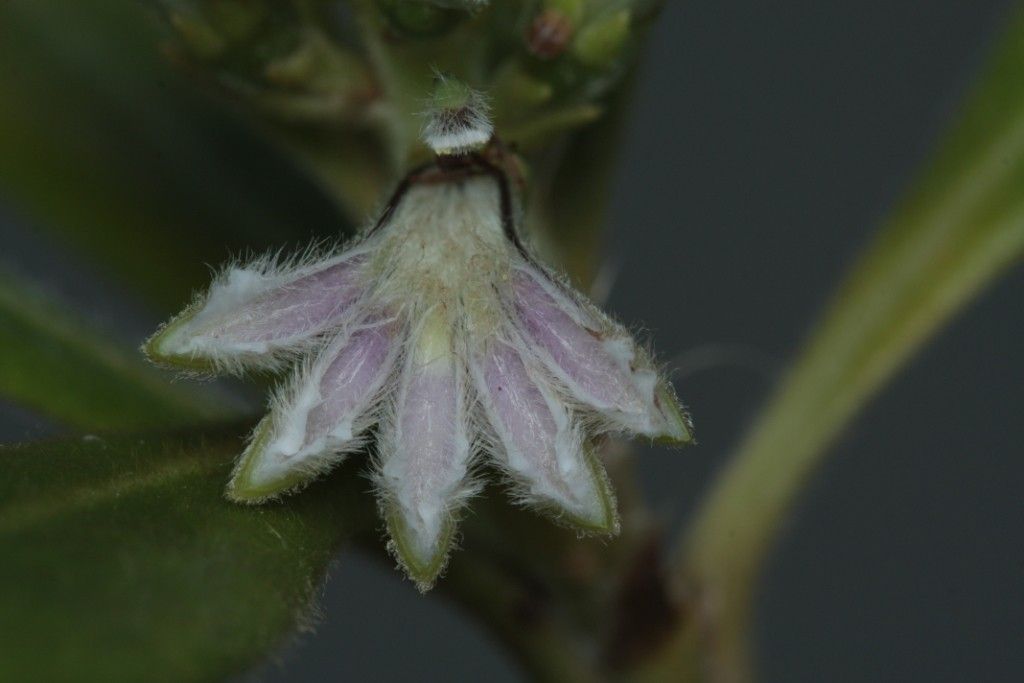
I adore Scaevola balansae for its charming fan-shaped blooms in gorgeous shades of blue, purple, and white. They spill over pots and garden beds, bringing a splash of color all season long. And you know what’s even more rewarding than seeing them thrive? Creating more of them yourself! It’s a fantastic way to fill your own garden, share with friends, or just expand your collection without spending a fortune.
Now, if you’re new to plant propagation, I’ve got good news. Scaevola balansae is generally quite forgiving. While there’s always a learning curve with any new technique, this one is a great one to start with. You’ll be a pro in no time.
The Best Time to Start
Timing is everything, as they say! For the highest success rate with Scaevola balansae, I find late spring to early summer is absolutely perfect. This is when the plant is in its most vigorous growth phase, meaning it has plenty of energy to put into rooting those new cuttings. You want to take cuttings from healthy, actively growing stems, not from old, woody bits.
Supplies You’ll Need
To set yourself up for success, gather these essentials:
- Sharp, clean pruning shears or a small knife: For making clean cuts to avoid damaging the stems.
- Rooting hormone (optional but recommended): A little dip in this powder or gel can really speed up root development.
- Well-draining potting mix: A good blend of peat moss, perlite, and a bit of compost works wonders. You can also use a dedicated seed-starting mix.
- Small pots or seedling trays: Clean containers are a must to prevent disease.
- Plastic bags or a propagation dome: To create a humid environment for your cuttings.
- Watering can or spray bottle: For gentle watering.
Propagation Methods: Let’s Get Growing!
We’ll focus on the most reliable method for Scaevola – stem cuttings.
- Select Your Stems: Look for healthy, non-flowering stems that are about 3-5 inches long. Gently bend a stem; if it snaps easily, it’s a good candidate. If it’s too flexible, it might be too soft.
- Make the Cut: Using your clean shears or knife, make a clean cut just below a leaf node. A leaf node is where a leaf attaches to the stem. This is where the magic of rooting happens.
- Prepare the Cuttings: Gently remove the lower leaves from the stem, leaving just the top two or three sets of leaves. This prevents them from rotting in the soil and also reduces moisture loss.
- Apply Rooting Hormone (if using): Dip the cut end of the stem into your rooting hormone, tapping off any excess.
- Plant Your Cuttings: Fill your small pots or trays with your well-draining potting mix. Make a pilot hole with your finger or a pencil, then gently insert the prepared cutting. Press the soil firmly around the stem to ensure good contact.
- Water Gently: Water your newly planted cuttings thoroughly but gently. You don’t want to dislodge them.
- Create a Humid Environment: This is crucial! Cover the pots with a plastic bag (making sure the leaves don’t touch the sides of the bag) or place them under a propagation dome. This traps moisture and keeps the humidity high, which is essential for cuttings to root.
- Find the Right Spot: Place your pots in a warm location with bright, indirect light. Avoid direct sunlight, which can scorch the delicate cuttings.
The “Secret Sauce” (Pro Tips)
Here are a couple of tricks I’ve learned over the years that can really boost your Scaevola propagation success:
- Bottom Heat is Your Friend: If you have a seedling heat mat, placing your pots on it can make a world of difference. This gentle warmth encourages root development from below, mimicking ideal soil temperatures. It’s like giving them a toasty little foot massage!
- “Wiggle Test” for Roots: Instead of constantly digging to check for roots (which can be damaging), gently tug on a cutting after a few weeks. If you feel a slight resistance, it’s a good sign that roots have formed. Then, patience is key!
Aftercare & Troubleshooting
Once you start to see tiny roots emerging from the drainage holes (or if your cuttings show new growth), it’s a sign they are establishing themselves.
- Gradual Acclimation: Slowly begin to remove the plastic bag or open the propagation dome for short periods each day. This helps the new plants get used to the drier air of your home. Over the course of a week or so, you can leave it off completely.
- Continue Gentle Watering: Keep the soil consistently moist but not waterlogged. Let the top inch of soil dry out slightly between waterings.
- Watch for Rot: The most common issue you might face is stem rot. This usually happens due to overwatering or poor drainage. If a cutting turns black and mushy, unfortunately, it’s likely a goner. The best prevention is good airflow and not letting the soil stay soggy.
- Transplant When Ready: Once your new little Scaevola plants have a good root system and are sturdy enough to handle, you can transplant them into slightly larger pots.
Happy Propagating!
Creating new plants is one of the most rewarding experiences in gardening. It teaches you so much about plant life cycles and the resilience of nature. Don’t be discouraged if a few don’t make it – that’s part of the learning process for all of us! Just keep trying, enjoy the journey, and soon you’ll have a garden brimming with beautiful Scaevola balansae. Happy propagating!
Resource:
https://identify.plantnet.org/k-world-flora/species/Scaevola%20balansae%20Guillaumin/data