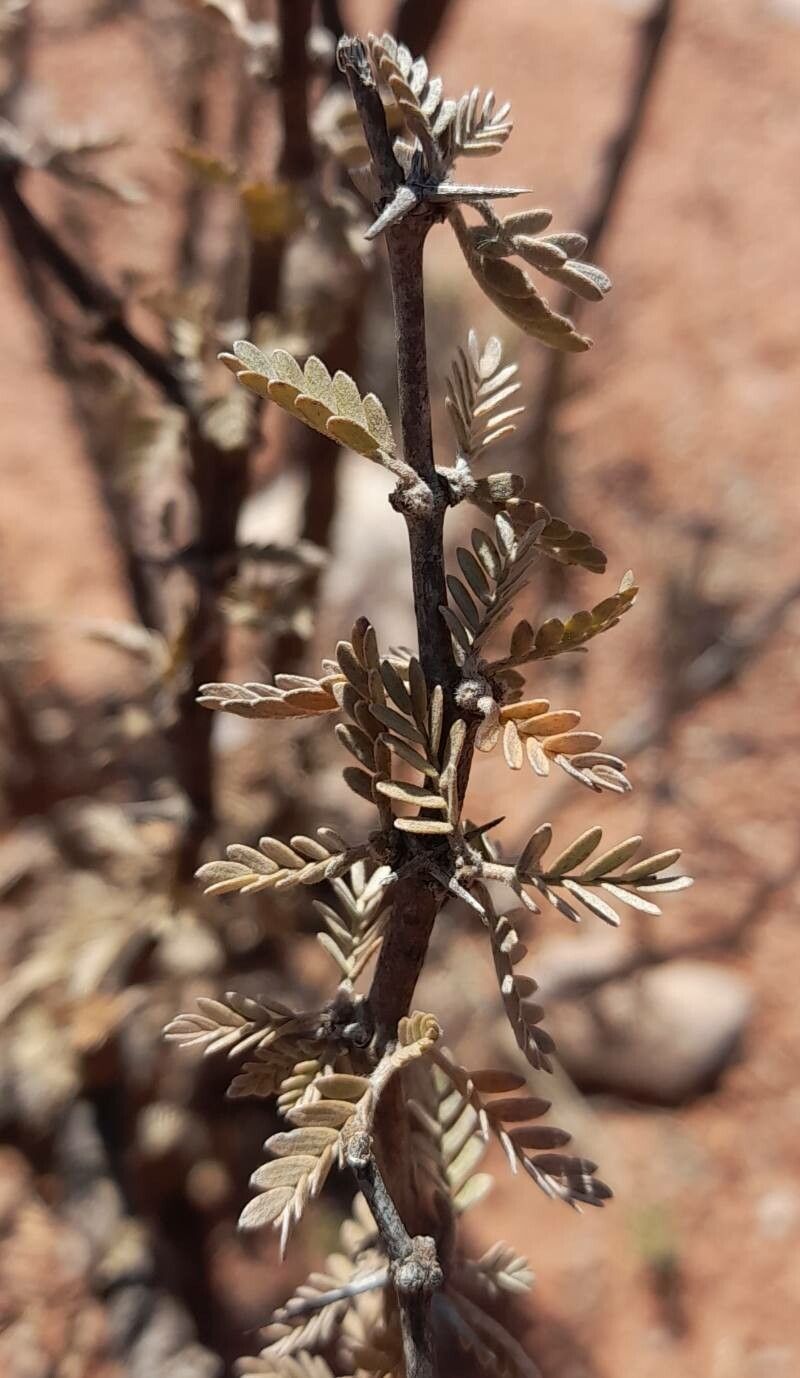
Hello fellow plant lovers! I’m so excited to chat with you today about a truly beautiful and often overlooked gem: Plectrocarpa tetracantha. If you’re looking for a plant that brings a touch of wild elegance to your home or garden, you’ve found it. With its delicate, almost fern-like foliage and intriguing structure, it’s a real showstopper. And the best part? Propagating it is incredibly rewarding. Now, let me be honest, Plectrocarpa tetracantha isn’t the absolute easiest plant to get started with for complete beginners. It’s got a bit of a sophisticated palate. But with a little bit of patience and these tips, you’ll be well on your way to creating a whole new collection to enjoy.
The Best Time to Start
For the highest chances of success with Plectrocarpa tetracantha, I always recommend spring or early summer. This is when the plant is actively growing after its dormancy period. You’ll find the stems are more vigorous, and they’ll have more stored energy to put into rooting. Waiting until new growth has hardened off slightly – meaning it’s not super soft and floppy, but not tough and woody just yet – is your sweet spot.
Supplies You’ll Need
Gathering your tools before you begin makes the whole process smoother. Here’s what I usually have on hand:
- Sharp, clean pruning shears or a sharp knife: For taking clean cuts.
- Rooting hormone powder or gel: This really gives your cuttings a boost.
- A well-draining potting mix: I love a blend of equal parts peat moss, perlite, and coarse sand. Or, a good quality succulent or cactus mix works brilliantly.
- Small pots or trays: Clean ones, of course! Small nursery pots (3-4 inches) are perfect.
- Plastic bags or a propagator: To create a humid environment.
- Watering can with a fine rose or spray bottle: For gentle watering.
- Labels and a permanent marker: To keep track of what you’ve propagated and when.
- Optional: A heat mat: For bottom warmth, especially if your home is a bit cooler.
Propagation Methods
There are a couple of tried-and-true ways to get new Plectrocarpa tetracantha plants going.
Stem Cuttings
This is my go-to method for Plectrocarpa tetracantha.
- Take the Cuttings: In spring or early summer, select healthy, non-flowering stems. Using your clean pruning shears, take cuttings that are about 4-6 inches long. Make your cut just below a leaf node – that’s the bump on the stem where a leaf attaches.
- Prepare the Cuttings: Gently remove the lower leaves, leaving just a few at the top. This encourages rooting and prevents the submerged leaves from rotting.
- Apply Rooting Hormone: Dip the cut end of each stem into your rooting hormone powder or gel. Tap off any excess.
- Plant the Cuttings: Fill your small pots with your well-draining potting mix. Make a small hole in the center of the mix with your finger or a pencil. Insert the prepared cutting into the hole, ensuring the leaf nodes are covered by the soil. Gently firm the soil around the stem.
- Water Gently: Water the soil thoroughly but gently, allowing excess water to drain away.
- Create Humidity: Cover the pot loosely with a clear plastic bag or place it in a propagator. This helps maintain a humid environment, which is crucial for rooting soft cuttings. Make sure the leaves don’t touch the plastic bag. If they do, try to prop the bag up a bit.
Water Propagation (with a caveaaat!)
While some plants root beautifully in water, Plectrocarpa tetracantha can be a bit finicky with this method, and there’s a higher risk of rot. If you choose to try it:
- Prepare Cuttings: Follow steps 1 and 2 above.
- Place in Water: Place the prepared cuttings in a clean glass or jar filled with clean, room-temperature water.
- Monitor Closely: This is where you need to be vigilant. Change the water every few days to keep it fresh and oxygenated. Crucially, ensure no leaves are submerged in the water. They must be above the waterline. You’ll be looking for tiny white root nubs to appear. Once you see about an inch of root growth, it’s time to get them into soil, as they can struggle to transition if left in water too long.
The “Secret Sauce” (Pro Tips)
Here are a few things I’ve learned over the years that really make a difference:
- Bottom Heat is Your Friend: For stem cuttings, placing your pots on a heat mat can significantly speed up root development. It mimics the warmth of spring soil and gives those roots an encouraging nudge. Keep the heat mat on for about 8 hours a day.
- Don’t Water Log: This is probably the most common mistake. Plectrocarpa tetracantha hates sitting in soggy soil. When watering your cuttings, let the first inch of soil dry out completely between waterings. It’s better to err on the side of dryness than wetness when they’re trying to root.
- Patience is Key (Really!): I know, I know, it’s all about patience. But with Plectrocarpa tetracantha, it’s often more about patience than you think. Don’t be discouraged if you don’t see signs of new growth for several weeks. Sometimes, they’re busy developing a strong root system underground before any top growth appears. Gently tugging on a cutting – if there’s resistance, you likely have roots!
Aftercare & Troubleshooting
Once you see new growth appearing on your cuttings, or they’ve developed a decent root system (you can check by gently lifting a pot and feeling its weight or seeing roots peeking out the drainage holes), it’s time to treat them as young plants.
- Gradually Acclimatize: Slowly remove the plastic bag or propagator over a few days to help them adjust to normal humidity.
- Move to Brighter Light: Gradually introduce them to brighter, indirect light. Avoid harsh, direct sun when they’re still young and vulnerable.
- Watering: Water when the top inch of soil feels dry. They still need this consistent moisture, but again, no soggy feet!
- Fertilizing: Wait until you see significant new growth before feeding. A diluted liquid fertilizer once a month during the growing season is usually sufficient.
My biggest headache with beginners propagating Plectrocarpa tetracantha? Rot. This usually happens because the soil is too wet, there’s not enough air circulation, or the cuttings were taken from unhealthy material. If you see your cutting going mushy, darkening, or collapsing, it’s likely succumbed to rot. Discard it immediately and try again with fresh cuttings in well-draining soil and with more careful watering.
A Little Bit of Growth, A Whole Lot of Joy
Propagating Plectrocarpa tetracantha is a wonderful way to multiply your enjoyment of this unique plant. It takes a little practice, a keen eye, and often, a healthy dose of patience. But trust me, that moment when you see that first tiny leaf unfurl on a cutting you started yourself is pure magic. So, gather your supplies, get your hands dirty, and enjoy the journey of bringing new life into your garden! Happy growing!
Resource: