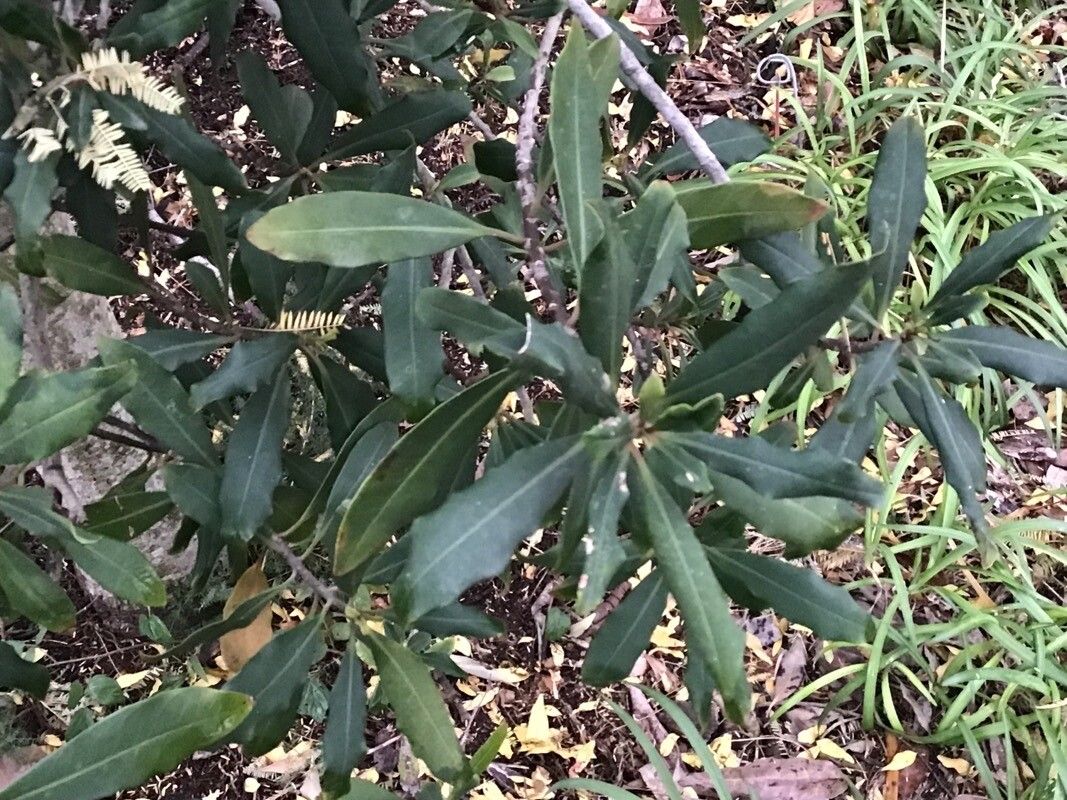
Oh, hello there! Come on in, grab a mug of your favorite brew – we’ve got some lovely Myrsine melanophloeos to talk about today. You know, the one with those beautiful, glossy leaves and that wonderfully graceful habit. It’s a real gem in the garden, and honestly, seeing those little cuttings transform into new plants is one of the greatest joys of being a gardener. If you’re new to propagation, don’t worry too much. Myrsine melanophloeos can be a bit particular, but with a little guidance, I’m confident you can get some fantastic results.
The Best Time to Start
Timing is everything, isn’t it? For us, the sweet spot for propagating Myrsine melanophloeos is in late spring to early summer. This is when the plant is in its active growth phase, meaning it has plenty of energy to put into developing roots. You’ll want to look for stems that are semi-hardwood – not brand new and floppy, but not old and woody either. Gently bending a stem should result in a slight snap, rather than a clean break.
Supplies You’ll Need
Gathering your supplies beforehand makes the whole process so much smoother. Here’s what I like to have on hand:
- Sharp pruning shears or a clean, sharp knife: For taking your cuttings. Cleanliness is key to preventing disease!
- Rooting hormone: A powder or gel will help encourage those roots to form.
- Small pots or seed trays: With good drainage holes, of course.
- A well-draining potting mix: I usually use a blend of perlite, peat moss, and a little bit of coir. You can also find pre-made cuttings mixes.
- A plastic bag or propagaton dome: To create a humid environment.
- Labels and a marker: To remember what you planted and when.
- A spray bottle: For misting.
Propagation Methods: Stem Cuttings
This is my go-to method for Myrsine melanophloeos. It’s straightforward and generally yields excellent results if you follow these steps:
- Select your stems: As I mentioned, look for those semi-hardwood stems. Choose healthy, non-flowering shoots.
- Take your cuttings: Using your clean shears, cut a piece of stem about 4-6 inches long. Make the cut just below a leaf node (where a leaf attaches to the stem).
- Prepare the cuttings: Strip off the lower leaves, leaving just a few at the top. This reduces moisture loss and prevents leaves from rotting in the soil. If the leaves are large, you can even cut them in half.
- Apply rooting hormone: Dip the cut end of each stem into your rooting hormone, tapping off any excess.
- Pot them up: Fill your clean pots with your prepared potting mix. Make a hole in the center of the soil with your finger or a pencil.
- Insert the cuttings: Gently place each cutting into the hole, ensuring the leaf nodes are below the soil surface. Firm the soil around the stem.
- Water gently: Water your cuttings thoroughly but gently with your spray bottle. You don’t want to dislodge them.
- Create humidity: Place a plastic bag over the pots or cover them with a propagation dome. Make sure the bag doesn’t touch the leaves if possible. If using a bag, you can use skewers to prop it up.
The “Secret Sauce” (Pro Tips)
Now, for those little nuggets of wisdom that can make all the difference:
- Don’t let the leaves touch the water: If you are trying water propagation (which is less reliable for Myrsine but a common technique for some plants), this is crucial. Any leaves submerged will rot and can infect the whole cutting before it even has a chance to root.
- Bottom heat is your friend: Myrsine, like many of its woody counterparts, really loves a bit of warmth from below. Placing your pots on a heated propagation mat can significantly speed up root formation and increase your success rate. It mimics that lovely warm soil feel they crave.
- Be patient with ventilation: While humidity is important, you don’t want your cuttings sitting in stagnant, wet air. Every few days, lift the lid or open the plastic bag for about 15-20 minutes to allow for some air circulation. This helps prevent fungal diseases from taking hold.
Aftercare & Troubleshooting
Once you see new leaf growth or feel a gentle tug when you lightly pull on a cutting, you know roots have formed! At this stage, you can gradually acclimatize your new plant to the outside air by slowly opening the bag or dome over a week or so. Keep the soil consistently moist, but not waterlogged.
The most common issue you might encounter is rot. This usually happens when conditions are too wet and there’s poor air circulation. If you see mushy, black stems, unfortunately, that cutting is likely lost. Remove it immediately to prevent it from affecting others. Another sign of trouble is if your cuttings simply shrivel up and die. This can be due to a lack of humidity or, conversely, being in direct, scorching sun too soon.
A Encouraging Closing
Watching a new plant emerge from a simple cutting is such a fulfilling experience. It connects you to the cycles of nature and gives you a deeper appreciation for the resilient spirit of plants. Myrsine melanophloeos can certainly teach us patience, but the reward of creating your own beautiful specimens is well worth the effort. Don’t be discouraged if your first few attempts aren’t perfect. Keep trying, enjoy the process, and you’ll be surrounded by these lovely plants before you know it! Happy propagating!
Resource: