Hello, fellow plant lovers! Today, we’re diving into something truly special: propagating Lovoa trichilioides. If you’ve ever admired its lush, glossy foliage and the way it adds a touch of exotic elegance to a space, you’re not alone. I’ve been growing and sharing plants for two decades now, and I tell you, coaxing new life from a favorite specimen is one of the most rewarding experiences in gardening. Lovoa trichilioides can be a bit finicky, but with a little know-how and patience, you’ll be well on your way to success. Don’t be intimidated; think of this as a fun, hands-on project that lets you multiply your green treasures!
The Best Time to Start
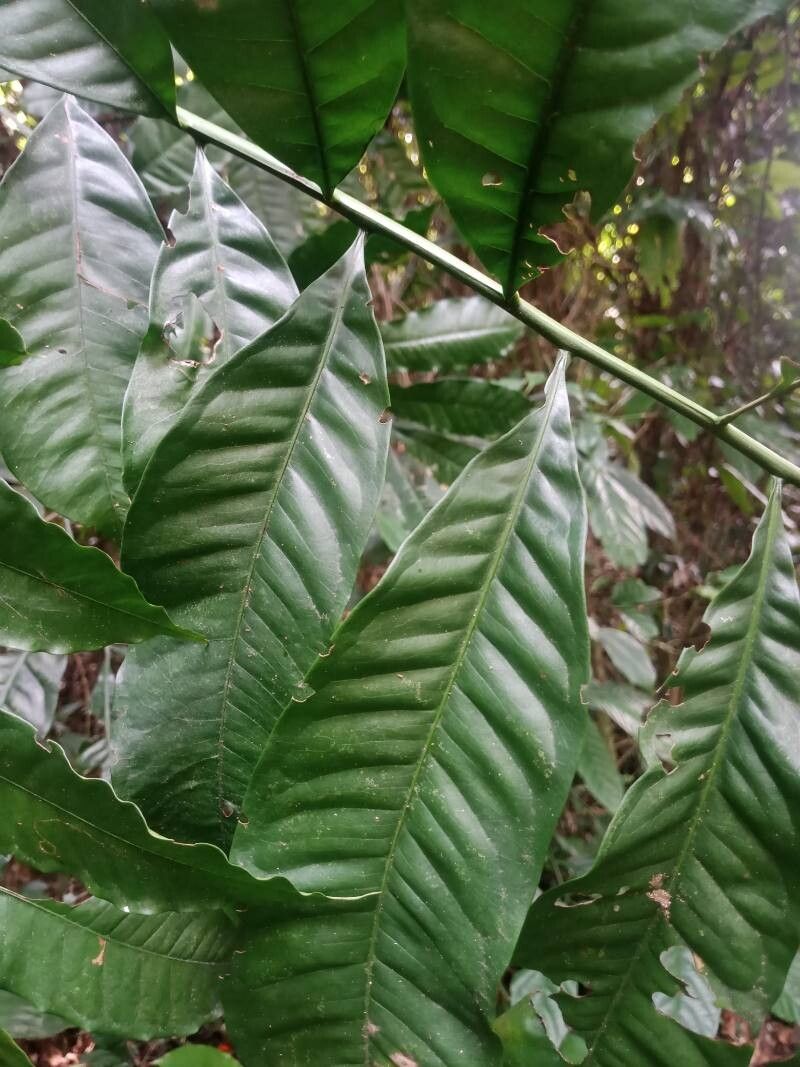
For the highest success rate with Lovoa trichilioides, I always aim to take cuttings during the active growing season. This typically means late spring through summer. The plant is full of energy then, and the stems are more likely to root readily. Look for stems that are mature but not yet woody – they should be firm but flexible. Avoid taking cuttings from flowering or fruiting stems.
Supplies You’ll Need
Gathering your supplies beforehand makes the whole process much smoother. Here’s what I usually have on hand:
- Sharp, clean pruning shears or a sharp knife: For making clean cuts.
- Rooting hormone powder or gel: This isn’t always essential, but it definitely gives your cuttings a helpful boost.
- A well-draining potting mix: A good blend is usually peat moss or coco coir mixed with perlite or coarse sand. Avoid heavy garden soil.
- Small pots or propagation trays: Clean ones, of course!
- A clear plastic bag or propagation dome: To maintain humidity.
- Water: For misting and keeping the soil moist.
- Labels and a marker: To keep track of which cutting is which and when you took it.
Propagation Methods
I’ve found the most reliable way to propagate Lovoa trichilioides is through stem cuttings. It’s straightforward and yields good results when done correctly.
Stem Cuttings
- Select your cutting: Choose a healthy stem that’s about 4-6 inches long. Make a clean cut just below a leaf node (where a leaf attaches to the stem).
- Prepare the cutting: Gently remove the lower leaves, leaving at least two to three at the top. If the leaves are large, you can even cut them in half to reduce water loss.
- Apply rooting hormone: Dip the cut end of the stem into your rooting hormone, tapping off any excess.
- Plant the cutting: Fill your clean pot with the prepared potting mix. Make a small hole with your finger or a pencil, then insert the cutting, ensuring the leaf nodes are below the soil surface. Gently firm the soil around the base.
- Water and cover: Water the soil lightly until it’s evenly moist, but not soggy. Then, cover the pot with a clear plastic bag or place it under a propagation dome to create a humid environment.
The “Secret Sauce” (Pro Tips)
Here are a couple of things I’ve learned over the years that make a real difference:
- Bottom heat is your friend: If you have it, placing your potted cuttings on a heat mat can significantly speed up rooting. The warmth encourages root development from below.
- “Air layering” for a bonus: For larger, established plants, consider air layering. It’s a bit more involved, but you can often get a large, established plant from this with less shock. You essentially wound a stem, wrap it with moist sphagnum moss, and cover with plastic. Roots will form within the moss, and then you can cut the rooted stem off below the new roots.
Aftercare & Troubleshooting
Once your cuttings are planted, place them in a bright spot, but avoid direct sunlight, which can scorch the delicate leaves and dry out the pot too quickly. Keep the soil consistently moist, but never waterlogged. Misting the leaves lightly every few days can also help maintain humidity.
You’ll know your cuttings are rooting when you see new leaf growth or feel a slight resistance when you gently tug on the cutting. This can take anywhere from 4-8 weeks, sometimes longer. Be patient!
If your cuttings start to look yellow, wilted, or develop dark, mushy spots at the soil line, that’s usually a sign of rot. This is often caused by overwatering or poor drainage. If you spot rot, try to remove the affected cutting immediately to prevent it from spreading. Ensure your soil is draining well for future attempts.
A Little Green Encouragement
Propagating plants is a journey, and each cutting is a little experiment. Don’t get discouraged if not every single one takes. Celebrate the successes, learn from any setbacks, and most importantly, enjoy the quiet satisfaction of nurturing a new plant into existence. Happy propagating!
Resource:
https://identify.plantnet.org/k-world-flora/species/Lovoa%20trichilioides%20Harms/data