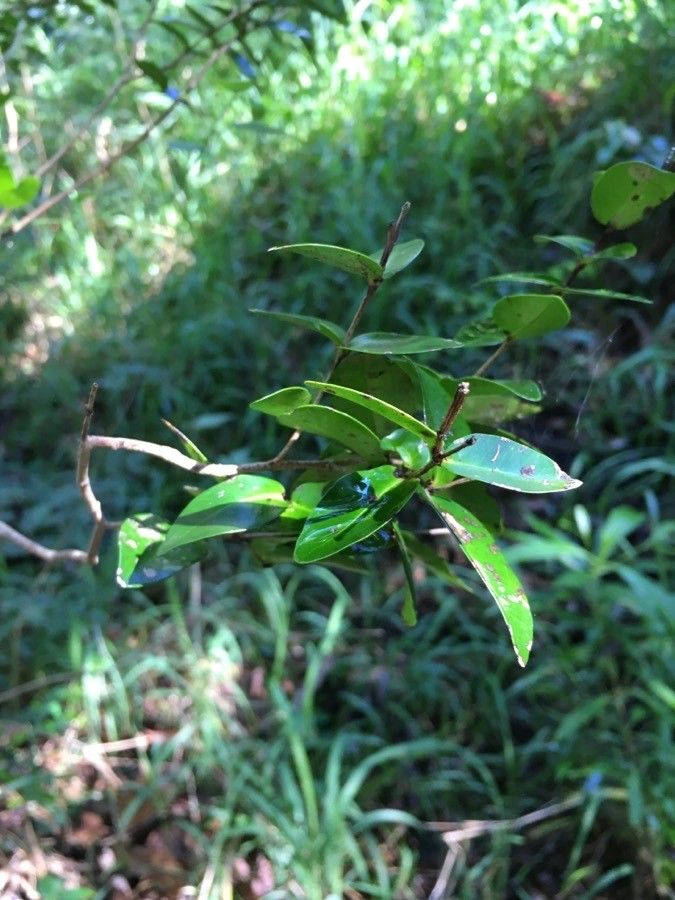
Oh, hello there! Pull up a chair and let’s chat about one of my favorite leafy friends: Gossia diversifolia. If you, like me, are charmed by its delicate foliage and the promise of a little green to brighten your home, then you’re in for a treat. Propagating it is a wonderfully rewarding endeavor, and I’m here to walk you through it. You know, I’ve found that while some plants can be a bit finicky, Gossia diversifolia is actually quite approachable once you get the hang of it. Don’t let that deter you; a little patience goes a long way!
The Best Time to Start
For the highest success rate, late spring to early summer is your golden window. This is when your Gossia diversifolia is in its most vigorous growth phase, meaning it has plenty of energy to put into creating new roots. Aim to take cuttings when the plant is actively growing, not when it’s stressed or dormant.
Supplies You’ll Need
Gathering your supplies beforehand makes the whole process so much smoother. Here’s what I typically reach for:
- Sharp, clean pruning shears or a craft knife: Cleanliness is key to preventing disease.
- Rooting hormone (optional, but helpful!): I find it gives cuttings a little boost. Look for powdered or gel forms.
- Well-draining potting mix: A good blend of perlite, peat moss, or coco coir is excellent. Avoid heavy garden soil.
- Small pots or seed trays: Whatever you have that can hold your cuttings and mix. Make sure they have drainage holes!
- Gloves: To keep your hands clean and protect any sensitive cuttings.
- A watering can with a fine rose or spray bottle: For gentle watering.
- Clear plastic bags or a mini greenhouse: To create a humid environment for your cuttings.
Propagation Methods
Let’s get our hands dirty with the most reliable methods for Gossia diversifolia.
Stem Cuttings: My Go-To Method
This is usually the most straightforward way to get new plants.
- Select a healthy stem: Look for a stem that’s about 4-6 inches long and has plenty of healthy leaves. Avoid any that are woody or have flowers/buds.
- Make the cut: Using your sharp shears or knife, make a clean cut just below a leaf node (the point where a leaf grows from the stem). This is where the magic happens!
- Prepare the cutting: Gently remove the lower leaves from the bottom inch or so of the stem. This prevents them from rotting in the soil. If the remaining leaves are very large, you can even cut them in half vertically to reduce water loss.
- Apply rooting hormone (if using): Dip the cut end of the stem into your rooting hormone, tapping off any excess.
- Plant the cutting: Make a small hole in your well-draining potting mix with your finger or a pencil, then gently insert the cutting. Firm the soil gently around the base of the stem.
- Water gently: Water sparingly, just enough to moisten the soil. You don’t want it soggy.
- Create humidity: Cover the pot with a clear plastic bag or pop it into a mini greenhouse. Make sure the leaves aren’t touching the plastic if possible.
Water Propagation (A Visual Treat!)
If you love watching roots develop, this is for you!
- Take your cutting: Follow steps 1-3 from the stem cutting method.
- Place in water: Put the cutting into a small glass or jar of clean, room-temperature water. Ensure the leaf nodes you removed are submerged, but no leaves are in the water.
- Find a bright spot: Place the jar in a bright, indirect light location.
- Change the water: Change the water every few days or when it starts to look cloudy to keep it fresh.
- Watch for roots: You should start seeing small white roots emerge from the nodes within a few weeks. Once the roots are about 1-2 inches long, you can carefully transplant them into potting mix.
The “Secret Sauce”
Here are a couple of little tricks I’ve learned over the years that can really make a difference.
- Bottom heat is your friend: If you have a seedling heat mat, placing your pots on it can significantly speed up root development. It mimics the warmth of a greenhouse and gives those cuttings a real boost.
- Don’t overwater, ever: This is probably the biggest killer of cuttings. The soil should be consistently moist, but never waterlogged. Soggy soil suffocates new roots and invites rot. I prefer to water when the very top layer of soil feels dry to the touch.
Aftercare & Troubleshooting
Once you spot those beautiful new roots pushing their way out, it’s time to adjust the care.
- Gradually acclimate: If you’ve been using a plastic bag or greenhouse, slowly begin to remove the cover over a few days. This allows the new plant to adjust to lower humidity.
- Continue regular watering: Keep the soil consistently moist as it establishes, but again, avoid overwatering.
- Bright, indirect light: For young plants, bright, indirect light is ideal. Avoid direct sun, which can scorch delicate new leaves.
The most common issue you might face is rot. If you see the cutting turning mushy, black, or developing mold, it’s likely due to too much moisture and not enough air circulation. Unfortunately, a rotted cutting rarely recovers, so it’s best to discard it and try again, paying close attention to your watering and humidity levels. Yellowing leaves can sometimes be a sign of stress or insufficient light.
A Word of Encouragement
Propagating plants is a journey, and like any good journey, it requires a little patience. Don’t be discouraged if your first attempt isn’t perfect. Each little green sprout that emerges is a testament to your nurturing efforts. Enjoy the process, celebrate the small victories, and soon you’ll have a whole gang of Gossia diversifolia to share! Happy growing!
Resource: