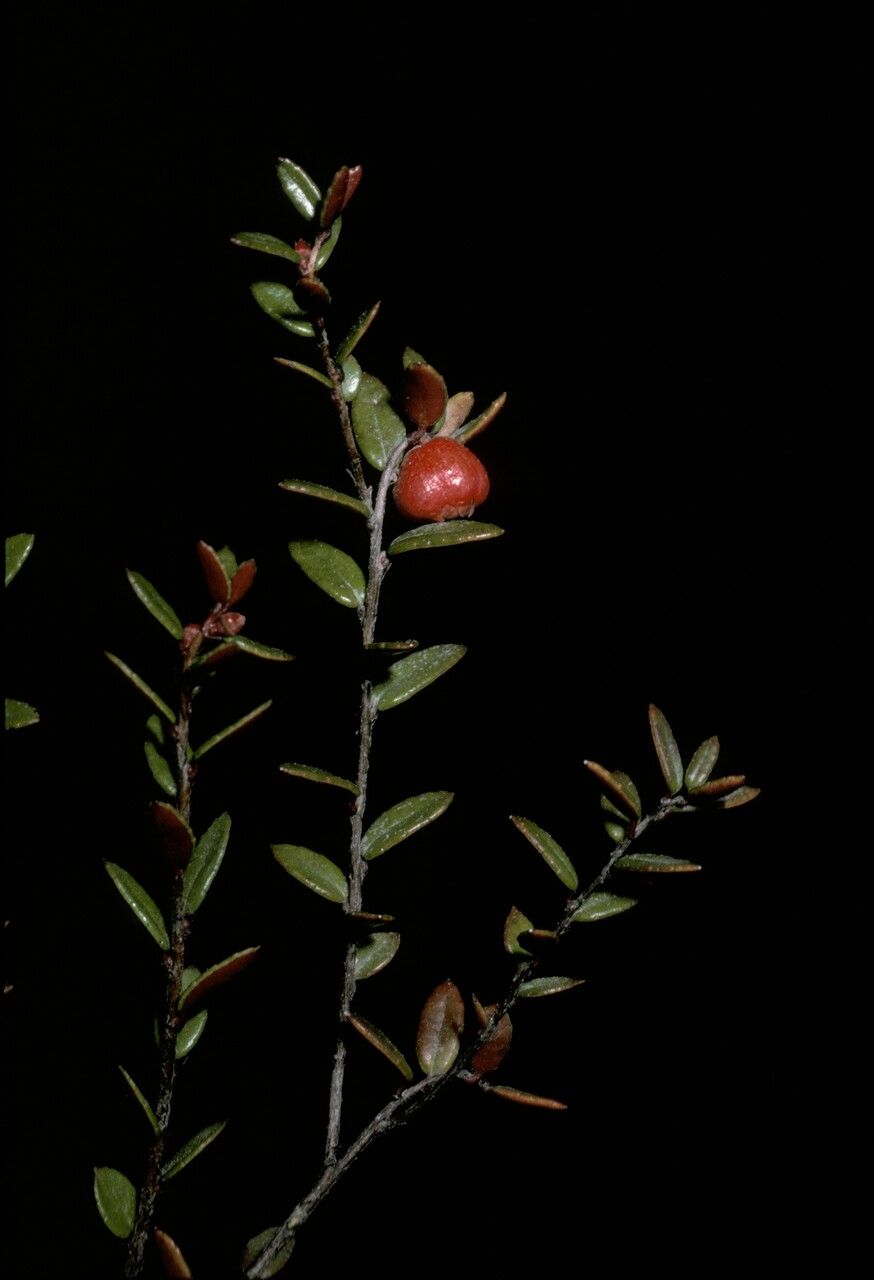
Hello fellow green thumbs! If you’re anything like me, you’ve probably fallen head over heels for the charms of Gaultheria antarctica, also known as Antarctic snowberry. Those delicate white flowers, followed by those perfectly formed, often vibrantly colored berries – it’s a little slice of alpine wonder for our gardens. I find myself drawn to its resilient spirit and unique beauty. And the best part? You can absolutely bring more of this magic into your life by propagating it yourself! If you’re new to propagation, don’t worry. While it has its quirks, Gaultheria antarctica is generally a friendly plant to experiment with.
The Best Time to Start
For the highest success rate with our little snowberry, late spring to early summer is your golden window. This is when the plant is in its active growing phase. You want to select stems that are semi-hardwood, meaning they’ve started to mature a bit from the new, floppy growth but aren’t yet as woody as the older stems. Think of it like a sturdy pencil, not a fresh seedling shoot.
Supplies You’ll Need
Gathering your supplies beforehand makes the whole process smoother. Here’s what I usually have on hand:
- Sharp pruning shears or a sterile knife: Cleanliness is crucial to prevent disease.
- Rooting hormone: A good quality powder or gel can give your cuttings a real boost.
- Well-draining potting mix: A blend of peat moss, perlite, and a little sand works wonderfully. You want good aeration.
- Small pots or propagation trays: Make sure they have drainage holes!
- Clear plastic bags or a propagator: To create a humid environment.
- Watering can with a fine rose: For gentle watering.
- Labels and a marker: To keep track of your efforts!
Propagation Methods
I find stem cuttings to be the most reliable method for Gaultheria antarctica.
Stem Cuttings:
- Take your cuttings: Select healthy, non-flowering shoots from your established plant. Aim for pieces about 3-6 inches long. Make your cut just below a leaf node (where a leaf attaches to the stem).
- Prepare the cuttings: Gently strip off the lower leaves from the bottom half of the cutting. This prevents them from rotting in the soil. If you’re using rooting hormone, dip the cut end into it, tapping off any excess.
- Pot them up: Fill your small pots with the well-draining mix. Make a small hole in the center with your finger or a pencil.
- Insert the cuttings: Gently place the prepared cuttings into the holes, making sure the leaf nodes are covered by the soil. Press the soil gently around the stem to ensure good contact.
- Water gently: Water thoroughly until you see water drain from the bottom of the pot.
- Create humidity: Cover each pot loosely with a clear plastic bag or place the pots in a propagator. This helps maintain consistent moisture. If using bags, prop them up with a few small stakes so they don’t touch the leaves.
The “Secret Sauce” (Pro Tips)
Here are a few things I’ve learned over the years that can really make a difference:
- Don’t overcrowd: Give your cuttings a little breathing room in their containers. Too many packed together can encourage fungal issues.
- Bottom heat is your friend: Placing your pots on a gentle heating mat, especially if your house is on the cooler side, can significantly speed up root development. You’re aiming for around 70-75°F (21-24°C).
- Be patient with dormancy: Gaultheria antarctica can be a bit shy about showing roots. Some varieties might take longer, so resist the urge to disturb them too soon. I usually wait at least 6-8 weeks.
Aftercare & Troubleshooting
Once your cuttings have rooted (you can check by giving them a very gentle tug – if there’s resistance, they’ve likely rooted), it’s time for their next stage.
Watering: Continue to water them consistently, but allow the top inch of soil to dry out slightly between waterings. Avoid waterlogged conditions, as this is the quickest way to invite rot.
Light: Gradually acclimate your new plants to brighter light. Start by moving them from their humid propagating environment to a bright spot with indirect sunlight.
Troubleshooting: The most common issue you might encounter is rot. If you see your cuttings turning black and mushy or developing fuzzy mold, it’s usually a sign of too much moisture or poor air circulation. Sadly, these are usually lost causes, but don’t get discouraged! It’s just part of the learning process.
A Little Patience Goes a Long Way
Propagating Gaultheria antarctica is a rewarding journey. It’s a chance to deepen your connection with these beautiful plants and expand your garden bounty. Don’t be disheartened if your first few attempts aren’t perfect. Each new plant you nurture is a small triumph. So, embrace the process, enjoy watching those tiny roots emerge, and soon you’ll have even more of these delightful snowberries to admire! Happy gardening!
Resource:
https://identify.plantnet.org/k-world-flora/species/Gaultheria%20antarctica%20Hook.f./data