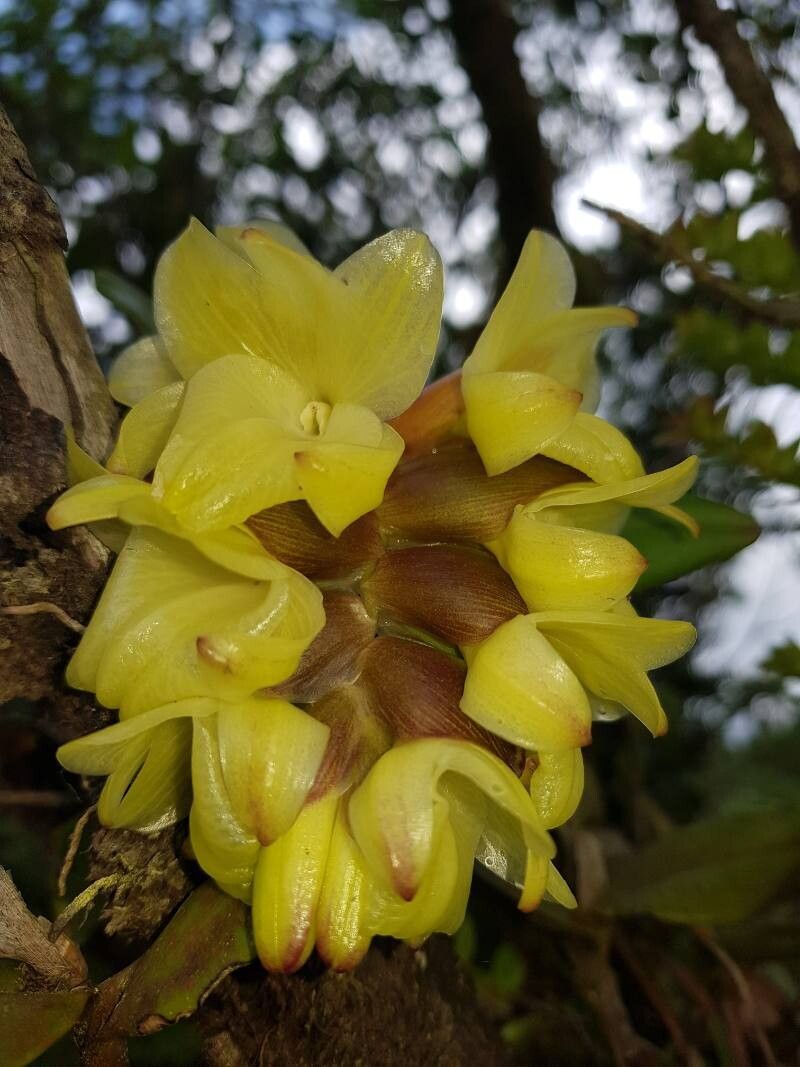
Hello there, fellow plant enthusiasts! It’s so lovely to be back here sharing my passion for all things green. Today, we’re diving into the wonderful world of Epidendrum atwoodchlamys. If you’re drawn to the unique charm of this orchid, with its delicate blooms and graceful stature, you’re in for a treat. Propagating your own Epidendrum atwoodchlamys is incredibly rewarding. You’ll have more of these beauties to admire, share with friends, or even gift to loved ones. Now, I’ll be honest, orchids can sometimes feel a bit intimidating, but this particular Epidendrum is actually quite forgiving and a lovely choice for those looking to dip their toes into orchid propagation.
The Best Time to Start
When it comes to getting the best results with Epidendrum atwoodchlamys, I’ve found that spring is your best friend. This is when the plant is actively growing after its winter rest. You’ll often see new pseudobulbs developing and stems lengthening. These new, vigorous growths are much more receptive to propagation than older, more mature parts of the plant. Aim to propagate after the last frost has passed and before the intense heat of summer sets in.
Supplies You’ll Need
Before we get our hands dirty, let’s make sure we have everything ready. A little preparation goes a long way!
- Sterilized Pruning Shears or a sharp knife: Cleanliness is crucial to prevent disease.
- Orchid Bark Mix: A coarse, free-draining mix is essential. You can buy a specialized orchid mix or create your own with equal parts pine bark, perlite, and charcoal.
- Small Pots or Containers: Clean terracotta pots or plastic seedling trays work well. Make sure they have drainage holes!
- Rooting Hormone (Optional but recommended): A powdered or liquid rooting hormone can give your cuttings a helpful boost.
- Sphagnum Moss: For certain methods, keeping humidity high is key.
- Watering Can with a Fine Rose: For gentle watering.
- Clear Plastic Bags or Domes: To create a humid environment for cuttings.
Propagation Methods
There are a couple of ways you can approach propagating your Epidendrum atwoodchlamys, and I find both can be quite successful.
1. Stem Cuttings (Keikis)
This is my go-to method and often the easiest. You’re essentially looking for “baby plants” that grow off the main stem, called keikis.
- Inspect Your Plant: Look for a healthy, established Epidendrum atwoodchlamys. You’re searching for a keiki that has at least one or two small pseudobulbs and potentially some tiny aerial roots emerging from its base. These usually form on older, leafless pseudobulbs.
- Make the Cut: Using your sterilized shears, carefully cut the keiki off the mother plant. Make the cut about an inch below the keiki itself, ensuring you’re not damaging either the keiki or the parent plant. Ideally, the keiki is large enough to handle on its own.
- Potting Up: Gently pot the keiki into a small pot filled with your orchid bark mix. Make sure the pseudobulb is mostly exposed, but tuck the tiny roots into the mix. Don’t bury it too deeply.
- Create Humidity: This is important. Place the pot inside a clear plastic bag or cover it with a clear plastic dome. You want to create a mini-greenhouse effect to keep the humidity high while the keiki establishes itself. Ensure the leaves aren’t touching the sides of the bag if possible, to prevent rot.
2. Division
If your Epidendrum atwoodchlamys has become quite large and bushy, with multiple pseudobulbs growing together, division is a great option.
- Gently Remove from Pot: Carefully take the entire plant out of its pot.
- Clean the Roots: Gently remove as much of the old potting mix as possible from the root ball. You can use a soft brush or even a gentle rinse under water. This allows you to see the pseudobulbs and where they are joined.
- Separate the Divisions: Look for natural breaks in the rhizome (the creeping stem that connects the pseudobulbs). Using your sterilized knife or shears, carefully cut through the rhizome to separate the plant into smaller sections. Each section should ideally have at least two to three healthy pseudobulbs and a good amount of rootage. If a division has very few roots, don’t worry too much, as long as it has healthy pseudobulbs.
- Potting Each Division: Repot each division into its own container with fresh orchid bark mix. Again, don’t bury the pseudobulbs too deeply.
The “Secret Sauce”
Here are a few little tricks I’ve picked up over the years that can really make a difference:
- A Pinch of Cinnamon: After making a division cut, I like to lightly dust the cut surface with a bit of cinnamon. It acts as a natural antifungal agent and helps to prevent rot. Just a light dusting!
- Bottom Heat is Your Friend: For stem cuttings, especially if your home is on the cooler side, placing the pot on a gentle seedling heat mat can significantly speed up root development. Just a low setting is needed. Don’t let it get too hot!
- Patience and Observation: This might sound simple, but it’s key. Don’t be tempted to unpot your cuttings too soon to check for roots. Keep an eye on the leaves – if they remain firm and plump, things are usually progressing well.
Aftercare & Troubleshooting
Once your keiki or division looks like it’s settling in, the real nurturing begins.
- Watering: Water your new propagations gently but thoroughly when the potting mix is almost dry. Avoid letting them sit in soggy conditions. Orchids prefer to dry out a bit between waterings.
- Humidity: Continue to maintain high humidity. If using a plastic bag, open it for a short period each day to allow for some air circulation.
- Light: Place your new plants in bright, indirect light. Avoid direct sun, which can scorch young leaves.
Now, what if things don’t go as planned? The most common issue you might encounter is rot. You’ll notice this as a mushy, dark brown or black discoloration on the pseudobulbs or stems. If you see rot, act quickly. Remove the rotted parts with your sterilized tool and treat the remaining healthy tissue with a suitable fungicide if you have one. If the rot is extensive, sadly, you may have to discard the cutting. Don’t be discouraged! It happens to the best of us.
A Final Thought
Propagating Epidendrum atwoodchlamys is a journey, and like any good garden adventure, it requires a little patience and a lot of love. Enjoy the process of watching these new plants develop. Celebrate the small victories, and learn from any setbacks. Soon, you’ll have even more of these beautiful orchids to brighten your space. Happy growing!
Resource:
https://identify.plantnet.org/k-world-flora/species/Epidendrum%20atwoodchlamys%20Hágsater/data