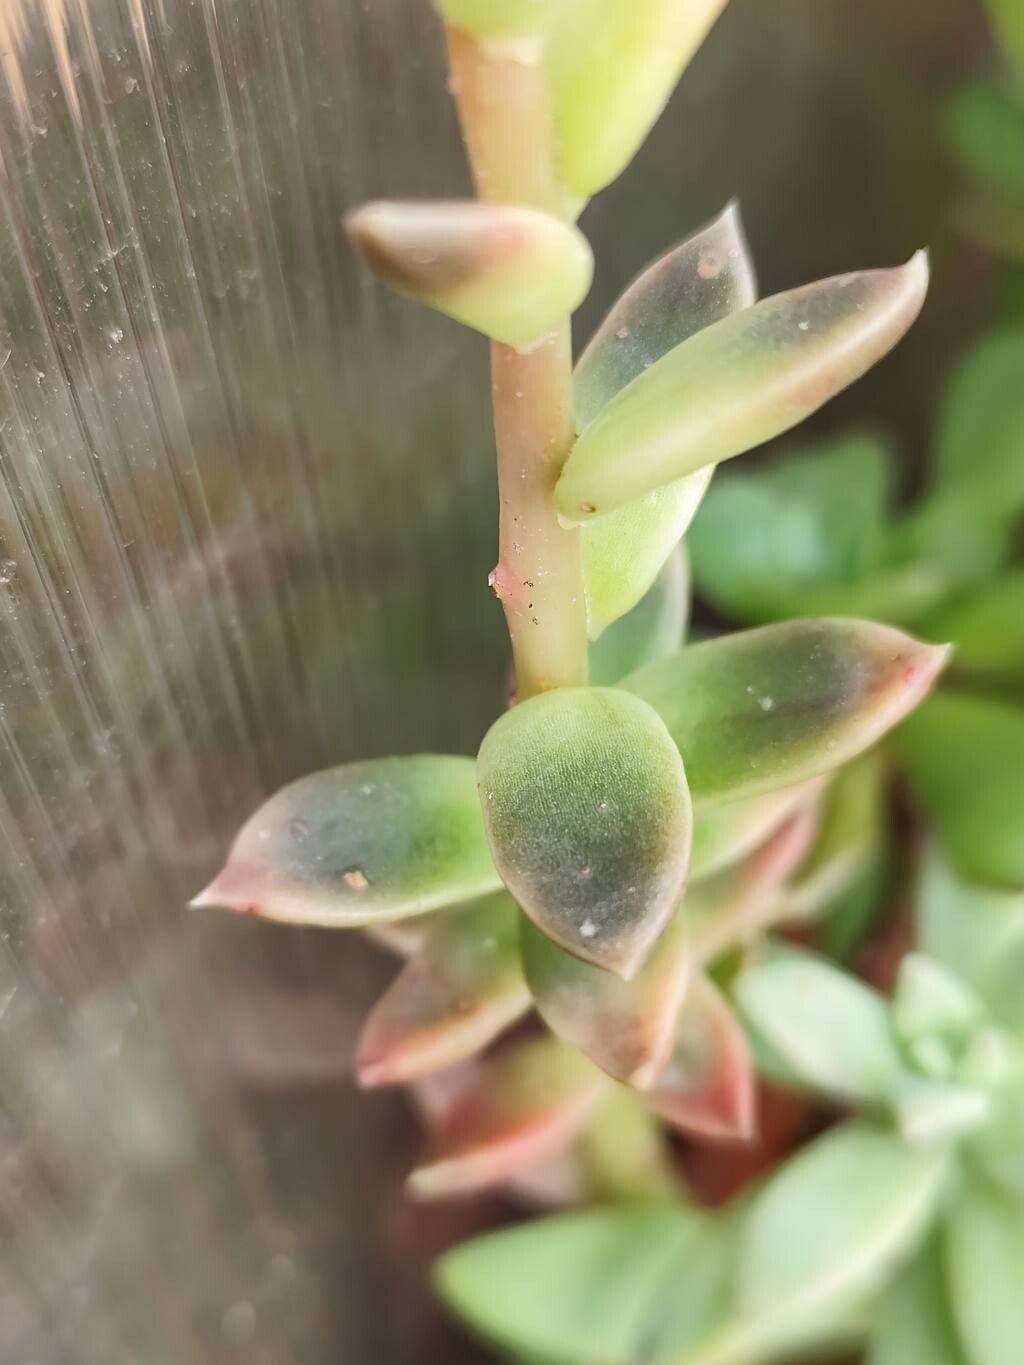
Hello there, fellow plant lovers! It’s so wonderful to have you join me. Today, we’re diving into the captivating world of Echeveria affinis, or as many of us affectionately call them, our lovely black or dark-leafed Echeverias. Their deep, almost moody colors and sculptural rosette shapes are just stunning, aren’t they? And the best part? Bringing more of these beauties into your life is incredibly rewarding. Don’t worry if you’re just starting out; propagating Echeveria affinis is quite beginner-friendly, which is fantastic news!
The Best Time to Start
When it comes to getting those little Echeverias going, spring and early summer are your golden ticket. This is when the plant is actively growing, full of energy, and ready to bounce back. You’ll find you have the best success rates during these warmer months when there’s plenty of light and heat to encourage rooting.
Supplies You’ll Need
Before we get our hands dirty, let’s gather our essentials. It’s always good to have everything ready to go!
- Well-draining potting mix: A cactus or succulent mix is perfect. You can even make your own by combining potting soil with perlite or pumice (roughly 50/50).
- Clean, sharp pruning shears or a knife: This is crucial for making clean cuts to avoid damaging the plant and introducing disease.
- Rooting hormone (optional but recommended): This little helper can significantly speed up the rooting process and increase your success rate.
- Small pots or trays: Clean containers with drainage holes are a must.
- Spray bottle: For gentle misting.
- A bright spot with indirect sunlight: Your new babies will need light, but not harsh, direct sun right away.
- A tray for bottom heat (optional): This can be a lifesaver in cooler climates.
Propagation Methods
Echeveria affinis is wonderfully versatile, and there are a couple of easy ways to multiply your plants.
Stem Cuttings
This is my go-to method for Echeveria affinis.
- Select a healthy stem: Look for a mature stem that has a few rosettes or is long enough to cut.
- Make a clean cut: Using your clean shears or knife, cut the stem about an inch or two below a rosette. You want to ensure you have some stem length to work with.
- Remove lower leaves: Gently peel off the bottom few leaves from the cut end of the stem. These leaves can be saved for leaf propagation later (more on that in a bit!).
- Let it callous over: This is a critical step! Place the cut stem in a dry, airy spot away from direct sun for 2-5 days. The cut end needs to dry out and form a callus. This prevents rot when you plant it.
- Plant the cutting: Once calloused, you can gently insert the cut end into your prepared well-draining potting mix. You don’t need to bury it deeply, just enough for it to stand upright. If you’re using rooting hormone, dip the calloused end into it before planting.
- Water lightly: Give the soil a very light watering. You want it barely moist.
Leaf Propagation
This method takes a bit longer and is a bit more of a gamble, but seeing those tiny plantlets emerge is pure magic!
- Select healthy leaves: Choose firm, plump leaves from the bottom of a mature rosette.
- Gently remove the leaves: Don’t yank! Twist or gently wiggle the leaf until it detaches cleanly from the stem. Crucially, you want to get the entire leaf base, where it was attached to the stem. If you leave any of the stem tissue behind, it’s less likely to root.
- Let them callous: Just like stem cuttings, these leaves need to dry out for a day or two until the cut end forms a callus.
- Lay them on soil: Place the calloused leaves on top of your well-draining potting mix. You can let them sit at an angle, with the calloused end just touching the soil.
- Mist gently: Lightly mist the soil around the leaves every few days, just enough to keep things slightly humid but not wet.
The “Secret Sauce” (Pro Tips)
Here are a few things I’ve learned over the years that really make a difference:
- Don’t rush the callus: I can’t stress this enough! Patience here is your best friend. A well-calloused cutting is a healthy cutting. Impatience leads to rot, and nobody wants that.
- Consider bottom heat: If your home is on the cooler side, even in spring, placing your pots on a seedling heat mat can significantly speed up root development. It mimics the warmth of the soil that the plant would naturally experience during its active growing season.
- Less is more with water: For both methods, overwatering is the number one enemy. New cuttings and leaves don’t have established roots yet, so they’re very susceptible to rot. Water only when the soil is dry, and even then, be very sparing.
Aftercare & Troubleshooting
Once you see signs of new growth or tiny roots emerging (you might see the leaf start to plump up or a mini rosette form), it’s time to adjust your care slightly.
- Continue with bright, indirect light: Gradually introduce more light, but still avoid direct, harsh sun for a while.
- Water more regularly: As roots develop, you can start watering a little more thoroughly, allowing the soil to dry out between waterings.
- Troubleshooting Rot: The most common issue is rot, which usually stems from too much moisture and insufficient airflow. If you see a cutting or leaf turning black and mushy, it’s likely rot. Sadly, these are usually beyond saving. Remove them immediately from your propagation tray to prevent it from spreading. Ensure your soil is draining well and the environment is airy.
A Warm Encouraging Closing
Propagating Echeveria affinis is such a wonderful way to fill your home with these dark, gorgeous succulents. It takes a little practice, and sometimes things don’t work out the first time, and that’s perfectly okay! Each attempt is a learning opportunity. Be patient, enjoy the process of watching tiny miracles emerge, and soon you’ll have a whole new collection of these beauties to admire. Happy propagating!
Resource:
https://identify.plantnet.org/k-world-flora/species/Echeveria%20affinis%20E.Walther/data