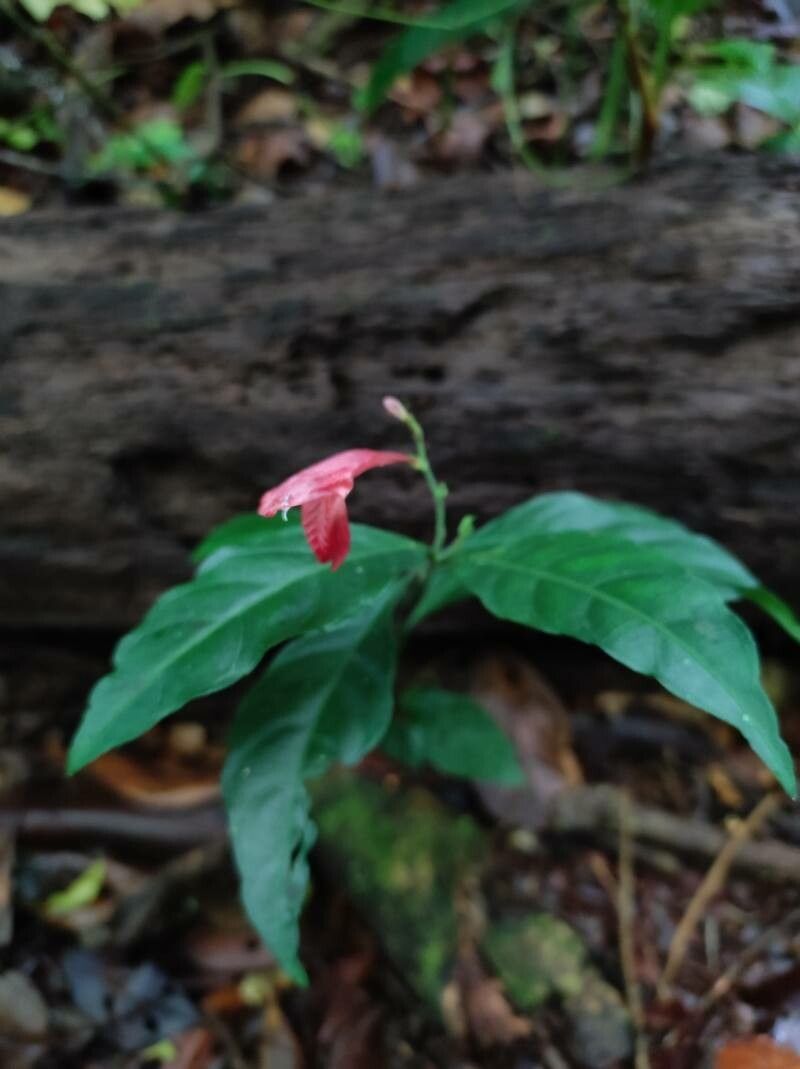
Oh, hello there! Come on in, grab a mug. I’m so glad you’re interested in propagating Dianthera glabra. It’s a truly delightful plant, isn’t it? With its delicate, often vibrant flowers and lovely foliage, it brings such a splash of personality to any garden or indoor space. And the best part? Bringing new ones to life from your existing plants is incredibly satisfying. It’s also quite forgiving, making it a wonderful choice, even if you’re just starting your plant propagation journey.
The Best Time to Start
For Dianthera glabra, I’ve found the sweet spot for propagation is during its active growing season. Think late spring through early summer. This is when the plant has plenty of energy to put into developing roots. You’ll want to select stems that are firm and healthy, but not overly woody. Softwood or semi-hardwood cuttings tend to take off the best during this period.
Supplies You’ll Need
Here’s what I usually gather before I get started. It’s not much, and you probably have most of it already!
- Sharp, clean pruning shears or a sharp knife: Essential for making clean cuts to avoid crushing the stem.
- Rooting hormone (optional but recommended): This can give your cuttings a real boost. I prefer the powder form.
- Small pots or a propagation tray: For starting your cuttings off. Make sure they have drainage holes!
- A good potting mix: I like a blend that offers excellent drainage. A seed-starting mix combined with perlite or coco coir works beautifully.
- Water: For the propagation medium and for aftercare.
- A clear plastic bag or a propagator lid: To create a humid environment for your cuttings.
- Labels and a permanent marker: To keep track of what you’ve potted!
Propagation Methods
Dianthera glabra is quite amenable to a couple of common propagation techniques. I’ll walk you through my favorites.
Stem Cuttings
This is my go-to method for Dianthera glabra.
- Take your cuttings: Using your clean shears, select a healthy stem and make a cut just below a leaf node (where the leaf joins the stem). You’ll want cuttings that are about 4-6 inches long.
- Prepare the cutting: Gently remove the lower leaves from the cutting, leaving just a few at the top. This prevents them from rotting in the soil or water.
- Apply rooting hormone: If you’re using it, dip the cut end of the stem into the rooting hormone, tapping off any excess.
- Plant the cutting: Fill your small pots with your prepared potting mix. Make a small hole in the center with your finger or a pencil. Insert the cutting into the hole, ensuring the lower leaf nodes are buried. Gently firm the soil around the stem.
- Water gently: Water the soil thoroughly until it’s moist but not waterlogged.
- Create humidity: Cover the pot with a clear plastic bag, securing it with a rubber band, or place it in a propagator with a lid. This will create a mini-greenhouse effect. Place the pot in a brightly lit spot that receives indirect sunlight.
Water Propagation
Dianthera glabra also roots quite readily in water, and it’s fun to watch the roots develop!
- Prepare the cuttings: Follow steps 1 and 2 from the stem cutting method.
- Place in water: Fill a clean jar or glass with room-temperature water. Place the prepared cuttings into the water, ensuring the leaf nodes are submerged.
- Change the water: This is important! Change the water every few days to keep it fresh and prevent bacterial growth.
- Location: Place the jar in a brightly lit spot with indirect sunlight.
- Transplanting: Once the roots are about an inch long, you can transplant them into pots filled with your potting mix, following step 4 from the stem cutting method. Be very gentle with those newly formed roots!
The “Secret Sauce” (Pro Tips)
Here are a couple of things I’ve learned over the years that make a big difference.
- Don’t let the lower leaves touch the water (if water propagating): This is a classic mistake. Any leaves submerged will inevitably rot and can introduce disease to your cutting before it even has a chance to root. Snip them off cleanly.
- Bottom heat is your friend: If you can, using a heating mat placed beneath your propagation tray or pots can significantly speed up root development. It mimics the warmth of spring soil and gives those little root hairs a real incentive to grow. You don’t need it scorching hot, just pleasantly warm to the touch.
Aftercare & Troubleshooting
Once you see new leaf growth on your cuttings, that’s a great sign! It means roots have formed.
- Acclimate slowly: Gradually remove the plastic bag or propagator lid over a few days. This helps the new plant get used to lower humidity levels.
- Watering: Water your new plant whenever the top inch of soil feels dry. Avoid letting it sit in water.
- Light: Continue to provide bright, indirect light.
- Troubleshooting: The most common issue you might encounter is rot. If a cutting turns black, mushy, or smells foul, it’s likely rotted. This usually happens due to too much moisture, poor drainage, or not enough air circulation. If you see signs of rot on one cutting, remove it immediately to prevent it from spreading. Sometimes, the cutting is simply too soft or old. Don’t be discouraged; just try again with a fresher piece!
A Little Encouragement
Propagating plants is a journey, and patience is truly a gardener’s virtue. Not every cutting will make it, and that’s perfectly okay. Each attempt is a learning experience. So, enjoy the process, celebrate the successes, and most importantly, keep that creative gardening spirit alive! Happy propagating!
Resource: