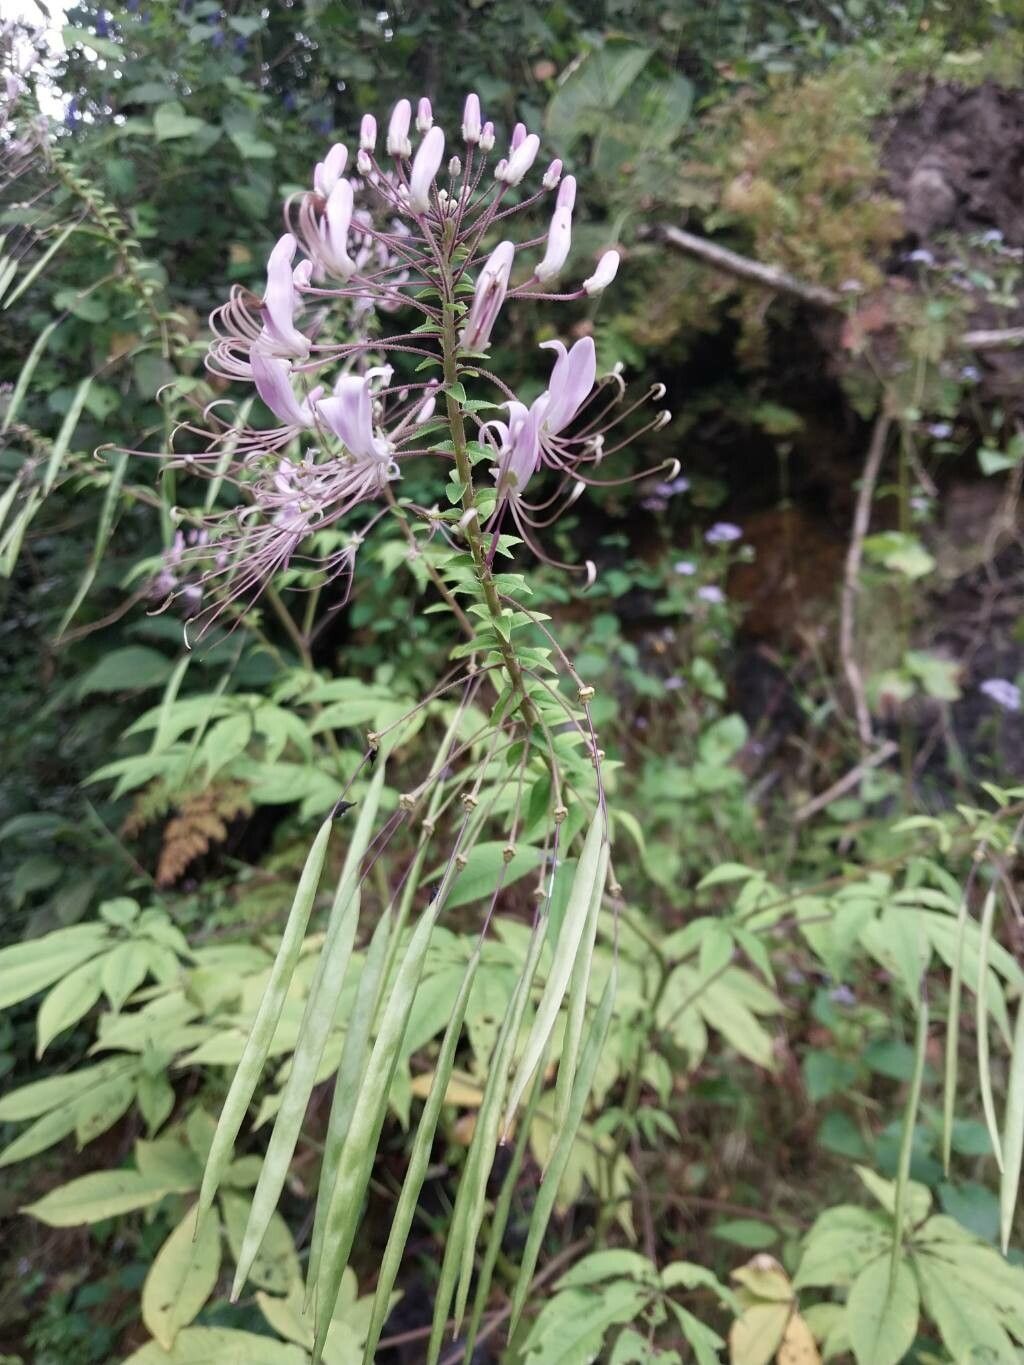
Hello, fellow garden enthusiasts! I’m so excited to chat with you today about a plant that brings a real spark to any garden – Cleome pilosa. You know, those airy, beautiful plants with lovely flowers that just seem to dance in the breeze? They’re often called Spider Flowers, and for good reason! Not only are they stunning visual performers, but propagating them is incredibly rewarding. And guess what? They’re surprisingly easy to propagate, even for those of you just starting your green-thumb journey. It’s a wonderful way to fill your garden beds or share these beauties with friends.
The Best Time to Start
For Cleome pilosa, timing is everything if you want the most success. My favorite time to get started is in late spring or early summer. This is when the plant is actively growing, and the cuttings are full of vigor. You’ll find they root much more readily when the days are longer and warmer. Waiting until your established plants are robust and healthy is also key; you want to take cuttings from strong, non-flowering stems.
Supplies You’ll Need
Before we dive in, let’s gather our essentials. Having everything ready makes the process so much smoother:
- Sharp pruning shears or a clean, sharp knife: For making clean cuts.
- Rooting hormone powder (optional but recommended): This gives your cuttings a little boost.
- Well-draining potting mix: A good blend of peat moss, perlite, and vermiculite works wonders. You can also buy specific seed starting or propagation mixes.
- Small pots or seed trays with drainage holes: For your new little darlings.
- Plastic bags or a propagator lid: To create a humid environment.
- Watering can with a fine rose or spray bottle: For gentle watering.
Propagation Methods
Cleome pilosa is quite versatile, but my go-to method for these plants is stem cuttings. It’s straightforward and yields great results.
- Take Your Cuttings: Choose a healthy, non-flowering stem from your mature Cleome pilosa. Using your sharp shears or knife, cut a section about 4-6 inches long. Make the cut just below a leaf node (where a leaf attaches to the stem).
- Prepare the Cuttings: Gently remove the lower leaves from the cutting, leaving just the top few leaves intact. This prevents them from rotting in the soil. If you’re using rooting hormone, dip the cut end into the powder, tapping off any excess.
- Plant Your Cuttings: Fill your small pots with the well-draining potting mix. Make a small hole in the center of the soil with your finger or a pencil. Insert the cut end of the Cleome cutting into the hole, making sure at least one leaf node is buried in the soil. Firm the soil gently around the stem.
- Create Humidity: Water the soil thoroughly but gently. Then, cover the pot with a plastic bag or place it inside a propagator with a lid. This traps humidity, which is crucial for cuttings to root.
The “Secret Sauce” (Pro Tips)
Here are a couple of little tricks I’ve learned over the years that can really make a difference:
- Avoid “Drowning”: When you’re watering, be careful not to let the leaves of the cutting sit constantly in water. This can lead to rot. Aim to keep the soil consistently moist, but not soggy. If you’re doing water propagation (which is also possible, place cuttings in water with only the stem submerged, ensuring no leaves are in the water!), change the water every few days.
- Warmth is Key: Cleome cuttings absolutely love bottom heat. If you have a heat mat designed for seedlings and cuttings, placing your pots on it will significantly speed up the rooting process. It mimics the soil warmth they’d experience in summer.
Aftercare & Troubleshooting
Once your Cleome pilosa cuttings have developed roots (you can gently tug the stem to feel for resistance, or you might see roots emerging from the drainage holes), it’s time for a little extra TLC.
- Acclimate Them: Gradually remove the plastic bag or propagator lid over a few days. This helps the new plants adjust to the drier air of your home or greenhouse.
- Potting Up: Once they have a good root system, you can pot them into slightly larger containers with fresh, good-quality potting soil. Continue to water them regularly, but be sure the soil drains well.
- Watch for Rot: The most common problem you’ll encounter is rot, which usually happens when the cuttings are kept too wet or lack good air circulation. If you see a cutting turning yellow and mushy, it’s likely too late. Prevention is key: good drainage and not overwatering are your best defenses. Another sign of trouble can be wilting that doesn’t improve even after watering; this often indicates root rot.
Happy Rooting!
Propagating Cleome pilosa is such a satisfying process. It’s a wonderful way to connect with nature and expand your garden’s beauty. Don’t get discouraged if not every cutting takes – it’s all part of the learning curve! Just keep trying, be patient, and most importantly, enjoy the journey of nurturing these delicate new life forms. Happy gardening!
Resource:
https://identify.plantnet.org/k-world-flora/species/Cleome%20pilosa%20Benth./data