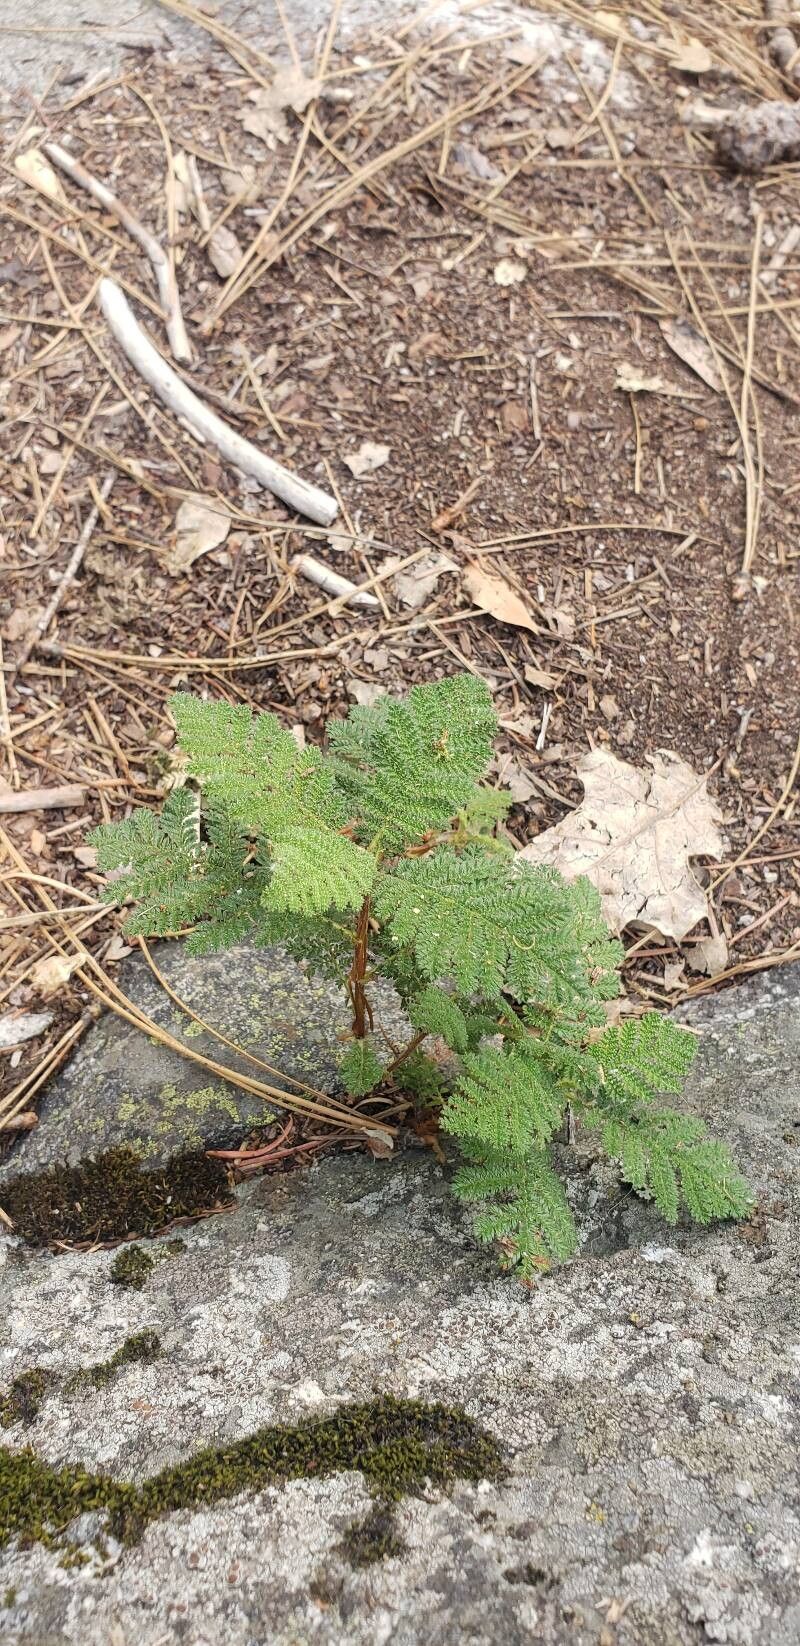
Hello there, fellow plant lovers! I’m so excited to chat with you today about a truly special plant: Chamaebatia foliolosa, often called Mountain Lilac or Kit Fox. Isn’t that charming? This California native brings such a delightful fragrance and delicate, fern-like foliage to any garden. Its tiny white flowers in spring are like little stars scattered across its mounds. If you’ve ever admired its beauty and wished you could have more of it, you’re in luck! Propagating Chamaebatia foliolosa can be incredibly satisfying, though I’ll be honest, it’s not the absolute easiest for a complete beginner. But with a little attention and this guide, you’ll be well on your way!
The Best Time to Start
For propagating Chamaebatia foliolosa, the sweet spot is late spring to early summer. This is when the plant is actively growing and has plenty of energy to put into new roots. You want to work with stems that are somewhat mature, but not woody and old. Think of it as taking cuttings when the plant is feeling energetic and ready to show off!
Supplies You’ll Need
- Sharp Pruning Shears or a Knife: Cleanliness is key to preventing disease.
- Chamaebatia foliolosa Mother Plant: Obviously! Choose a healthy, vigorous specimen.
- Rooting Hormone: This isn’t strictly mandatory, but it can significantly boost your success rate. I like to use a gel form.
- Well-Draining Potting Mix: A good blend of peat moss, perlite, and a bit of sand works wonderfully. You can also use a commercial seed-starting mix.
- Small Pots or Containers: Clean ones, please! About 4-inch pots are a good size.
- Plastic Bags or a Propagator: To create a humid environment. A clear plastic bag secured over the pot works wonders.
- Watering Can with a Fine Rose: For gentle watering.
- Optional: Bottom Heat Mat: This can speed up root development.
Propagation Methods
Let’s dive into the hands-on part! While division is a possibility, taking stem cuttings is generally the most reliable way to propagate Chamaebatia foliolosa.
- Gather Your Cuttings: On a cool, overcast morning, use your sharp, clean shears to take semi-hardwood cuttings. Look for stems that are mature but still flexible. Aim for cuttings about 4-6 inches long. Make your cut just below a leaf node – that’s where the root-forming magic happens! Remove the lower leaves, leaving just a few at the top.
- Apply Rooting Hormone: Dip the cut end of each stem into your rooting hormone. Gently tap off any excess powder. The hormone will help the stem develop roots more readily.
- Plant Your Cuttings: Fill your clean pots with your well-draining potting mix. Make a small hole with a pencil or your finger in the center of each pot. Carefully insert the hormone-dipped end of the cutting into the hole, ensuring at least one leaf node is below the surface. Gently firm the soil around the cutting.
- Create a Humid Environment: Water the soil gently until it’s evenly moist but not waterlogged. Then, cover the pot with a clear plastic bag or place it in a propagator. This traps humidity, which is crucial for cuttings that can’t yet absorb water through roots. Make sure the leaves don’t touch the plastic if possible.
- Provide the Right Conditions: Place your pots in a bright spot that doesn’t get direct, harsh sunlight. A windowsill is often perfect. If you have a bottom heat mat, place the pots on it. This gentle warmth from below encourages root growth.
The “Secret Sauce” (Pro Tips)
Here are a few little tricks I’ve picked up over the years that can really make a difference:
- Bottom Heat is Your Friend: Seriously, if you can manage it, a bottom heat mat will dramatically speed up rooting for Chamaebatia foliolosa. It mimics the warmth it would naturally get underground.
- Don’t Drown Your Cuttings: The biggest mistake I see is overwatering. The soil should be consistently moist, but never soggy. Allow the very top layer of soil to dry slightly between waterings. If the leaves start to look yellow and limp, it’s often a sign of too much water.
- Be Patient with the “Water Test”: When you think they might be rooted, you can gently tug on a cutting. If there’s resistance, you’ve got roots! Don’t be tempted to check too often, though. You’ll disturb the delicate new growth.
Aftercare & Troubleshooting
Once you start to see new leaf growth emerging from your cuttings, that’s a fantastic sign your plant is beginning to establish roots! This usually takes anywhere from 4-8 weeks, sometimes longer depending on conditions.
When you see that happy new growth, you can gradually acclimate your new plants to normal humidity by opening the plastic bag a little more each day over a week. Once they are fully out of the bag, continue to keep them moist and in bright, indirect light. Once they have a decent root system (you can check by gently tipping the pot to see roots peeking out the bottom), you can pot them up into slightly larger containers with more of your potting mix.
Now, what if things don’t go according to plan? The most common issue is rot. If your cuttings turn black and mushy, it’s usually an indication of too much moisture and not enough air circulation. If you see this, remove the affected cutting immediately to prevent it from spreading. If the cutting simply wilts and doesn’t revive, it might not have had enough energy or the right conditions to root. Don’t get discouraged – it happens to all of us!
A Little More Patience, A Lot More Beauty
Propagating plants is always a bit of an act of faith, isn’t it? You nurture a tiny piece of a beloved plant, and you wait. Be patient with your Chamaebatia foliolosa cuttings. Take joy in the process of watching them transform. Each new plant you grow is a testament to your care and a wonderful way to share the beauty of this plant with others. Happy propagating!
Resource:
https://identify.plantnet.org/k-world-flora/species/Chamaebatia%20foliolosa%20Benth./data