Hello, fellow plant lovers! If you’ve ever admired the breathtaking blooms of Cattleya gaskelliana, its elegant petals unfurling in a riot of color, you’ve probably dreamed of having more of these beauties gracing your home. And you know what? It’s absolutely achievable! Propagating Cattleya gaskelliana can be incredibly rewarding, a chance to nurture new life from a treasured specimen. Now, is it a walk in the park for absolute beginners? Honestly, it’s more of a gentle stroll. It requires a bit of patience and attention to detail, but with this guide, I’m confident you can do it.
The Best Time to Start
For Cattleya gaskelliana, the prime time to think about propagation is right after it finishes blooming. This usually falls sometime in late spring or early summer. The plant is typically entering a period of active growth, which means it’s energized and ready to put out new roots and shoots. Attempting this when the plant is dormant or stressed is much less likely to yield success. So, mark your calendars for after those gorgeous flowers have faded!
Supplies You’ll Need
Before we dive in, let’s gather our essentials. Having everything on hand makes the process so much smoother:
- Sharp, sterile pruning shears or a clean knife: We don’t want to introduce any nasty bacteria.
- Cattleya bark mix or a well-draining orchid potting mix: Think bark chips, perlite, and a bit of charcoal. The key is excellent aeration.
- Sterilizing agent: Rubbing alcohol or a bleach solution (1 part bleach to 9 parts water) to clean your tools.
- Rooting hormone (optional but helpful): A powder or gel can give cuttings a good start.
- Small pots or community trays: For your new divisions.
- Sphagnum moss (optional): Can be used for some propagation methods.
- Watering can or spray bottle: For gentle watering.
Propagation Methods
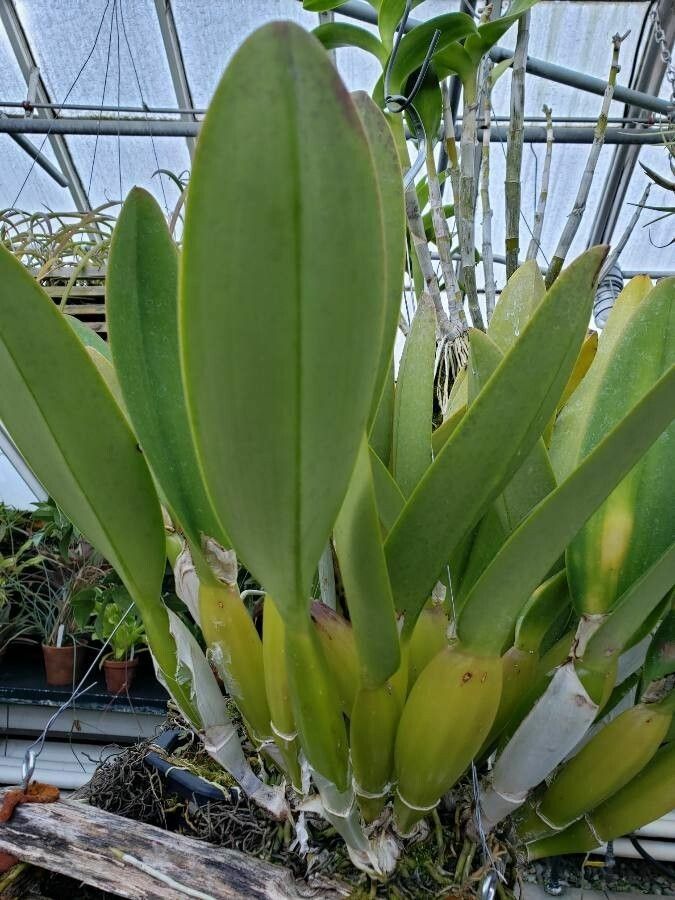
The most reliable way to propagate Cattleya gaskelliana at home is through division. These orchids grow in pseudobulbs, and when they mature, they often produce new growths at their base. We’re essentially separating these mature divisions.
Here’s how we do it:
- Gently remove the orchid from its pot: If it’s been in the same pot for a while, you might need to coax it out. You can carefully run a knife around the edge.
- Inspect the root system: Gently shake off some of the old potting medium to get a good look at the pseudobulbs and roots. You’re looking for divisions that have at least three to four healthy pseudobulbs and a good chunk of firm, healthy roots attached.
- Sanitize your tool: Before making any cuts, thoroughly sterilize your pruning shears or knife with rubbing alcohol or the bleach solution. This is crucial!
- Make the cut: Carefully slice between the sections you want to divide. Try to cut through the rhizome (the fleshy stem that connects the pseudobulbs) in a way that minimizes damage to the roots of both the mother plant and the new division.
- Prepare the new division: Remove any old, dead roots or mushy pseudobulbs. If the cut end of the rhizome looks a bit wet, you can dust it with a fungicide or cinnamon powder to help it dry out.
- Potting up: Place your new division in a clean pot with your fresh orchid mix. Make sure the roots are spread out and the pseudobulbs are sitting just above the surface of the medium. Don’t pack the mix too tightly; we want good air circulation.
- Watering: Water very sparingly at first. I usually wait a couple of days after potting before the first gentle watering. This allows any tiny cuts to callous over.
The “Secret Sauce” (Pro Tips)
Here are a few things I’ve learned over the years that make a difference:
- Don’t rush the roots: When you’re dividing, be patient with the roots. Older orchids can have very extensive root systems. It’s better to sacrifice a few roots here and there by making a clean cut than to rip and tear. You want those divisions to have as many healthy roots as possible to get them started.
- Embrace the “dry rest” for new pots: After potting your divisions, resist the urge to water them heavily immediately. Let them sit for a day or two. This initial dry period helps prevent rot from setting in on any minor damage sustained during division.
- Consider bottom heat: If you have a seedling heat mat, placing your newly potted divisions on it can provide that gentle warmth that encourages root development. It doesn’t need to be hot, just consistently warm, around 70-75°F (21-24°C). This can really jumpstart things!
Aftercare & Troubleshooting
Once your new Cattleya gaskelliana is potted, place it in a bright spot with good air circulation, but avoid direct, harsh sunlight. Keep the potting medium consistently lightly moist. You don’t want it soggy, but it shouldn’t dry out completely either. Mist the leaves occasionally if the humidity is low.
The biggest challenge you might face is rot. If you see pseudobulbs turning black and mushy, or roots becoming soft and brown and slimy, it’s likely rot. This is often due to overwatering or poor air circulation. If you spot it, act quickly: remove the affected parts with your sterilized tool, dust the cut with fungicide or cinnamon, and let it dry out before repotting in fresh, drier mix. Give it more air!
If your new division is doing well, you’ll start to see new root growth emerging from the base of the pseudobulbs within a few weeks to a couple of months. This is your sign of success! Don’t expect rapid leaf growth right away; the plant is focusing its energy on establishing its root system.
A Encouraging Closing
Propagating Cattleya gaskelliana is a journey, and like all good journeys, it’s made all the more enjoyable by the process itself. Be patient,observe your new orchids closely, and trust your gardener’s intuition. Each successful division is a testament to your care and a promise of future floral splendors. You’ve got this, and happy growing!
Resource: