Oh, hello there! It’s wonderful to have you join me in the garden today. We’re going to chat about a little gem that I’ve grown to adore over the years: Caragana pygmaea, or the Dwarf Siberian Pea Shrub.
A Little Bit About the Star of Our Show
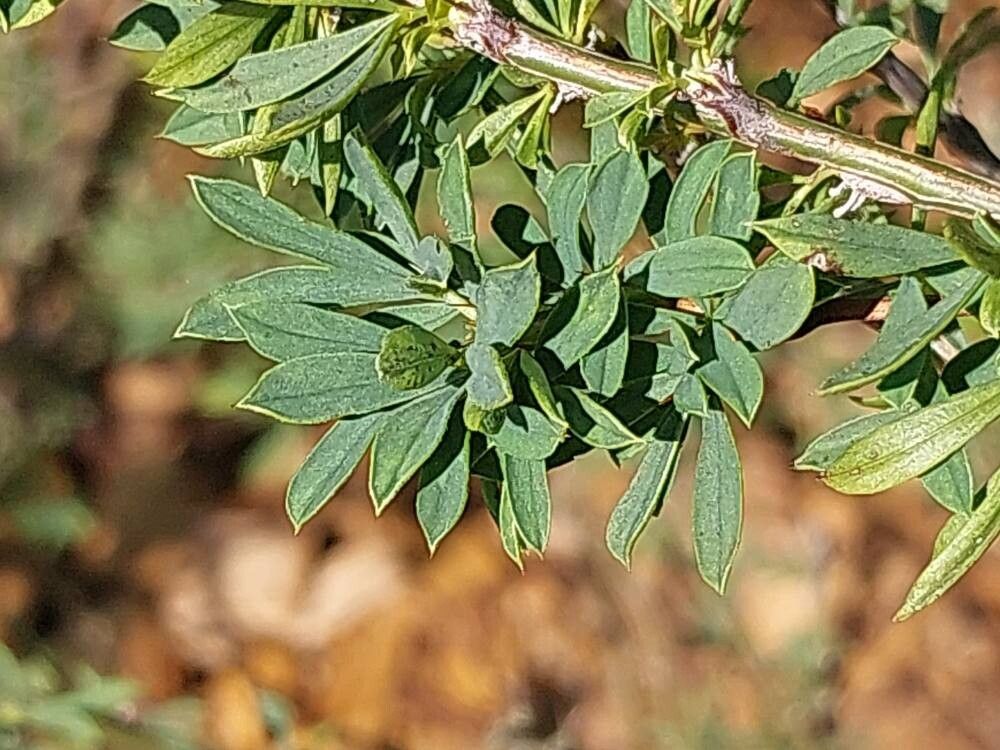
You know, sometimes the most unassuming plants become the most rewarding. Caragana pygmaea is one of those. It’s a charming, compact shrub, perfect for smaller gardens or as a beautiful, tough hedge. It’s remarkably drought-tolerant once established and offers delicate yellow flowers in spring that are just delightful. Propagating it, I’ve found, is a wonderfully satisfying way to fill your garden with more of this resilient beauty, and honestly, it’s quite approachable, even for those of you just dipping your toes into the world of plant propagation.
When to Get Your Hands Dirty
For Caragana pygmaea, late spring to early summer is generally your sweet spot. This is when the new growth is actively developing but still has that lovely flexibility. We’re looking for stems that have started to firm up a bit, not the super-soft, brand-new tips, but also not the old, woody growth. This ‘semi-hardwood’ stage is perfect.
Your Propagation Toolkit
Alright, let’s gather our supplies. It’s not a long list, but having these things ready will make the process so much smoother:
- Sharp Pruning Shears or a Knife: For clean cuts, which are crucial for good rooting.
- Rooting Hormone: This isn’t strictly essential for Caragana, as they tend to root fairly well, but it does give you an extra boost of confidence and can speed things up. I prefer the powder kind.
- Well-Draining Potting Mix: A 50/50 mix of perlite and peat moss or coco coir works wonders. You want something airy that won’t hold too much moisture, which is key to preventing rot.
- Small Pots or Trays: Clean pots with drainage holes are a must.
- Clear Plastic Bags or a propagator lid: To create a humid environment.
- Watering Can or Spray Bottle: For gentle watering.
- Labels and a Marker: So you don’t forget what you planted where!
Let’s Propagate! My Favorite Methods
I’ve had the most consistent success with stem cuttings for Caragana pygmaea. It’s a straightforward approach that yields great results.
Method: Semi-Hardwood Cuttings
- Select Your Parent Plant: Find a healthy, mature Caragana pygmaea. Look for stems that have begun to lignify – meaning they’ve lost their bright green color and are starting to turn woody, but they should still bend without snapping.
- Take the Cuttings: Using your sharp pruning shears, cut lengths of stem about 4-6 inches long. Make your cut just below a leaf node (where a leaf attaches to the stem).
- Prepare the Cuttings: Gently remove the lower leaves from your cuttings, leaving just a couple of leaves at the very top. If you have any flowers or flower buds on your cuttings, pinch them off; we want all the plant’s energy to go into root development, not flowering.
- Apply Rooting Hormone: Dip the cut end of each stem into your rooting hormone. Tap off any excess – you want a light coating.
- Pot Them Up: Fill your small pots with your prepared potting mix. Make a small hole in the center of the soil with your finger or a pencil.
- Insert the Cuttings: Gently push the treated end of each cutting into the hole. Firm the soil around the stem to ensure good contact. I usually place 2-3 cuttings per small pot.
- Water Gently: Water everything thoroughly but gently. You don’t want to disturb the cuttings.
- Create Humidity: Place your pots into a clear plastic bag, sealing it loosely. Alternatively, if you have a propagator, place the lid on. The goal is to keep the humidity high around the cuttings.
- Find a Spot: Place your pots in a bright location out of direct sunlight. A bright windowsill that doesn’t get harsh afternoon sun is ideal.
The “Secret Sauce”: A Few Insider Tricks
- Don’t Drown Your Leaves: If you’re using a bag, remember to ensure the leaves don’t touch the sides of the plastic. If they do, they can start to rot. You can prop the bag open with stakes if needed.
- Bottom Heat is Your Friend: While not strictly necessary for Caragana, if you find rooting a bit slow, popping your pots onto a gentle heat mat can really encourage root formation. Just a little warmth from below makes a big difference.
- Patience with Pruning: If your cuttings look a little sad, resist the urge to overwater them. A gentle misting of the leaves can help, but the roots will form from the bottom up. Give them time!
Aftercare and What to Watch For
Once your cuttings have been potted up, it’s all about maintaining that consistent moisture and humidity. Check the soil periodically; it should feel moist but not soggy. If the soil surface looks dry, give it a light mist or a gentle watering.
You’ll know your cuttings are taking root when you see new leaf growth appearing. This can take anywhere from 4 to 8 weeks, sometimes a bit longer. Gently tugging on a cutting is another indicator; if there’s resistance, roots have likely formed.
The most common issue you might encounter is rot, which usually happens if the soil is too wet or the humidity is too high and stagnant. If you see a cutting turning black and mushy, remove it immediately to prevent it from affecting others. Good drainage and airflow are your best defense.
Go Forth and Grow!
So there you have it! Propagating Caragana pygmaea is a lovely way to expand your collection or share these charming shrubs with friends. Don’t be discouraged if your first attempt isn’t a roaring success. Gardening is a journey of learning, and every little cutting teaches you something new. Just keep at it, be patient, and enjoy the magic of watching new life emerge. Happy propagating!
Resource:
https://identify.plantnet.org/k-world-flora/species/Caragana%20pygmaea%20(L.)%20DC./data