Hello fellow plant lovers!
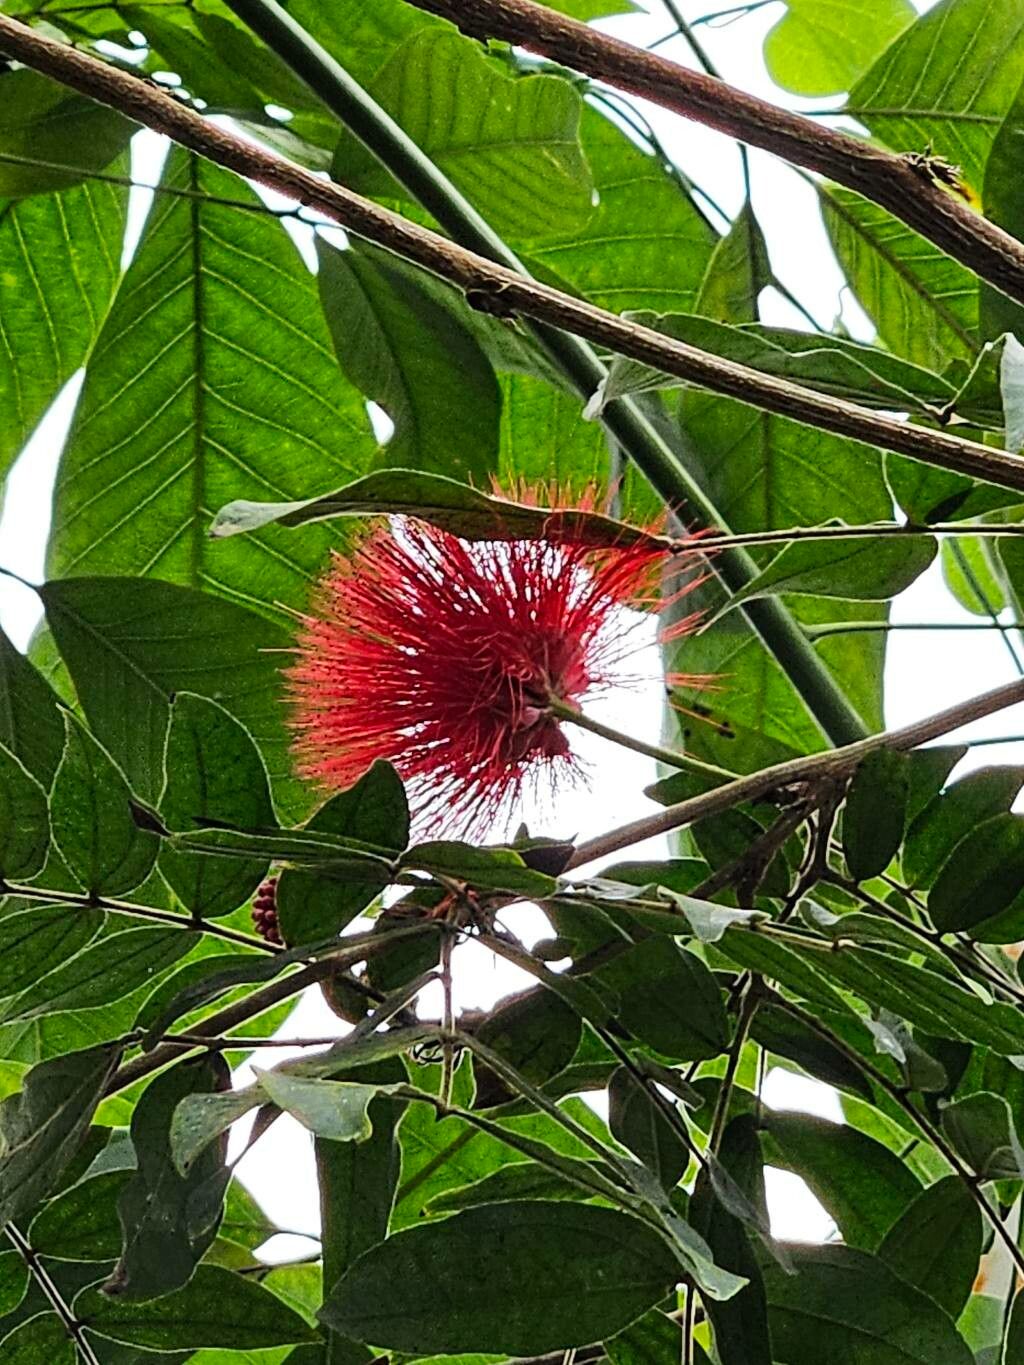
There’s something truly special about creating new life from an existing plant. And when it comes to the magnificent Calliandra haematocephala, or Red Powderpuff, it’s an especially rewarding endeavor. With its vibrant, fuzzy red blooms that resemble pompoms, this tropical beauty brings a touch of the exotic to any garden or home. Propagating it allows you to share this joy, fill your space with more of these gorgeous flowers, or even give them as thoughtful gifts. While it might seem a little daunting at first glance, I promise you, with a little guidance, it’s a wonderfully achievable project, even for many beginners.
The Best Time to Start
Timing is everything, isn’t it? For Calliandra haematocephala, the best time to start propagating is generally during its active growing season. Think late spring through summer. This is when the plant has the most energy to put into developing new roots. You’ll want to select stems that are new, but not overly soft and pliable. They should be firm enough to hold their shape but still have a bit of flexibility.
Supplies You’ll Need
Here’s what you’ll want to have on hand before you get started:
- Sharp, clean pruning shears or a knife: For making clean cuts without crushing the stem. Sterilize them with rubbing alcohol before use!
- Rooting hormone: This is a great help in encouraging root development. Look for one specifically for softwood or semi-hardwood cuttings.
- Well-draining potting mix: A good blend of equal parts peat moss or coco coir, perlite, and coarse sand works wonders. You can also buy specialized propagation mixes.
- Small pots or propagation trays: Clean pots, about 4 inches in diameter, are ideal.
- Plastic bag or propagation dome: To create a humid environment.
- Water: For watering and potentially for water propagation.
- Optional: Bottom heat mat: This can significantly speed up rooting.
Propagation Methods
I’ve found the most reliable method for Calliandra haematocephala is through stem cuttings.
Stem Cuttings:
- Take your cuttings: Using your sterilized shears, select healthy, non-flowering stems about 4-6 inches long. Make a clean cut just below a leaf node (where a leaf attaches to the stem). Remove the lower leaves, leaving just a couple at the top.
- Apply rooting hormone: Dip the cut end of the stem into your rooting hormone, tapping off any excess.
- Plant the cuttings: Fill your small pots with your well-draining potting mix. Make a small hole in the center of the soil with your finger or a pencil. Gently insert the cutting into the hole, ensuring the nodes where you removed the leaves are covered by soil.
- Water gently: Water the soil thoroughly until water drains from the bottom of the pot.
- Create humidity: Place the pot into a clear plastic bag, securing it loosely with a rubber band, or cover it with a propagation dome. This creates a mini-greenhouse effect.
- Provide bright, indirect light: Place your pots in a location that receives bright, indirect sunlight. Avoid direct sun, which can scorch the delicate cuttings.
- Be patient! Check the moisture level every few days and mist the leaves if they look dry, but avoid overwatering.
The “Secret Sauce” (Pro Tips)
Here are a couple of little tricks I’ve picked up over the years that can really give you an edge:
- Don’t “sweat” your cuttings: While humidity is crucial, you don’t want excessive condensation building up inside the plastic bag. If you see lots of droplets, open the bag for an hour or two each day to let some air circulate and reduce the risk of fungal diseases.
- Bottom heat is your friend: If you can, using a gentle bottom heat mat can make a huge difference. It encourages root formation from below, much like being in warmer, tropical soil. Aim for a consistent temperature of around 70-75°F (21-24°C).
Aftercare & Troubleshooting
Once you start to see signs of new growth – tiny leaves emerging or resistance when you gently tug on the cutting – you know roots are forming!
- Gradually acclimate: Once roots are well-established (you can gently check by seeing roots peeking from the drainage holes or by a slight tug), you can gradually remove the plastic bag or dome over the course of a week or two. This helps the new plant adjust to lower humidity.
- Watering: Water when the top inch of soil feels dry. Avoid letting them sit in soggy soil.
- Fertilizing: Once they’ve been growing for a month or two, you can start feeding them with a diluted liquid fertilizer every few weeks.
Now, what if things don’t go as planned? The most common issue is rot. If your cutting turns black and mushy, it’s usually a sign of too much moisture and not enough airflow. If you catch it early, you might be able to salvage a healthy part of the stem. Prevention is key here – good drainage and that daily venting of the plastic bag will help immensely. Sometimes, cuttings just don’t root, and that’s okay! Gardening is all about learning and trying again.
A Encouraging Closing
Propagating Calliandra haematocephala is a journey, and like any good gardening experience, it’s one that teaches us patience and rewards us with beautiful results. Don’t get discouraged if your first attempt isn’t perfect. Celebrate the successes, learn from the challenges, and most importantly, enjoy the process of coaxing new life from your beloved plants. Happy propagating!
Resource:
https://identify.plantnet.org/k-world-flora/species/Calliandra%20haematocephala%20Hassk./data