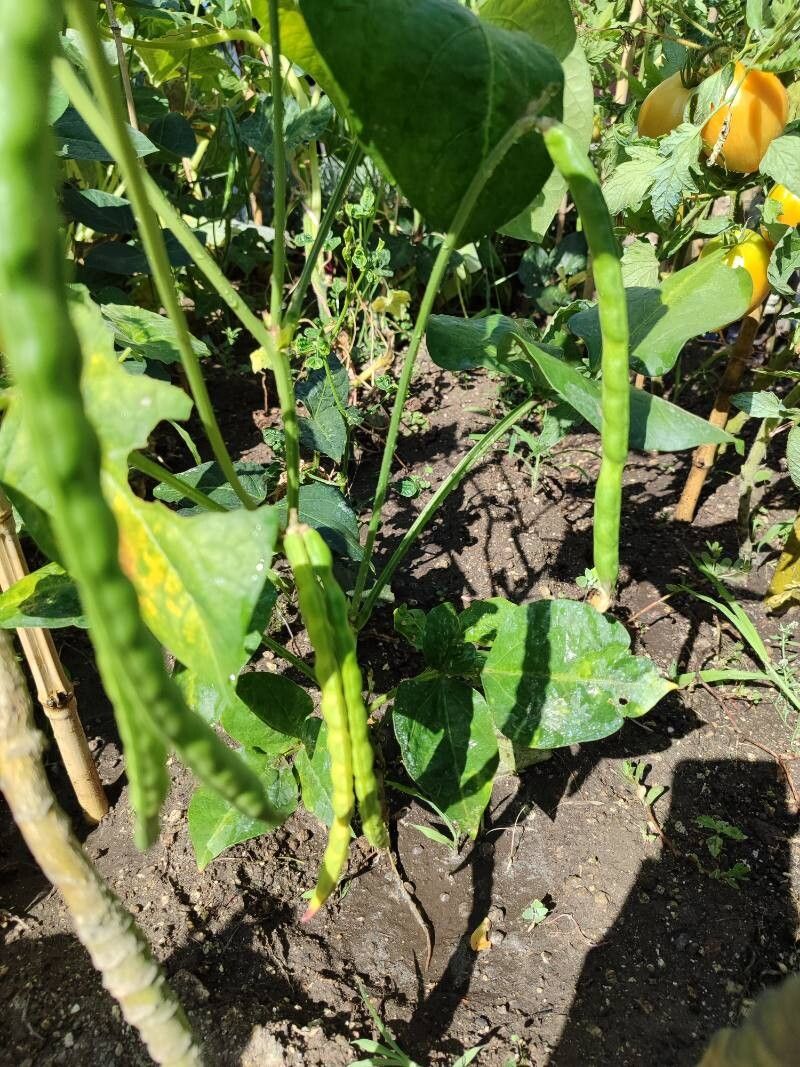
Hello my fellow garden lovers! Today, we’re diving into the wonderful world of Vigna unguiculata, more commonly known as the Black-Eyed Susan vine. If you haven’t grown this beauty before, you’re in for a treat. Its cheerful, vibrant flowers with those iconic dark centers bring such a burst of joy to any space, whether it’s tumbling over a trellis or spilling from a hanging basket.
And the best part? Propagating Vigna unguiculata is surprisingly straightforward. Even if you’re new to the gardening game, you can absolutely achieve success with this plant. It’s incredibly rewarding to take a little piece of your existing plant and nurture it into a whole new, beautiful specimen. It’s like multiplying joy, really!
The Best Time to Start
For the highest success rate when propagating Vigna unguiculata, late spring through early summer is your sweet spot. This is when the plant is actively growing and has plenty of energy to put into developing new roots. You can also take cuttings in early fall, before the cooler weather truly sets in, but spring is generally easier and more forgiving. Look for healthy, vigorous stems that haven’t yet flowered.
Supplies You’ll Need
- Sharp pruning shears or clean scissors: Essential for making clean cuts.
- Small pots or containers: Clean ones are a must.
- Well-draining potting mix: A blend of equal parts peat moss, perlite, and compost works wonderfully. You can also buy a good quality seed starting mix.
- Rooting hormone (optional but recommended): This little boost can significantly speed up root development.
- Clear plastic bags or a propagation dome: To create a humid environment.
- Watering can with a fine rose: For gentle watering.
- Small labels or plant markers: To keep track of your new babies!
Propagation Methods
The most reliable way to propagate Vigna unguiculata is through stem cuttings. It’s a tried-and-true method that usually yields great results.
- Select your cuttings: Find a healthy, non-flowering stem on your mature plant. Look for one that’s about 6-8 inches long.
- Make the cut: Using your sharp pruning shears, make a clean cut just below a leaf node (the point where leaves grow from the stem). This is where roots are most likely to form.
- Prepare the cutting: Gently remove the lower leaves from the cutting, leaving just two or three at the very top. This prevents them from rotting in the soil.
- Apply rooting hormone (optional): Dip the cut end of the stem into your rooting hormone, tapping off any excess.
- Plant the cutting: Fill your small pots with the well-draining potting mix. Make a small hole in the center with your finger or a pencil. Insert the cut end of the Vigna cutting into the hole, ensuring the leaf nodes are buried beneath the soil surface. Gently firm the soil around the stem.
- Water gently: Water the soil thoroughly but gently. You want the soil to be moist, not waterlogged.
- Create humidity: Cover the pot loosely with a clear plastic bag or place it under a propagation dome. This will trap moisture and create a mini greenhouse effect, a crucial step for successful rooting. Make sure the leaves don’t touch the plastic if possible.
- Find a good spot: Place the pot in a warm location that receives bright, indirect light. Avoid direct sunlight, which can scorch the delicate cuttings.
The “Secret Sauce” (Pro Tips)
Here are a couple of little tricks that have really helped me over the years:
- The bottom heat trick: If you have a seedling heating mat, place your pots on it. This gentle warmth from below significantly encourages root development. It’s like giving your cuttings a cozy warm bed to grow roots in!
- Don’t be afraid to poke: When you’re about to stick your cutting into the soil, make your pre-made hole first. Then, dip your cutting into the rooting hormone and gently place it in the hole. This prevents the rooting hormone from being scraped off unnecessarily.
Aftercare & Troubleshooting
Once your cuttings are planted, keep the soil consistently moist but never soggy. Mist the leaves occasionally if you’re not using a plastic bag. Check for roots by giving the cutting a very gentle tug; if you feel resistance, roots are forming! This usually takes about 3-6 weeks.
The most common issue you might encounter is rot. If your cutting starts to look limp, mushy, or black at the base, it’s likely succumbed to rot. This usually happens when the soil is too wet or the humidity is too high without any air circulation. If you see this, you may need to discard the cutting and start again. Make sure your soil drains well and ventilate your propagation setup by opening the plastic bag for a few minutes each day.
A Encouraging Closing
Growing new plants can sometimes feel like a bit of a mystery, but with Vigna unguiculata, you’re starting with a plant that’s eager to please. Be patient with your cuttings, provide them with a consistently moist environment, and give them good light. Before you know it, you’ll have new, vibrant Black-Eyed Susan vines to enjoy and share. Happy propagating!
Resource:
https://identify.plantnet.org/k-world-flora/species/Vigna%20unguiculata%20(L.)%20Walp./data