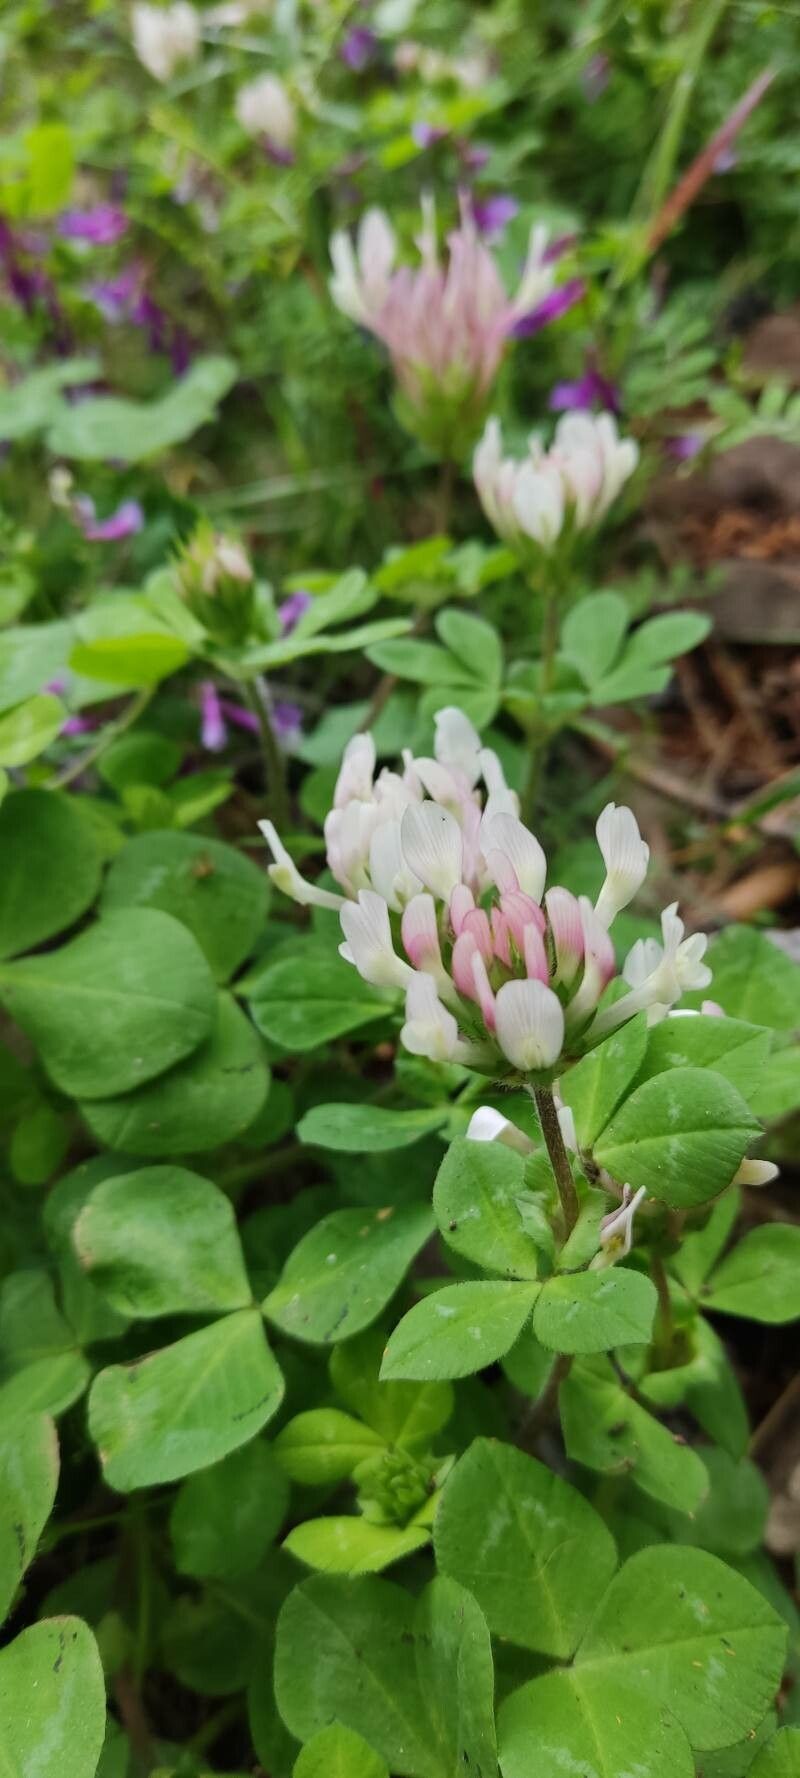
Hello there, fellow plant enthusiast! I’m so excited to chat with you today about a truly charming little plant: Trifolium clypeatum. You might know it by its common name, Barnacle clover, or perhaps Shield clover. It’s got these wonderfully neat, shield-shaped leaves, often with a lovely deep green hue that can sometimes be accented with hints of burgundy. It’s a beautiful, ground-hugging gem that adds a touch of understated elegance to any garden or terrarium. Plus, propagating it is an incredibly satisfying way to multiply its charm without breaking the bank. For those of you just dipping your toes into the world of plant propagation, I’m happy to report that Trifolium clypeatum is generally a pretty forgiving plant to work with. You’ve got this!
The Best Time to Start
Timing is everything in the garden, isn’t it? For Trifolium clypeatum, the absolute sweet spot for propagation is during its active growing season. This typically means late spring and early summer. You’re looking for healthy, vigorous growth. If the plant is already producing new shoots and looking robust, it has the energy reserves needed to put into producing roots. Avoid trying to propagate when the plant is stressed, perhaps from heat or drought, or when it’s slowing down its growth in autumn.
Supplies You’ll Need
Gathering your tools before you begin makes the whole process so much smoother. Here’s what I usually have on hand:
- Sharp pruning shears or a clean craft knife: For making clean cuts.
- Potting mix: A light, well-draining mix is crucial. I often use a blend of peat moss, perlite, and a bit of coarse sand (roughly 1:1:1 ratio). You can also find pre-made propagation mixes.
- Small pots or trays: Clean containers with drainage holes are a must. Small nursery pots or even repurposed yogurt cups (with holes poked in the bottom!) work well.
- Watering can with a fine rose or a spray bottle: For gentle watering.
- Optional: Rooting hormone: While Trifolium clypeatum often roots readily without it, a rooting hormone can give you an extra boost, especially if you’re a beginner. Look for one suitable for herbaceous cuttings.
- Optional: Plastic bag or clear dome: To create a humid microclimate if your environment is dry.
Propagation Methods
Trifolium clypeatum is a champion of vegetative propagation, meaning we can create new plants from parts of an existing one. The easiest and most common method for this lovely clover is through stem cuttings.
Stem Cuttings
This is my go-to for multiplying Trifolium clypeatum.
- Select a healthy stem: Look for a piece of stem that is about 3-4 inches long and has at least a couple of sets of leaves. You want a stem that is actively growing but not woody. Think of a young, flexible shoot.
- Make the cut: Using your clean pruning shears or craft knife, make a clean cut just below a leaf node (the point where a leaf attaches to the stem).
- Prepare the cutting: Gently remove the lower leaves from the cutting, leaving only one or two at the very top. This prevents them from rotting in the soil.
- Apply rooting hormone (optional): If you’re using rooting hormone, lightly dip the cut end of the stem into the powder or gel. Tap off any excess.
- Plant the cutting: Make a small hole in your well-draining potting mix with a pencil or your finger. Insert the cut end of the Trifolium clypeatum cutting into the hole, ensuring the node where you removed the leaves is buried in the soil. Gently firm the soil around the cutting.
- Water gently: Water the soil lightly until it’s evenly moist but not soggy.
Water Propagation (Less common, but possible)
While I prefer soil for Trifolium clypeatum, some folks have success starting these in water.
- Prepare the cutting: Follow steps 1-3 from the stem cutting method.
- Place in water: Put the prepared cutting in a small jar or glass of clean, room-temperature water.
- Crucial note: Ensure that only the stem is submerged and no leaves touch the water. Any submerged leaves will rot and can kill the cutting.
- Change water regularly: Change the water every few days to keep it fresh and prevent bacterial growth.
- Wait for roots: Once you see small roots forming (this can take a few weeks), you can then transplant the cutting into your potting mix. Be very gentle, as water roots are delicate.
The “Secret Sauce”
Now for those little nuggets of wisdom that can make all the difference.
- Don’t rush to transplant: When you see roots begin to form, give them a little more time to develop. I like to see a small network of roots before I even think about moving the cutting to its own pot. This gives it a stronger start.
- Embrace the humidity tent: Trifolium clypeatum loves a bit of humidity. If your air is dry, pop a clear plastic bag over the pot, securing it around the rim with a rubber band. This creates a mini-greenhouse effect. Just remember to open it for a few minutes each day to allow for air circulation and prevent fungal issues.
- Bottom heat is a game-changer: Especially if your home is a bit on the cooler side, placing your pots on a warming mat designed for seedlings can significantly speed up root formation. It mimics the warmth of spring soil and really encourages those roots to get going.
Aftercare & Troubleshooting
Once your Trifolium clypeatum cuttings have developed a good root system (you’ll see new leaf growth, which is a great sign!), it’s time to treat them as independent plants.
- Move to their own pots: Carefully transplant your rooted cuttings into individual small pots filled with your regular potting mix.
- Water consistently: Water them when the top inch of soil feels dry. Avoid letting them sit in waterlogged conditions, as this is the quickest way to invite rot.
- Light: Place them in a spot with bright, indirect light. Gradually introduce them to more light as they grow stronger, but avoid direct, scorching sun, especially when they are young.
The most common issue you’ll encounter is rot. If your cutting wilts dramatically, the stem turns mushy and brown, or you see mold on the soil surface, it’s usually a sign of too much moisture and poor air circulation. If this happens, don’t despair! You can try to salvage any unaffected parts by making new cuttings and adjusting your watering and humidity levels. Sometimes, even with the best intentions, propagation doesn’t work out. That’s just part of the journey!
A Encouraging Closing
Propagating Trifolium clypeatum is such a rewarding endeavor. It’s a chance to connect with nature on a deeper level and to expand your plant collection with minimal cost. Be patient with your little cuttings; they’re working hard to establish themselves. Observe them, learn from them, and most importantly, enjoy the process! Happy propagating!
Resource:
https://identify.plantnet.org/k-world-flora/species/Trifolium%20clypeatum%20L./data