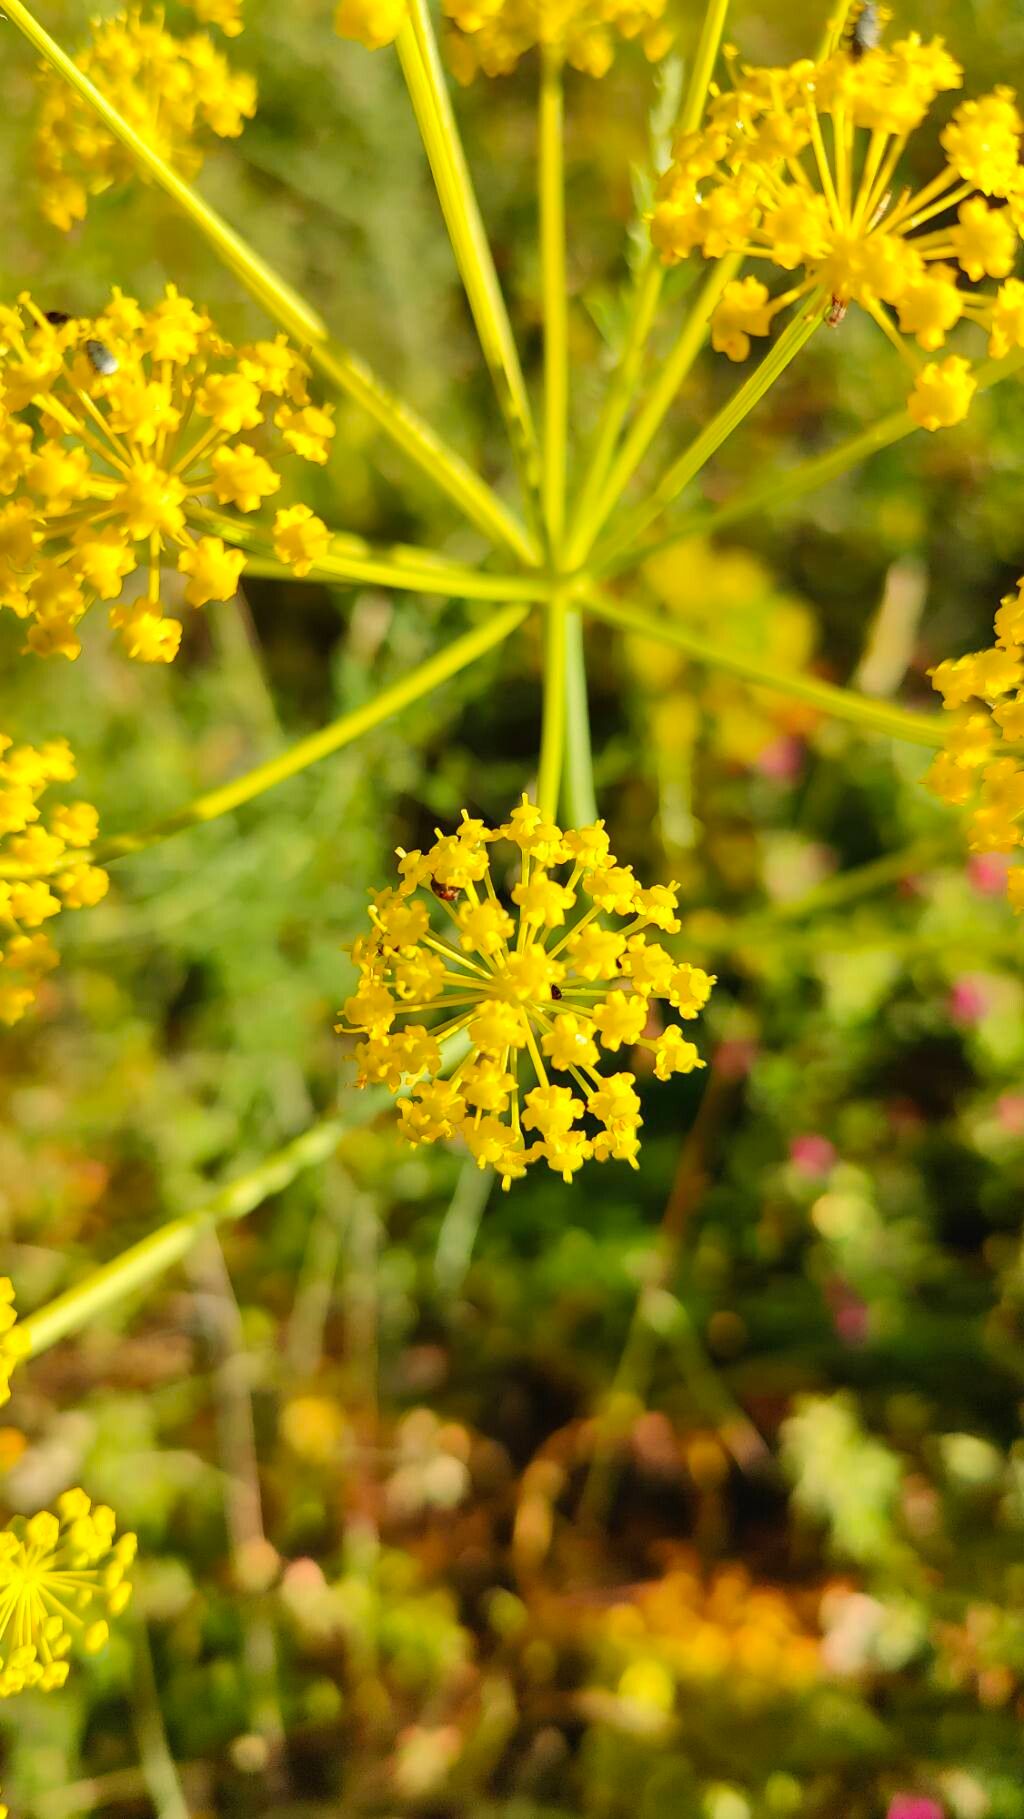
Well hello there, fellow plant enthusiasts! It’s wonderful to have you join me for a cup of something warm as we dive into the less-common, but oh-so-rewarding, world of propagating Thapsia foetida. I’ve been nurturing plants for two decades now, and while Thapsia foetida might not be a household name for beginners, once you get the hang of it, it’s a truly delightful process. This Mediterranean native offers such unique, lacy foliage and a wonderful architectural presence in the garden. Plus, the satisfaction of coaxing a new life from a parent plant? Priceless.
The Best Time to Start
For the best chance of success with Thapsia foetida, I always recommend spring. Think of it as the plant’s natural awakening period. The days are getting longer, temperatures are warming up, and the plant is actively gearing up for a growth spurt. This is when it’s most receptive to being divided or for cuttings to readily root. You want to catch it just as new growth begins to emerge, rather than when it’s in full, vigorous summer bloom or dormant in winter.
Supplies You’ll Need
Here’s a little collection of things that will make your propagation journey smoother:
- Sharp pruning shears or a clean knife: For making clean cuts.
- Well-draining potting mix: A mix specifically for succulents or cacti works wonderfully. You can also create your own by combining equal parts peat moss, perlite, and coarse sand.
- Small pots or trays: With drainage holes, of course!
- Rooting hormone (optional but helpful): Especially if you’re taking cuttings.
- Watering can or spray bottle: For gentle moisture.
- Labels and a marker: To keep track of your new babies!
- A warm, bright spot: Away from direct, harsh sunlight initially.
Propagation Methods
Thapsia foetida is most reliably propagated through division. While you can try stem cuttings, I’ve found division to be far more straightforward and successful with this particular plant.
Division: Your Best Bet
- Gently excavate: Wait for that spring growth. Carefully dig around the base of your established Thapsia foetida plant. You want to loosen the soil and expose the root ball without causing too much stress.
- Inspect the roots: Once the plant is out of the ground or its pot, you’ll see it often has multiple growing points or crowns. Look for natural divisions. Sometimes you can almost see where one plant ends and another begins.
- Separate with care: Using your sharp pruning shears or knife, carefully cut through the root ball, ensuring each new section has at least one or two healthy roots and a bit of the crown (where the leaves emerge). Avoid tearing the roots if possible; a clean cut is much better for healing.
- Plant your new divisions: Pot up each division into its own small pot filled with your well-draining mix.
- Water lightly: Give them a gentle watering, just enough to settle the soil around the roots.
The “Secret Sauce” (Pro Tips)
- Don’t overwater divisions initially. They need to establish those new roots before they can handle a lot of moisture. Think “slightly moist” rather than “Soggy Bottom.” Overwatering is the quickest way to invite rot at this tender stage.
- Consider bottom heat. If you’re working with cuttings or want to speed things up for divisions, popping your pots on a propagation mat can make a world of difference. It encourages root development from below without drying out your precious medium from above.
- Patience is key! I know, I know, I’m giving away the biggest secret right now. Some plants take their sweet time. Don’t be discouraged if you don’t see immediate growth. Keep them in a bright spot with consistent, but not excessive, moisture.
Aftercare & Troubleshooting
Once your divisions are potted up and settled, give them a bit of time. You’ll know roots are forming when the plant looks perkier and, if you gently tug on it, there’s a slight resistance. Continue to water sparingly, allowing the soil to dry out a little between waterings.
The most common issue you might encounter is rot. This usually stems from overwatering or poor drainage. If you see that leaves are turning yellow and mushy, or if the stem near the soil line looks dark and soft, it’s a sign of trouble. If caught early, you might be able to salvage a bit by cutting away any rotted parts and repotting in fresh, dry soil.
A Encouraging Closing
So there you have it! Propagating Thapsia foetida is a lovely way to share this unique plant or simply expand your own collection. Remember, gardening is a journey, and experimentation is part of the fun. Don’t be afraid to get your hands dirty. Be patient with your new little plants, and most importantly, enjoy the process of bringing more green into the world with your own two hands. Happy growing!
Resource:
https://identify.plantnet.org/k-world-flora/species/Thapsia%20foetida%20L./data