Well hello there, fellow garden enthusiasts! It’s so lovely to have you join me for a virtual cup of coffee on the patio. Today, we’re diving into the wonderful world of propagating Pittosporum koghiense.
Unlocking the Magic of Pittosporum koghiense
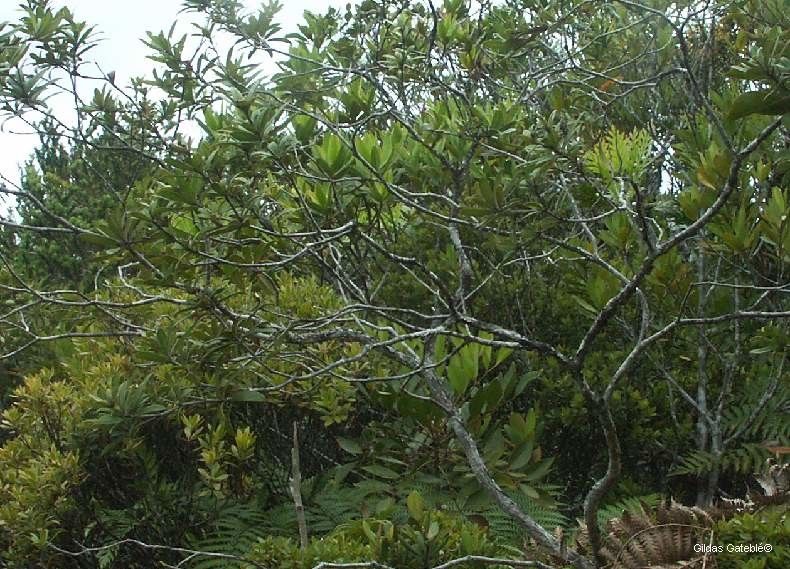
This beauty, with its glossy, leathery leaves and often fragrant blooms, is a real gem in any garden. It brings a touch of elegance and a delightful scent, making it a plant I find myself drawn to again and again. If you’ve ever admired one and wished you had more, you’re in luck! Propagating Pittosporum koghiense is a rewarding endeavor. For beginners, I’d say it’s moderately easy – with a little know-how and patience, you’ll be well on your way.
When to Get Your Hands Dirty
The sweet spot for taking cuttings from Pittosporum koghiense is during the late spring to early summer. This is when the plant is in active growth, and those new, semi-hardwood shoots are perfectly pliable and brimming with vitality. You’ll be looking for stems that are green but have started to firm up a bit, not the brand-new, floppy tips.
Your Propagation Toolkit
Gathering the right supplies makes the whole process so much smoother. Here’s what I usually have on hand:
- Sharp Pruning Shears or a Craft Knife: For clean cuts that heal well.
- Rooting Hormone Powder or Gel: This isn’t strictly essential for all plants, but it gives your cuttings a significant boost.
- Small Pots or Seedling Trays: With drainage holes, of course!
- A Gritty, Well-Draining Potting Mix: I often use a blend of perlite and peat moss or coco coir. You can also find specific seed-starting or cutting mixes.
- Clear Plastic Bags or Propagator Lids: To create a humid environment.
- Water Misting Bottle: For gentle hydration.
- Sharpie Marker and Plant Labels: To keep track of your efforts!
Let’s Get Propagating: Stem Cuttings
This is my go-to method for Pittosporum koghiense. It’s reliable and you can get quite a few new plants from a single parent.
- Select Your Stems: Choose healthy, non-flowering shoots from your mature plant. Look for stems that are about 4-6 inches long.
- Make Your Cut: Using your clean shears, make a cut just below a leaf node. This is where roots are most likely to form.
- Prepare the Cutting: Gently remove the lower leaves, leaving just the top two or three leaves intact. This reduces water loss and prevents leaves from rotting in the soil. If the leaves are very large, you can even cut them in half horizontally.
- Apply Rooting Hormone: Dip the cut end of your stem into the rooting hormone, tapping off any excess.
- Plant Your Cuttings: Fill your pots or trays with your prepared potting mix. Make a small hole with your finger or a pencil and insert the dipped end of the cutting into the hole. Gently firm the soil around it.
- Water Gently: Water thoroughly but don’t drench the soil. You want it to be moist but not waterlogged.
- Create the Humidity Dome: Place a clear plastic bag over the pot, securing it with a rubber band, or cover it with a propagator lid. Make sure the leaves don’t touch the plastic if possible.
- Location, Location, Location: Place your pots in a bright, indirect light location. Avoid direct sun, which can scorch the delicate cuttings.
My “Secret Sauce” for Success
Over the years, I’ve learned a few tricks that seem to make all the difference.
- The Bottom Heat Trick: If you can, I highly recommend using a propagation mat placed underneath your pots. A gentle warmth from below really encourages root development. It’s like a cozy little spa for your cuttings, and they absolutely love it!
- The Air Exchange: While that humidity dome is crucial, it’s equally important to give your cuttings a bit of fresh air. Ventilate the bag or lid for a few minutes once a day, especially if you see condensation building up heavily. This helps prevent fungal issues.
- Don’t Rush the Water: When you water, aim for the soil surface. If you’re using a propagator lid, you can sometimes just mist the inside of the lid as well, rather than watering directly.
Aftercare and When Things Go Wrong
Once you start to see signs of new growth – tiny leaves unfurling or a gentle tug resisting in the soil – congratulations! This means roots are forming. You can gradually reduce the humidity by opening the bag or lid a little more each day over a week or two. Continue to keep the soil consistently moist.
Now, sometimes things don’t go as planned, and that’s okay! The most common culprit is rot. If you see your cutting turning black and mushy, it’s usually a sign of too much moisture and not enough air circulation. It can also be due to using soil that’s too heavy. Don’t be discouraged; simply try again with fresh cuttings and adjust your watering.
Keep Nurturing Your Green Dreams
Propagating new plants is a journey, and it’s one I truly encourage you to embark on. Be patient, observe your cuttings closely, and celebrate every little success. The satisfaction of watching a tiny cutting grow into a beautiful new Pittosporum koghiense is incredibly rewarding. Happy propagating!
Resource:
https://identify.plantnet.org/k-world-flora/species/Pittosporum%20koghiense%20Guillaumin/data