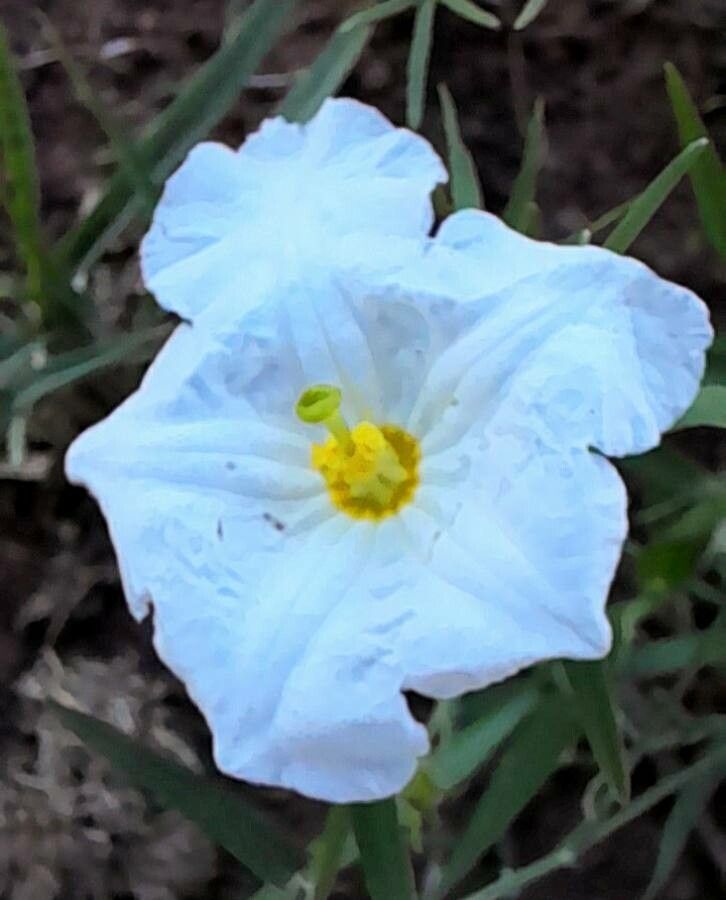
Oh, hello there! Pull up a chair. Let’s chat about Nierembergia rigida, affectionately known as the cup flower. If you’ve ever seen these charming little plants spilling over the edge of a pot or dotting a garden bed with their delicate, cup-shaped blossoms in shades of violet and white, you’ve probably fallen in love. They’re like nature’s tiny confetti, absolutely delightful.
And the best part? You can easily grow more of them! Propagating Nierembergia rigida is a wonderfully rewarding way to fill your garden or share these beauties with friends. I’ve found it to be quite accessible, even for those who are just dipping their toes into the world of plant propagation.
The Best Time to Start
For the highest success rate with Nierembergia rigida, I find that late spring to early summer is your sweet spot. This is when the plant is actively growing, and its stems are young and pliable, making them ideal for taking cuttings. Aim for when the plant has plenty of healthy, new growth but before it gets too woody.
Supplies You’ll Need
Here’s a little rundown of what you’ll want to have on hand:
- Sharp pruning shears or a clean, sharp knife: For taking precise cuttings.
- Potting mix: A fluffy, well-draining mix is key. I like a blend of seed starting mix or a perlite/peat moss combination. Avoid heavy garden soil.
- Small pots or seedling trays: Clean pots are important to prevent diseases.
- Rooting hormone (optional but recommended): This can give your cuttings a little boost.
- Plastic bags or a clear plastic dome: To create a humid environment.
- Watering can with a fine rose nozzle: For gentle watering.
- Labels and a marker: To keep track of what you’ve propagated.
Propagation Methods
There are a couple of favorite ways I like to multiply my Nierembergia rigida.
Stem Cuttings (My Go-To!)
This is generally the most straightforward method for Nierembergia rigida.
- Select your stems: Look for healthy, non-flowering stems that are about 3-4 inches long. Gently bend a stem – if it snaps readily, it’s a good candidate.
- Take your cuttings: Using your sharp shears or knife, make a clean cut just below a leaf node (where the leaf attaches to the stem). This is where the magic of root development often happens.
- Prepare the cuttings: Gently remove the lower leaves from the cutting, leaving just a couple of leaves at the very top. This prevents them from rotting when buried. If your cuttings are long, you can even pinch off the tip to encourage bushier growth later.
- Apply rooting hormone (optional): Dip the cut end of each stem into your rooting hormone, tapping off any excess.
- Plant the cuttings: Fill your small pots with your prepared potting mix and moisten it slightly. Make a small pilot hole in the soil with a pencil or your finger. Insert the cut end of the stem into the hole, firming the soil gently around it. You can usually fit 2-3 cuttings per small pot, giving them a little space.
- Create humidity: Water the soil very gently from above. Then, either cover the pot with a clear plastic bag (making sure the leaves don’t touch the plastic) or place it in a propagator with a lid. This enclosed space will keep the humidity high, which is crucial for cuttings to root.
- Place them in a good spot: Position the pots in a bright location out of direct sunlight. They don’t need intense sun, just good ambient light.
Water Propagation (When I’m Feeling Patient!)
This method can be fun to watch, but you need to be extra mindful of rot.
- Prepare your cuttings: As described above, take 3-4 inch cuttings and remove the lower leaves.
- Place in water: Find a clean glass or jar and fill it with room-temperature water. Place the cuttings in the water, ensuring no leaves are submerged. This is critical because submerged leaves will rot and can kill the cutting.
- Change the water regularly: This is key! Change the water every 2-3 days to keep it fresh and oxygenated.
- Location: Just like with soil propagation, place the jar in a bright spot away from direct sun.
- Watch for roots: You should start seeing tiny white roots emerge from the nodes after a few weeks. Once the roots are about an inch long, it’s time to transplant them into potting mix.
The “Secret Sauce” (Pro Tips)
Here are a couple of things I’ve learned over the years that really help:
- The Cleanliness Rule: Always, always use clean tools and clean pots. Any lingering disease on your tools or in your pots can spell disaster for your precious cuttings. A quick wipe with rubbing alcohol does wonders.
- Gentle Humidification: When you cover your cuttings with a plastic bag, try to prop it up a bit so it doesn’t sag onto the leaves. This allows for better air circulation, even within the humid environment, and reduces the risk of fungal issues.
- Bottom Heat is Your Friend: If you have a warm windowsill or a seedling heat mat, a little gentle bottom heat can significantly speed up the rooting process. Your cuttings don’t need it to be scorching hot, just consistently warm.
Aftercare & Troubleshooting
Once you see signs of new growth emerging from your cuttings – little leaves unfurling – that’s a good indication that roots have formed! You can gently tug on a cutting; if there’s resistance, it’s likely rooted.
- Gradual Acclimatization: When you’re ready to remove the plastic bag or dome, do it gradually. Start by lifting the bag for an hour or two each day for a few days to let the cuttings adjust to the normal humidity.
- First Watering: Water the new plants gently but thoroughly. Allow the soil to dry out slightly between waterings. They’re still developing their root systems, so they’re a bit more delicate.
- Repotting: Once your new plants have developed a good root system and are showing robust growth, you can carefully transplant them into slightly larger pots.
Now, what if things don’t go as planned? The most common culprits for failure are rot (mushy, black stems) and drying out.
- Rot: This usually happens from too much moisture and poor air circulation. Ensure your soil drains well, and don’t let the cuttings sit in soggy conditions. If you see rot, unfortunately, that cutting is likely lost. Sometimes removing the affected part and trying again with better conditions is the best approach.
- Drying Out: This is why that humidity dome or plastic bag is so important! Keep the soil consistently moist but not waterlogged.
A Encouraging Closing
Propagating plants is a journey, and sometimes it involves a bit of trial and error. Don’t be discouraged if not every cutting takes. Each attempt is a learning experience! Watch your little Nierembertias closely, provide them with a little care and attention, and I promise, you’ll be rewarded with a garden full of these cheerful blooms. Happy propagating!
Resource:
https://identify.plantnet.org/k-world-flora/species/Nierembergia%20rigida%20Miers/data