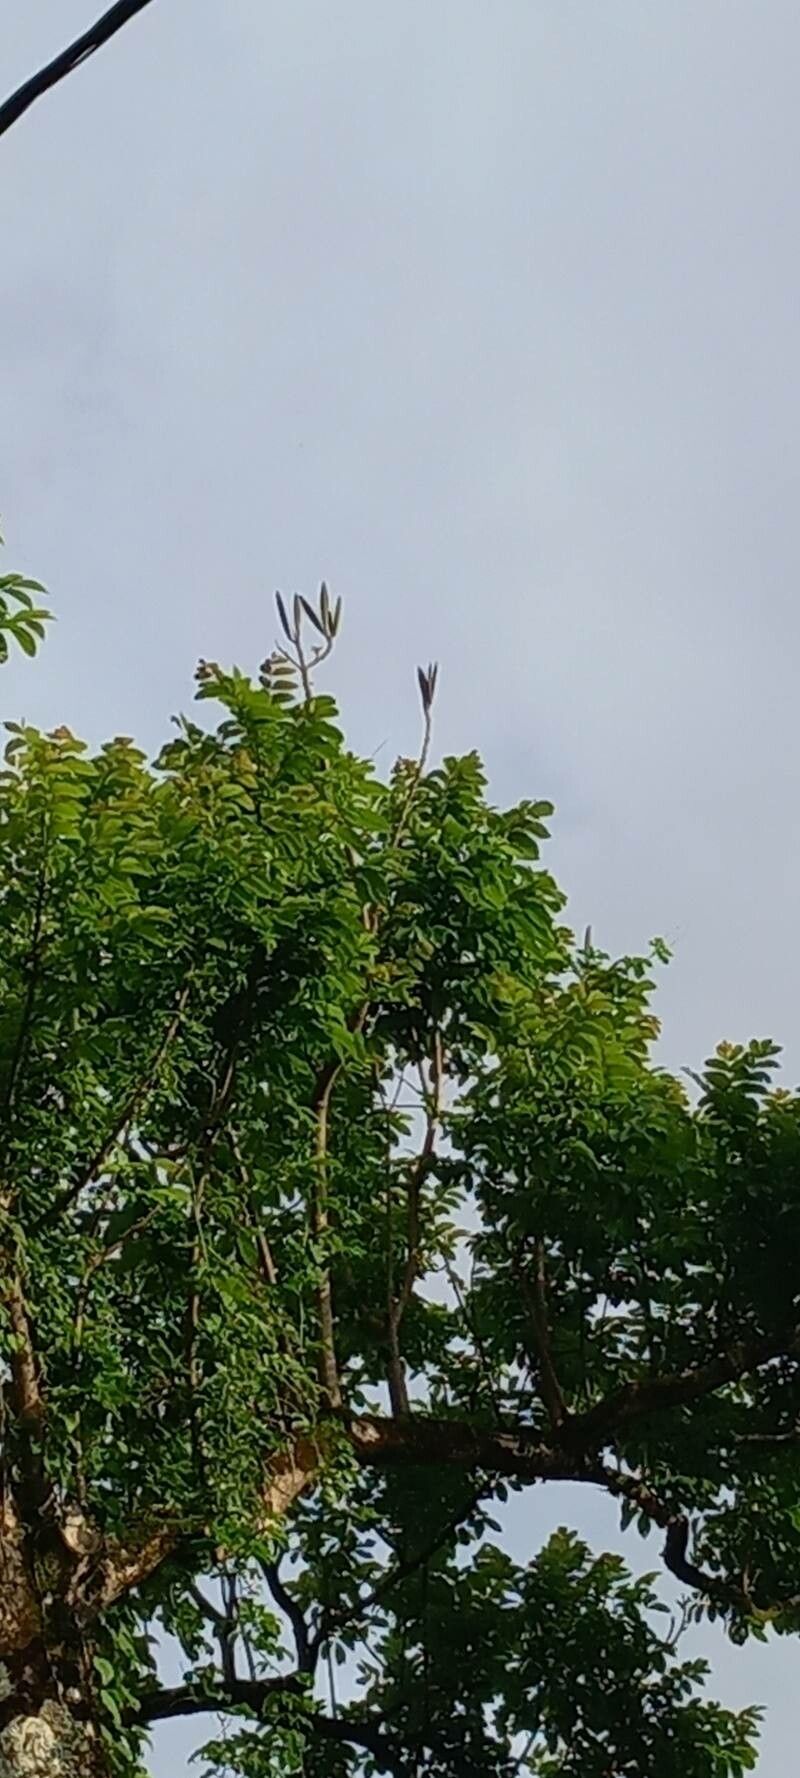
Hello, fellow plant lovers! I’m so excited to talk about a truly captivating plant today: Lonchocarpus heptaphyllus. You might know it by its common names, like the Devil’s Bean or False Tamarind. I’ve been working with this beauty for years, and let me tell you, it’s a stunner. Its elegant, compound leaves are like something out of a lush jungle, and when it blooms, oh my! Delicate, often pea-like flowers cascade down, adding a touch of magic to any space.
Now, if you’re new to propagating, you might be wondering if this is the right plant to start with. Honestly, Lonchocarpus heptaphyllus can be a little bit of a temperamental artist when it comes to taking. It’s not the absolute easiest for a complete beginner, but with a little care and attention, you can absolutely have success. The reward of nurturing a new plant from a snippet of the old is just incredible, don’t you think?
The Best Time to Start
For my money, the late spring or early summer is your golden window for propagating Lonchocarpus heptaphyllus. This is when the plant is actively growing and has plenty of energy to put into developing new roots. You want to look for new, healthy growth that’s not too woody yet. Think of it like a teenager – full of life and ready for adventure!
Supplies You’ll Need
Gathering your supplies beforehand makes the whole process much smoother. Here’s what I always have on hand:
- Sharp Pruning Shears or a Clean Knife: For clean cuts, which are essential.
- Rooting Hormone Powder or Gel: This is a lifesaver for encouraging root development.
- A Well-Draining Potting Mix: I like a blend of peat moss, perlite, and a little bit of sandy loam. You want something that won’t hold too much moisture.
- Small Pots or Propagation Trays: Clean ones are a must!
- Plastic Bags or a Clear Dome: To create a humid environment.
- Water: For later.
- Optional: Bottom Heat Mat: If your home tends to be on the cooler side.
Propagation Methods
There are a couple of ways we can go about this. My favorite, and often the most successful for Lonchocarpus heptaphyllus, is stem cuttings.
Stem Cuttings:
- Select Your Cuttings: Find a healthy stem on your established plant. Look for a side shoot that’s about 4-6 inches long.
- Make the Cut: Using your clean shears or knife, make a clean, angled cut just below a leaf node. A leaf node is where a leaf attaches to the stem – this is where roots love to emerge.
- Prepare the Cutting: Gently remove the lower leaves, leaving just a few at the top. This prevents them from rotting in the soil.
- Apply Rooting Hormone: Dip the cut end of the stem into your rooting hormone, tapping off any excess. Make sure the tip is coated.
- Plant the Cutting: Moisten your potting mix slightly, then make a small hole with your finger or a pencil. Gently insert the cutting, ensuring the roots of the leaves are buried. Press the soil firmly around the stem to ensure good contact.
- Create Humidity: Water the potting mix lightly. Then, I like to cover the pot with a clear plastic bag or a humidity dome. Make sure the leaves aren’t touching the plastic if possible! Place it in a bright spot, but out of direct sunlight.
Water Propagation (with a caveat):
While some plants thrive in water, Lonchocarpus heptaphyllus can be a bit trickier this way. If you try it, make sure to:
- Take your cutting as described above.
- Remove all but the top few leaves.
- Place the cutting in a clean jar of water.
- Crucially, make sure no leaves are submerged in the water. This is a common mistake that leads to rot.
- Change the water every few days.
- Be patient; root formation can take longer than in soil.
The “Secret Sauce” (Pro Tips)
Here are a few things I’ve learned over the years that often make a big difference:
- Bottom Heat is Your Friend: My little secret weapon for many cuttings, and Lonchocarpus heptaphyllus is no exception. Placing your pot on a seedling heat mat provides gentle warmth to the soil, encouraging root growth from below. I find this significantly speeds things up and increases success rates.
- Don’t Overwater, Ever! This is probably the number one killer of cuttings. The goal is consistently moist, not soggy. Feel the soil; if it feels dry to the touch, give it a light watering. If it feels wet, hold back. Overwatering leads to root rot, and that’s a sad story we want to avoid!
- Air Circulation Matters: While we want humidity, stagnant air can also encourage fungal issues. Gently lift or reopen your plastic bag for a few minutes each day to allow for some fresh air circulation. This tiny step helps keep things healthy.
Aftercare & Troubleshooting
Once you start seeing new leaf growth or roots poking out of the drainage holes, congratulations! Your cutting is on its way to becoming a new plant.
- Gradual Acclimation: Don’t immediately remove the plastic bag. Gradually introduce it to drier air by opening the bag a little more each day over a week.
- Transplanting: Once it’s fully acclimated, you can transplant your new Lonchocarpus heptaphyllus into its own small pot with fresh potting mix.
- Troubleshooting: The most common issue you’ll face is rot. If your cutting looks limp, mushy, or has developed black spots, it’s likely succumbed to rot. Often, this is due to too much moisture and not enough air circulation. If you catch it early, you might be able to salvage a healthy-looking tip by re-cutting and trying again. Yellowing leaves can indicate too much direct sun or inconsistent watering.
A Little Patience Goes a Long Way
Propagating plants is a journey, and sometimes it takes a few tries to get it just right. Don’t be discouraged if your first attempt doesn’t yield a forest of new plants! The joy is in the process, in learning about your plant, and in the satisfaction of nurturing life. So grab your shears, get your hands dirty, and enjoy the ride. Happy growing!
Resource:
https://identify.plantnet.org/k-world-flora/species/Lonchocarpus%20heptaphyllus%20(Poir.)%20DC./data