Hello there, fellow garden lovers! It’s so lovely to have you join me today. I’m absolutely delighted to chat about a plant that has brought so much beauty and joy to my garden over the years: Dalea multiflora, often called Littleleaf Dalea.
Blooming Beauty, A Gardener’s Delight
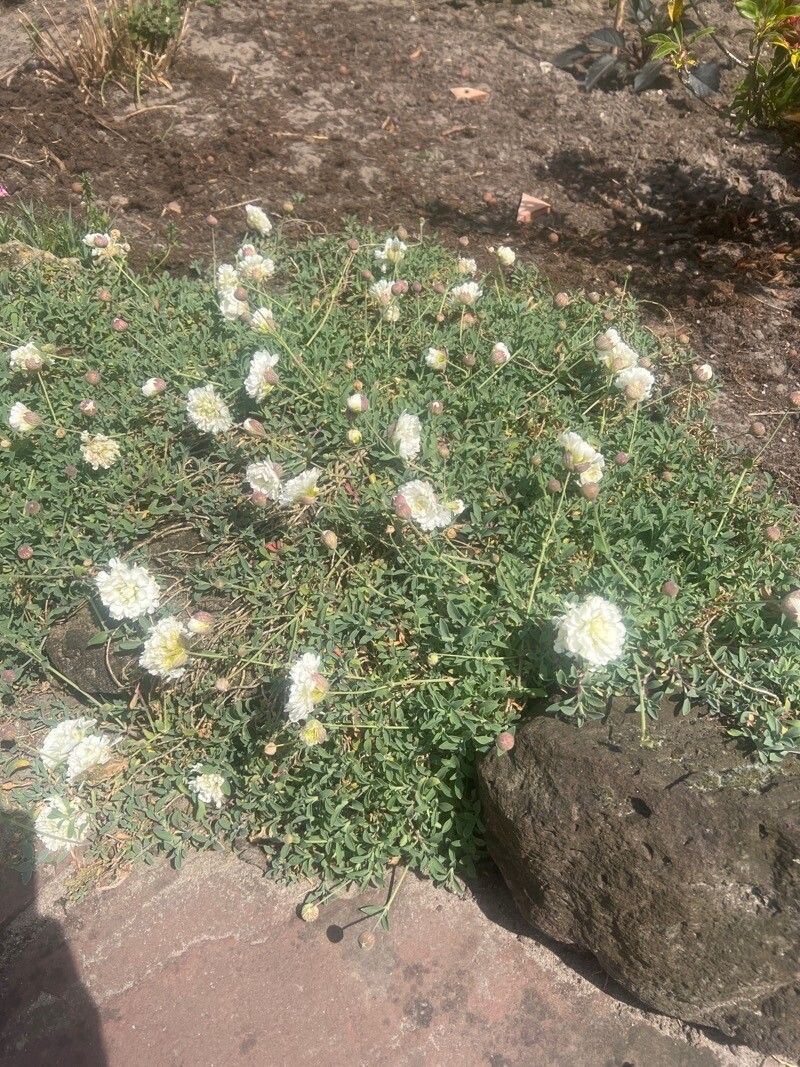
This little gem is just a dream with its delicate, feathery foliage and a profusion of charming little purple flowers that seem to bloom endlessly. It’s a fantastic addition to any sunny spot, drawing in pollinators and adding a touch of wild elegance. And the best part? It’s surprisingly rewarding to propagate! If you’re a beginner looking to expand your plant collection without breaking the bank, you’ll find that Dalea multiflora is quite forgiving, making it a wonderful plant to try your hand at.
When the Magic Happens: The Best Time to Start
For the highest chance of success when starting new Dalea multiflora plants, I always recommend working with softwood or semi-hardwood cuttings. The ideal time for this is late spring through early summer. This is when the plant is in active growth, meaning the stems are flexible enough to root, but they also have a bit of maturity to them, which increases their resilience. Think of it as capturing that vibrant energy!
Your Propagation Toolkit
Gathering your supplies beforehand makes the whole process much smoother. Here’s what I usually have on hand:
- Sharp pruning shears or a clean craft knife: For making precise cuts.
- Rooting hormone powder or gel: This isn’t strictly essential for Dalea, but it can give your cuttings a nice boost.
- A well-draining potting mix: I like to use a blend of equal parts perlite and seed-starting mix, or a good quality cactus and succulent mix.
- Small pots or trays: Clean containers with drainage holes are crucial.
- A plastic bag or a clear plastic dome: This helps create a humid environment for your cuttings.
- Optional: A heat mat: This can speed up root development.
Bringing New Life: Propagation Methods
Dalea multiflora is wonderfully amenable to propagation via stem cuttings, which is my go-to method. It’s straightforward and yields excellent results.
Stem Cuttings:
- Select your stems: Look for healthy, vigorous stems from your mature plant. You want pieces that are about 4-6 inches long. Ensure they have at least a couple of leaf nodes (the little bumps where leaves emerge).
- Make the cut: Using your clean pruners or knife, make a clean cut just below a leaf node. This is where the magic for root formation happens.
- Prepare the cutting: Gently remove the lower leaves from the stem, leaving just 2-3 sets of leaves at the top. If the remaining leaves are very large, you can even cut them in half to reduce water loss.
- Dip in rooting hormone (optional): Lightly dip the cut end of the stem into your rooting hormone, tapping off any excess.
- Plant your cuttings: Fill your small pots with your prepared potting mix. Make a small hole in the center of the mix with your finger or a pencil. Insert the cutting, ensuring the leaf nodes are buried in the soil. Gently firm the soil around the stem.
- Water gently: Water the soil thoroughly until you see water drain from the bottom of the pot.
- Create humidity: Place the pots inside a clear plastic bag, securing it loosely with a twist tie or rubber band, or cover them with a clear plastic dome. This will trap moisture.
- Provide light and warmth: Place the pots in a bright location that receives indirect sunlight. A spot on a windowsill out of direct sun is usually perfect. Using a heat mat placed underneath your pots can significantly speed up the rooting process, but it’s not strictly necessary.
The “Secret Sauce” for Dalea Success
Over the years, I’ve learned a few tricks that make propagating Dalea even more reliable:
- Don’t let the leaves touch the water (if water propagating): While I primarily use soil for Dalea, if you do experiment with water propagation, it’s essential that the leaves are above the water line. Rot sets in quickly if foliage sits in standing water.
- Bottom heat is your friend: As I mentioned, a little warmth from a heat mat can make a world of difference. It encourages those roots to form much faster and more reliably. The soil temperature should ideally be around 70-75°F (21-24°C).
- Patience with humidity: That snug, humid environment is key. Resist the urge to keep lifting the bag or dome. Let it do its job, allowing the cutting to stay moist without becoming waterlogged.
Nurturing Your New Sprouts & What to Watch For
Once you’ve potted up your cuttings, the real waiting game begins. Keep the soil consistently moist but not soggy. The humidity you’ve created is vital during this initial rooting period. You’ll know your cutting has rooted when you gently tug on it and feel resistance, or if you start to see new leaf growth. This usually takes about 3-6 weeks, sometimes a little longer.
Occasionally, things don’t go as planned. One of the most common issues is rot, which appears as a black, mushy stem. This is usually a sign of too much moisture and not enough air circulation. If you see this, it’s best to discard the affected cutting. Yellowing leaves can also sometimes indicate overwatering or insufficient light. Don’t get discouraged if a few don’t make it – it happens to all of us!
Happy Growing, My Friends!
Propagating Dalea multiflora is such a rewarding experience. It’s a wonderful way to multiply your enjoyment of this beautiful plant and share its charm with others. Be patient with your cuttings, provide them with consistent care, and soon you’ll be rewarded with a whole new gang of cheerful Daleas. Happy gardening!
Resource:
https://identify.plantnet.org/k-world-flora/species/Dalea%20multiflora%20(Nutt.)%20Shinners/data