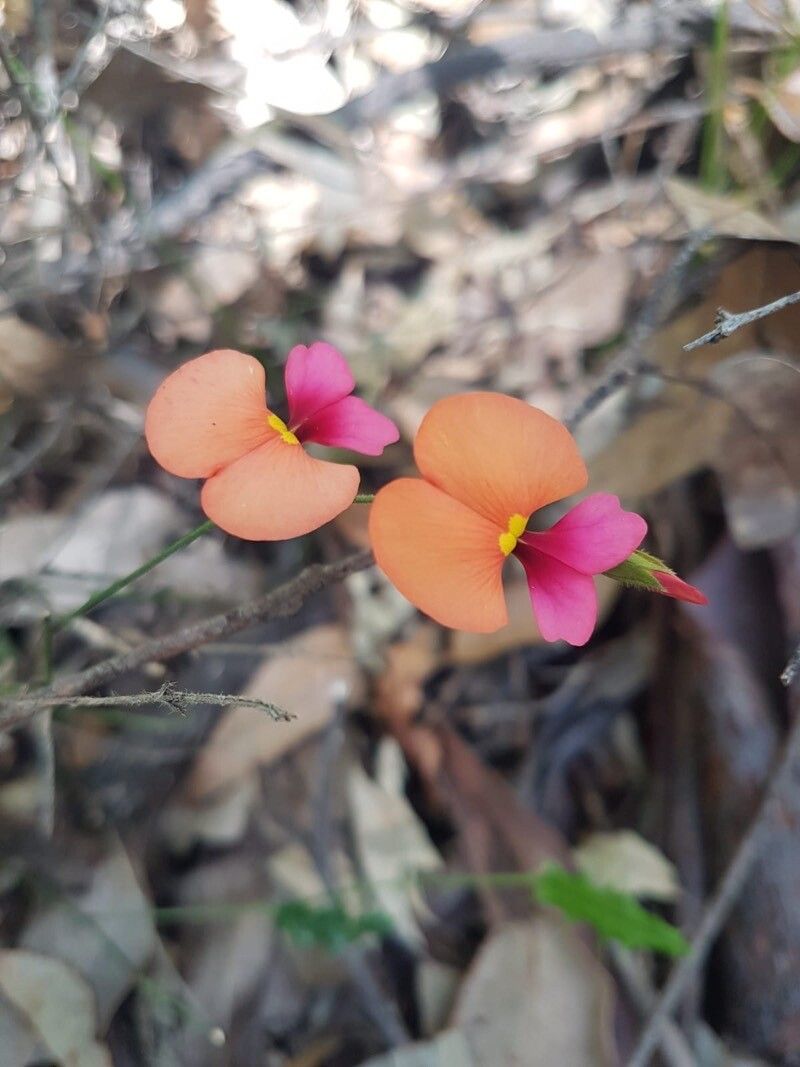
Hey there, fellow plant lovers! Today, we’re diving into the wonderful world of Chorizema ilicifolium, also known as the Native Holly Flame Pea. If you’ve ever seen this beauty with its stunning clusters of pealike flowers in vibrant shades of orange, pink, and crimson, you know why it’s a garden showstopper. I remember the first time I saw one in full bloom – it was truly breathtaking!
Propagating Chorizema ilicifolium isn’t the absolute easiest journey for a complete beginner, but with a little patience and the right approach, it’s incredibly rewarding. Seeing those tiny new plants take hold is a feeling like no other. It connects you to the cycle of life in such a tangible way.
The Best Time to Start
For the highest chance of success with Chorizema ilicifolium, I always recommend working with semi-hardwood cuttings. The sweet spot for taking these is generally from late spring through summer. You’re looking for stems that have started to mature and feel a bit firm, but haven’t fully hardened off. Think of a pencil – not so soft it bends easily, but not so woody that it snaps. This is when the plant’s energy is high, making it more receptive to rooting.
Supplies You’ll Need
Gathering your tools beforehand makes the whole process smoother. Here’s what I usually have on hand:
- Sharp, clean pruning shears or a sharp knife: Essential for making clean cuts that heal well.
- Rooting hormone: I find a good powder or gel really gives cuttings a boost.
- A well-draining potting mix: A blend of perlite, coir, and a little compost works wonders. You want something airy.
- Small pots or seedling trays: Clean, with drainage holes, of course!
- A plastic bag or propagation dome: To keep that humidity high.
- Labels and a permanent marker: Trust me, you’ll forget what you planted and when!
- Optional, but highly recommended: A heat mat: This provides gentle bottom warmth, which is a real game-changer for root development.
Propagation Methods: Stem Cuttings
For Chorizema ilicifolium, stem cuttings are my go-to method. It’s straightforward and yields great results.
- Take Your Cuttings: Head out in the morning when the plant is well-hydrated. Select healthy, non-flowering stems. Use your clean pruning shears to cut pieces about 4-6 inches long. Make the cut just below a leaf node – that’s where the magic happens for rooting.
- Prepare the Cuttings: Gently remove the lower leaves, leaving just a few at the top. If the leaves are quite large, I’ll sometimes cut them in half to reduce water loss.
- Apply Rooting Hormone: Dip the cut end of the stem into your rooting hormone. You don’t need to go too deep, just enough to coat about an inch of the base. Tap off any excess.
- Plant Them Up: Fill your small pots with your well-draining potting mix. Moisten the mix lightly. Make a small hole with a pencil or your finger, then carefully insert the cutting. Gently firm the soil around it. I usually plant several cuttings in one pot, spacing them out a bit.
- Create a Humid Environment: Water the soil gently to settle it around the cuttings. Then, cover the pot with a plastic bag secured with a rubber band or place it under a propagation dome. This creates that essential humid microclimate.
- Provide Light and Warmth: Place the pots in a bright spot but out of direct sunlight. If you have a heat mat, place the pots on it. This gentle bottom heat encourages roots to form.
The “Secret Sauce” (Pro Tips)
Here are a couple of things I’ve learned over the years that can really make a difference:
- Don’t Let the Leaves Touch the Water (Even in Humidity): If you’re using a setup where leaves might dip into any condensation that collects, it’s a recipe for rot. Make sure your cuttings are positioned so their leaves hang upwards or are supported, staying dry. Condensation is good; standing water on the leaves is not.
- The Power of Bottom Heat: I cannot stress this enough! For many woody-stemmed plants like Chorizema, soil that stays consistently warm from below is a huge catalyst for root development. It mimics the cozy conditions they’d experience in their natural environment during the growing season and is far more effective than just ambient room temperature.
Aftercare & Troubleshooting
Once your cuttings have been planted, the waiting game begins. Keep the soil consistently moist but not soggy. Check the humidity daily and mist lightly if needed. You want to see new leaf growth or feel a gentle resistance when you tug lightly on a cutting – that’s usually a sign roots have formed. This can take anywhere from 4 to 8 weeks, sometimes longer.
The most common problem you’ll face is rot. Brown, mushy stems are a clear indicator. This usually happens from overwatering or poor drainage. If you see this, remove the affected cutting immediately to prevent it from spreading. Ensure your potting mix is airy and your pots have good drainage.
Once your rooted cuttings have developed a good root system, you can carefully transplant them into individual pots. Continue to water them as you would a young plant, gradually acclimating them to less humid conditions.
A Encouraging Closing
Propagating Chorizema ilicifolium is a journey of observation and patience. Don’t be discouraged if not every cutting takes – it’s all part of the learning process! Celebrate the successes, learn from the challenges, and enjoy the incredible satisfaction of nurturing new life for your garden. Happy propagating!
Resource:
https://identify.plantnet.org/k-world-flora/species/Chorizema%20ilicifolium%20Labill./data