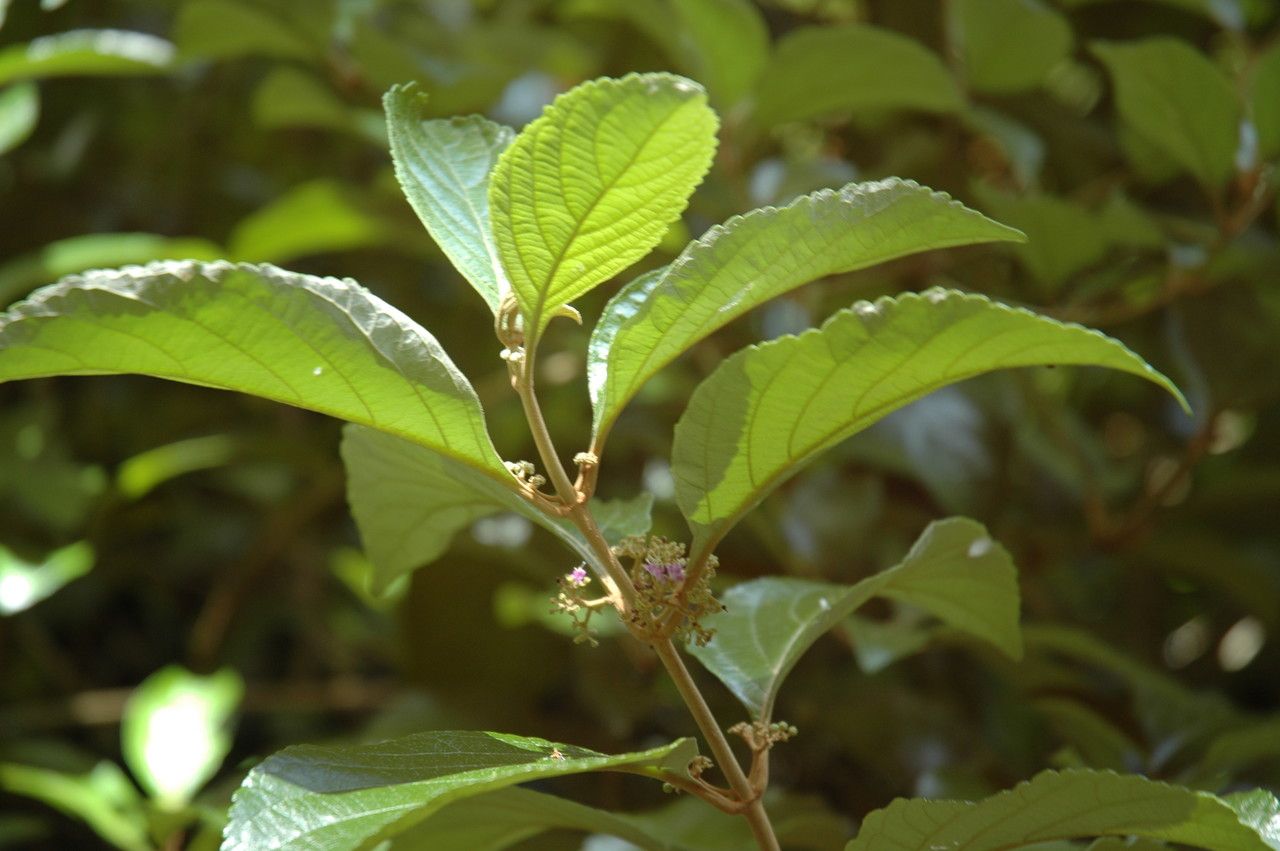
Hello fellow plant lovers! Today, we’re diving into the wonderful world of Callicarpa candicans, often called beautyberry. If you’ve ever seen those cascades of vibrant, jewel-like berries on this shrub, you know just how captivating they are. Propagating your own beautyberry is incredibly rewarding. It’s a fantastic way to fill your garden with these stunners or share them with friends. And let me tell you, Callicarpa candicans is quite forgiving, making it a great choice for beginners looking to expand their propagation skills.
The Best Time to Start
We want to give our cuttings the best possible chance to thrive, so timing is key. The sweet spot for propagating beautyberry from stem cuttings is usually in late spring or early summer, once the new growth has started to harden off a bit but before it becomes overly woody. This green, slightly softened wood has a good balance of flexibility and vigor, making it ideal for rooting. You can also try taking cuttings in mid-summer, but make sure they aren’t too soft and still have some firmness to them.
Supplies You’ll Need
Gathering your tools beforehand makes the whole process smoother. Here’s what I always have on hand:
- Sharp Pruning Shears or a Knife: Clean cuts heal faster and reduce the risk of disease.
- Potting Mix: A well-draining mix is essential. I often use a blend of peat moss, perlite, and a little bit of compost (about 2 parts peat, 1 part perlite, 1 part compost). You can also buy a good quality seedling or propagation mix.
- Small Pots or Trays: Clean pots are a must! Small nursery pots or even recycled yogurt cups with drainage holes work great.
- Rooting Hormone (Optional but Recommended): This really gives your cuttings a boost. Look for one specifically for softwood or semi-hardwood cuttings.
- Small Watering Can or Spray Bottle: For gentle watering.
- Plastic Bag or Humidity Dome: To create a humid environment for your cuttings.
- Gravel or Small Stones: For drainage at the bottom of pots, if you’re worried about waterlogging.
Propagation Methods: Stem Cuttings
This is my go-to method for beautyberry. It’s straightforward and generally yields good results.
- Take Your Cuttings: Head out to your beautyberry plant with your clean shears. Look for healthy, vigorous stems that are about 4-6 inches long. Make a clean cut just below a leaf node (where a leaf attaches to the stem). Remove any flowers or developing berries.
- Prepare the Cuttings: Gently strip off the lower leaves, leaving just 2-3 leaves at the top. This prevents them from rotting in the soil. If your leaves are large, you can even cut them in half horizontally to reduce water loss.
- Apply Rooting Hormone (If Using): Dip the cut end of each cutting into the rooting hormone powder or gel. Tap off any excess.
- Plant Your Cuttings: Fill your clean pots with your prepared potting mix. Make a small hole in the center of the soil with your finger or a pencil. Insert the cutting into the hole, ensuring a few leaf nodes are buried in the soil. Gently firm the soil around the base of the cutting. You can usually fit 2-3 cuttings per small pot, as long as they don’t touch each other.
- Water Gently: Water the soil thoroughly but gently. You want the soil to be moist, not waterlogged.
- Create Humidity: Place a clear plastic bag over the pot, securing it with a rubber band or by tucking it under the pot’s rim. Alternatively, you can use a humidity dome. Make sure the bag doesn’t touch the leaves. Poke a few small holes in the bag for ventilation.
The “Secret Sauce” (Pro Tips)
Over the years, I’ve picked up a few tricks that make a difference.
- Bottom Heat is Your Friend: If you have a seedling heat mat, placing your pots on it can significantly speed up root development. Warm soil encourages the roots to grow much faster.
- Don’t Drown Your Dreams: It sounds simple, but overwatering is one of the biggest culprits for failed cuttings. Aim for consistently moist soil, but never soggy. If you see water pooling at the bottom of the pot or the soil looks like mud, you’ve likely watered too much.
- The “Sniff Test”: If you suspect a cutting has rotted (often indicated by a black stem base and a foul smell), it’s best to remove it immediately to prevent the rot from spreading to other cuttings.
Aftercare & Troubleshooting
Once you start to see signs of new growth on your cuttings – a tiny new leaf, or a bit of upward vigor – that’s a great indicator that roots are forming!
- Gradual Acclimation: When roots have developed, it’s time to gradually wean your cuttings off their plastic cover. Start by removing the bag for an hour or two each day, gradually increasing the time until they are fully exposed.
- Gentle Watering: Continue to water gently, allowing the top inch of soil to dry out slightly between waterings.
- Transplanting: Once your new little beautyberries have a good root system and are showing strong new growth, you can transplant them into slightly larger pots with a good quality potting mix.
Now, a word about troubleshooting. The most common issue you’ll encounter is rot. If your cutting turns black at the base and smells off, it’s likely rotted due to too much moisture or bacteria. Prevention is key here: use clean pots and tools, sterile potting mix, and avoid overwatering. Another sign of failure is if the cuttings simply wilt and never recover, even with adequate moisture. This can happen if the cuttings were too soft, too old, or not kept humid enough. Don’t get discouraged; gardening is a learning process!
So there you have it! Propagating Callicarpa candicans is a joyful endeavor. Be patient, observe your cuttings, and enjoy the magic of creating new life. Happy gardening!
Resource:
https://identify.plantnet.org/k-world-flora/species/Callicarpa%20candicans%20(Burm.f.)%20Hochr./data