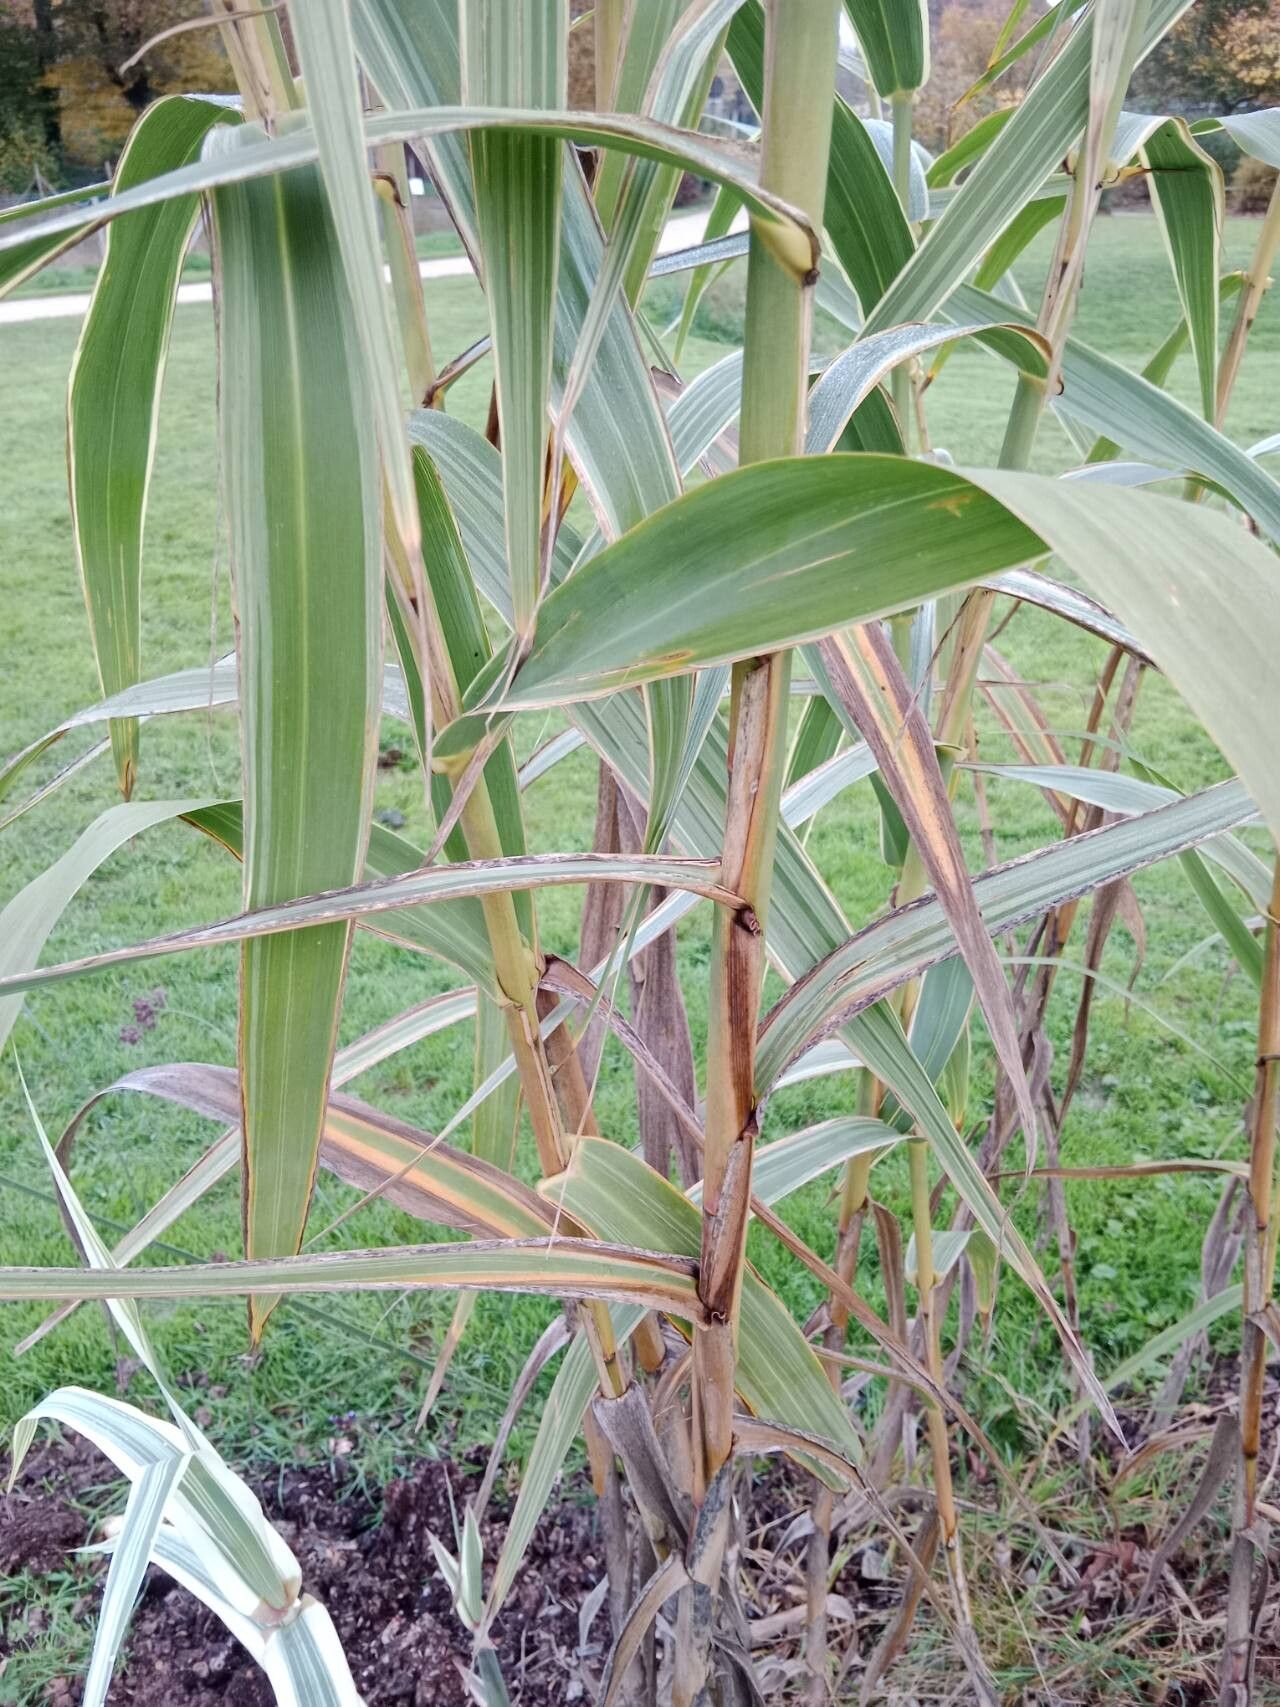
Hello friends! I’m so thrilled you’re thinking about expanding your own patch of “Giant Reed,” or Arundo donax. This magnificent grass, with its towering, bamboo-like stems and feathery plumes, brings such a dramatic architectural element to any garden. Plus, it’s incredibly rewarding to create more of these beauties from just one! And the good news? Propagating Arundo donax is surprisingly straightforward, even for those of you just starting your plant-parenting journey.
The Best Time to Start
For the highest rate of success, I find the late winter or early spring is absolutely prime time for Arundo donax propagation. This is just before the plant bursts into its vigorous new growth for the season. You’re essentially working with dormant but healthy material, giving your cuttings or divisions the best possible head start before the summer heat kicks in. Think of it as giving them a gentle awakening.
Supplies You’ll Need
Here’s a little kit we’ll gather:
- Sharp Pruning Shears or a Clean Knife: To make clean cuts.
- Rooting Hormone (Powder or Liquid): This isn’t strictly essential, but it does give your cuttings a significant boost.
- Well-Draining Potting Mix: A good quality potting soil mixed with perlite or coarse sand works wonders. You want it airy enough so it doesn’t hold too much moisture.
- Pots or Containers: Small to medium-sized pots with drainage holes are perfect.
- Watering Can or Mister: For gentle hydration.
- (Optional) A Propagation Mat or Warm Location: Bottom heat can really speed things up, but it’s not a deal-breaker.
Propagation Methods
Arundo donax is quite obliging, and two methods usually do the trick beautifully.
Stem Cuttings
This is my go-to method for Arundo.
- Select Your Stems: Look for healthy, mature stems from the previous year’s growth. They should be firm, not woody and brittle, but also not floppy and green. Aim for stems that are at least pencil-thick.
- Make the Cuts: Using your sharp shears, cut sections of stem that are about 6 to 12 inches long. Make your cuts just below a node (where a leaf or bud emerges). You’ll want at least two or three nodes on each cutting.
- Prepare the Cuttings: Gently remove any leaves from the bottom half of the cutting, leaving just a couple at the very top. This prevents them from rotting in the soil. If you’re using rooting hormone, dip the cut end into the powder or liquid now, tapping off any excess.
- Plant Them Up: Fill your pots with your well-draining mix. Make a hole in the soil with your finger or a pencil. Insert the prepared cutting, ensuring at least one node is buried beneath the soil surface.
- Water and Wait: Water the soil gently but thoroughly. You want it to be moist, not soggy. Place the pots in a bright spot, but out of direct, scorching sunlight.
Division
If you already have a mature clump of Arundo donax, dividing it is a fantastic way to get multiple plants.
- Dig Carefully: In late winter or early spring, carefully dig around the base of the existing plant. You want to lift the entire clump out of the ground.
- Separate the Rhizomes: You’ll see thick, fleshy rhizomes (underground stems). Use your spade or a sharp knife to gently pull or cut the rhizome into sections. Each section should have at least one or two healthy buds or shoots.
- Replant Immediately: Plant these divisions directly into their new locations in the garden or into pots, burying the rhizomes about 2-3 inches deep. Water them in well.
The “Secret Sauce” (Pro Tips)
Here are a couple of tricks I’ve learned over the years:
- Don’t Let Those Leaves Dip! When you’re propagating by stem cuttings and placing them in water (if you choose that route, which I less commonly recommend for Arundo but it can work), it’s crucial that no leaves touch the water. They will rot quickly and take your cutting down with them.
- Embrace Bottom Heat: If you can, place your pots of cuttings on a propagation mat or in a warm greenhouse. This gentle warmth from below mimics nature’s signal to start rooting and can significantly speed up the process. It’s like giving your little plant babies a cozy warm bed.
Aftercare & Troubleshooting
Once your cuttings have been in the soil for a few weeks, you can gently tug on them to check for resistance. This indicates roots are forming!
- Keep it Moist: Continue to keep the soil consistently moist but not waterlogged. Overwatering is the quickest way to invite trouble like rot.
- Gradual Acclimation: As new growth appears, don’t immediately shock them with full sun or strong winds. Gradually acclimate them to their eventual growing conditions.
- Signs of Trouble: The most common issue is rot, which usually shows up as a black, mushy stem. This is almost always due to overwatering or poor drainage. If you see this, unfortunately, that cutting is likely lost, but don’t despair! Just try again with better conditions. Yellowing leaves can sometimes mean it’s too cold or it needs a tiny bit more light, but focus on that soil moisture first.
A Little Patience, A Lot of Reward
Propagating Arundo donax is a lovely way to connect with nature and expand your garden’s drama. Don’t be discouraged if not every single cutting takes. Gardening is a journey of learning and persistence. Be patient with your new plants, enjoy the process of watching them grow, and soon you’ll have more of this stunning grass to share and enjoy. Happy propagating!
Resource:
https://identify.plantnet.org/k-world-flora/species/Arundo%20donax%20L./data