Oh, hello there! I’m so glad you stopped by. Today, we’re diving into the wonderful world of propagating one of my absolute favorites: Aloysia macrostachya. If you’re looking for a fragrant, delightful shrub that’s a magnet for pollinators, you’ve come to the right place. And the best part? Bringing more of them into your garden by propagating them yourself is incredibly satisfying. For those of you just dipping your toes into the propagation pool, rejoice! Aloysia macrostachya is generally quite forgiving, making it a lovely plant to practice your green thumb on.
The Best Time to Start
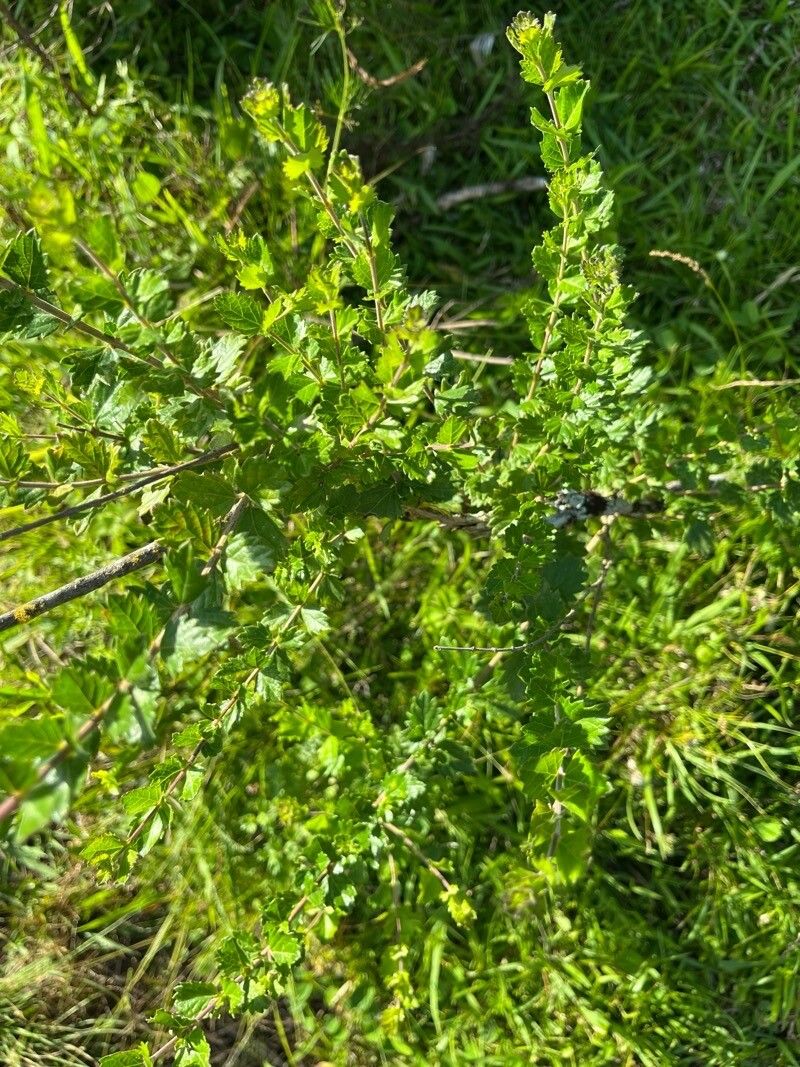
When it comes to getting those new plants going, timing is everything, and for Aloysia macrostachya, late spring to early summer is your golden window. This is when the plant is actively growing and has plenty of energy to put into forming roots. Look for stems that have started to mature a bit; they should be somewhat firm, not floppy and brand-new, but not woody and old either. Think of it as that perfect stage between a brand-new shoot and a fully established branch.
Supplies You’ll Need
Gathering your tools beforehand makes the whole process so much smoother. Here’s what you’ll want to have on hand:
- Sharp Pruning Shears or a Craft Knife: Clean cuts are crucial.
- Rooting Hormone: Encourages faster and stronger root development. I like to use a powder, but gels and liquids work too.
- Well-Draining Potting Mix: A good seed-starting mix or a blend of peat moss and perlite (about 50/50) is ideal. For Aloysia, good drainage is key.
- Small Pots or Trays: With drainage holes, of course! 4-inch pots are usually a good size.
- Plastic Bags or a Propagation Dome: To create a humid environment.
- Watering Can with a Fine Rose or Mister: For gentle watering.
- Labels and a Marker: To keep track of what you’ve planted and when.
Propagation Methods: Taking Stem Cuttings
For Aloysia macrostachya, taking stem cuttings is my go-to method. It’s reliable and you can get quite a few new plants from a single parent. Here’s how I do it:
- Take Your Cuttings: In your chosen window, select healthy, non-flowering stems. Using your sharp shears, cut stems that are about 4-6 inches long. Try to make the cut just below a leaf node – that little bump where a leaf attaches to the stem. This is where roots are most likely to form.
- Prepare the Cuttings: Gently remove the lower leaves, leaving just a couple of leaves at the very top. If any of the leaves are huge, you can even cut them in half to reduce water loss through transpiration. This helps the cutting conserve energy.
- Apply Rooting Hormone: Dip the cut end of each stem into your rooting hormone, ensuring it’s coated. Tap off any excess.
- Pot Them Up: Fill your pots with your well-draining potting mix. Make a small hole in the center of the soil with your finger or a pencil.
- Insert the Cuttings: Gently insert the hormone-coated end of the cutting into the hole, pushing it down far enough so about half to two-thirds of the cutting is buried. Firm the soil gently around the base of the stem to ensure good contact.
- Water Gently: Water the soil thoroughly but gently. You don’t want to disturb the cuttings.
The “Secret Sauce” (Pro Tips)
After years of playing in the dirt, a few little tricks emerge. Here are a couple of things I’ve learned that really help these cuttings thrive:
- Don’t Let the Leaves Touch the Water: If you decide to try water propagation (which Aloysia can do, though I find cuttings in soil more robust for this plant), ensure the leaves are well above the waterline. Any leaves submerged will likely rot, and that rot can spread to the stem, dooming your cutting.
- Bottom Heat is Your Friend: While not strictly essential for Aloysia, placing your pots on a propagation mat or a warm windowsill (away from direct, scorching sun) can significantly speed up root development. The warmth encourages those root-forming cells to get busy.
Aftercare & Troubleshooting
Once your cuttings are planted, it’s time for tender loving care. Keep the soil consistently moist but not waterlogged. This is where that plastic bag or propagation dome comes in handy; it traps humidity. Tent your cuttings loosely with a plastic bag or place a clear dome over them. Place them in a bright spot with indirect light. Avoid direct sunlight, as it can scorch and dehydrate your delicate cuttings.
You’ll know your cuttings are rooting when you see new leaf growth appearing at the top, or if you gently tug on a cutting and feel a bit of resistance. This can take anywhere from 3-8 weeks, so be patient!
The most common problem you’ll encounter is rot, which looks like a mushy, black stem. This usually happens from overwatering or lack of air circulation. If you see rot, sadly, that cutting is likely lost. Prevention is key: ensure good drainage and don’t keep the soil soggy. Another sign of struggle is wilting, which can happen if it’s too dry or gets too much sun.
A Little Encouragement to Finish
Propagating plants is a journey, and like any good journey, it’s about the experience as much as the destination. Not every cutting will make it, and that’s perfectly okay. Every gardener has had their share of failures! The key is to keep trying, learn from what happens, and celebrate the successes. Enjoy the process of nurturing these little bits of life, and soon you’ll have a garden overflowing with the sweet scent of your own Aloysia macrostachya. Happy propagating!
Resource:
https://identify.plantnet.org/k-world-flora/species/Aloysia%20macrostachya%20(Torr.)%20Moldenke/data