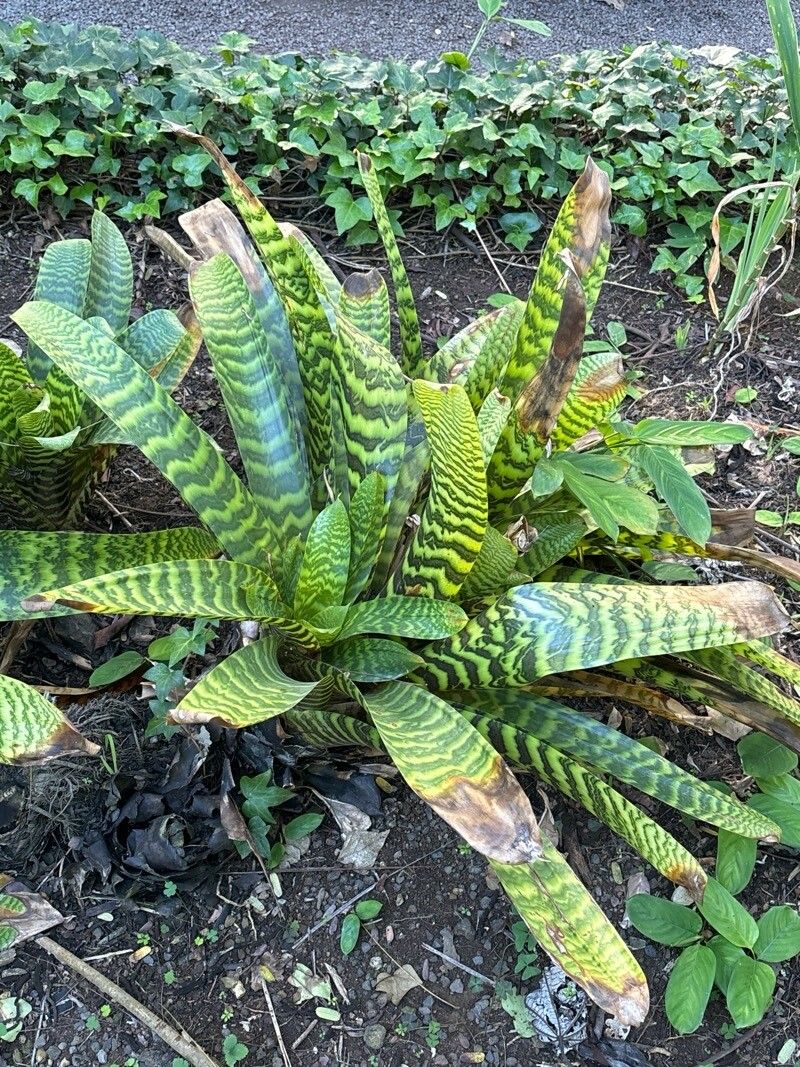
Hey there, fellow plant lovers! Looking to expand your collection of those striking Vriesea hieroglyphica plants? I get it. Their bold, architectural leaves with those mesmerizing dark markings are just stunning. And the best part? You can easily multiply your own beauties. It’s incredibly satisfying to watch a tiny pup grow into its own magnificent specimen. Now, for newcomers to bromeliad propagation, Vriesea hieroglyphica might seem a tad more involved than, say, a simple succulent. But don’t let that daunt you! With a little patience and these tips, you’ll be a pro in no time.
The Best Time to Start
Honestly, the sweet spot for propagating Vriesea hieroglyphica is usually when the mother plant is actively growing and has produced offsets, often called pups. For most folks, this means spring or early summer. The warmer temperatures and increased sunlight give those new babies a great energy boost to root and establish themselves. You’ll know it’s the right time if you see little plantlets emerging from the base of the parent plant.
Supplies You’ll Need
To get started on this propagation adventure, gather these essentials:
- Sharp, sterile pruning shears or a clean knife: For making precise cuts.
- Well-draining potting mix: A bromeliad-specific mix is ideal, or you can create your own with equal parts perlite, orchid bark, and coco coir.
- Rooting hormone (optional but recommended): A powder or gel will help speed things up.
- Small pots or propagation trays: Something suitable for the size of your pups.
- Watering can with a fine rose: For gentle watering.
- Spray bottle: For maintaining humidity.
- A warm location: For optimal rooting.
Propagation Methods
Vriesea hieroglyphica most commonly propagates through division. Since they tend to produce pups, this is your primary method.
Division Method:
- Wait for Offsets: Look for pups that are at least one-third the size of the mother plant. They should have a few leaves of their own.
- Gently Remove from Mother Plant: Carefully unpot the mother plant. You want to work with it when it’s completely out of its container.
- Locate the Connection: Examine where the pup is attached to the parent. You’ll see a small section of stem or root connecting them.
- Make a Clean Cut: Using your sterile shears or knife, make a clean cut where the pup attaches to the mother. Try to get a bit of the original plant’s roots with the pup if possible. The cleaner the cut, the better it will heal.
- Allow to Dry (Callus): This is a crucial step for bromeliads! Let the cut end of the pup dry and callus over for at least 24-48 hours in a well-ventilated area. This prevents rot.
- Potting Up: Fill your small pot with your well-draining mix.
- Apply Rooting Hormone (Optional): Dip the callused end of the pup into rooting hormone if you’re using it.
- Plant the Pup: Gently place the pup into the pot, burying the callused end. Don’t plant it too deep; you want the base of the leaves to be just above the soil line.
- Water Lightly: Water the potting mix very gently. You don’t want to saturate it.
The “Secret Sauce” (Pro Tips)
Here are a couple of things I’ve learned over the years that really make a difference:
- Don’t Drown Your Pups: When you water, aim for the soil, not the central cup of the leaves. That little cup is for water in its natural habitat, but in a pot, leaving excess water there can lead to rot, especially for new cuttings.
- Bottom Heat is Your Friend: If you’re propagating in a cooler environment, consider placing your pots on a gentle heat mat. Bromeliads love warmth, and a little extra bottom heat can significantly encourage root development. Just make sure it’s not too hot – enough to be comfortably warm to the touch.
Aftercare & Troubleshooting
Once your pup is potted up, provide it with bright, indirect light. Keep the soil lightly moist, but never soggy. You can mist the leaves occasionally to boost humidity, especially if your air is dry.
The biggest thing to watch for is rot. If you see mushy, brown stems or leaves that are quickly turning black and falling off, it’s likely rot. This usually happens from overwatering or not allowing the cutting to callus properly. If you suspect rot, you might need to trim away the affected parts with your sterile knife and let it dry out again, or even consider starting over if it’s extensive. Be patient; it can take several weeks to see new root growth. You’ll know things are going well when the pup feels firm and you start to see new leaves emerging from the center.
A Little Patience Goes a Long Way
Propagating Vriesea hieroglyphica is a rewarding journey. Don’t get discouraged if your first attempt isn’t perfect. Each plant is unique, and so is its propagation journey. Enjoy the process of nurturing these new lives, and soon you’ll have a whole family of these magnificent plants to admire! Happy growing!
Resource: