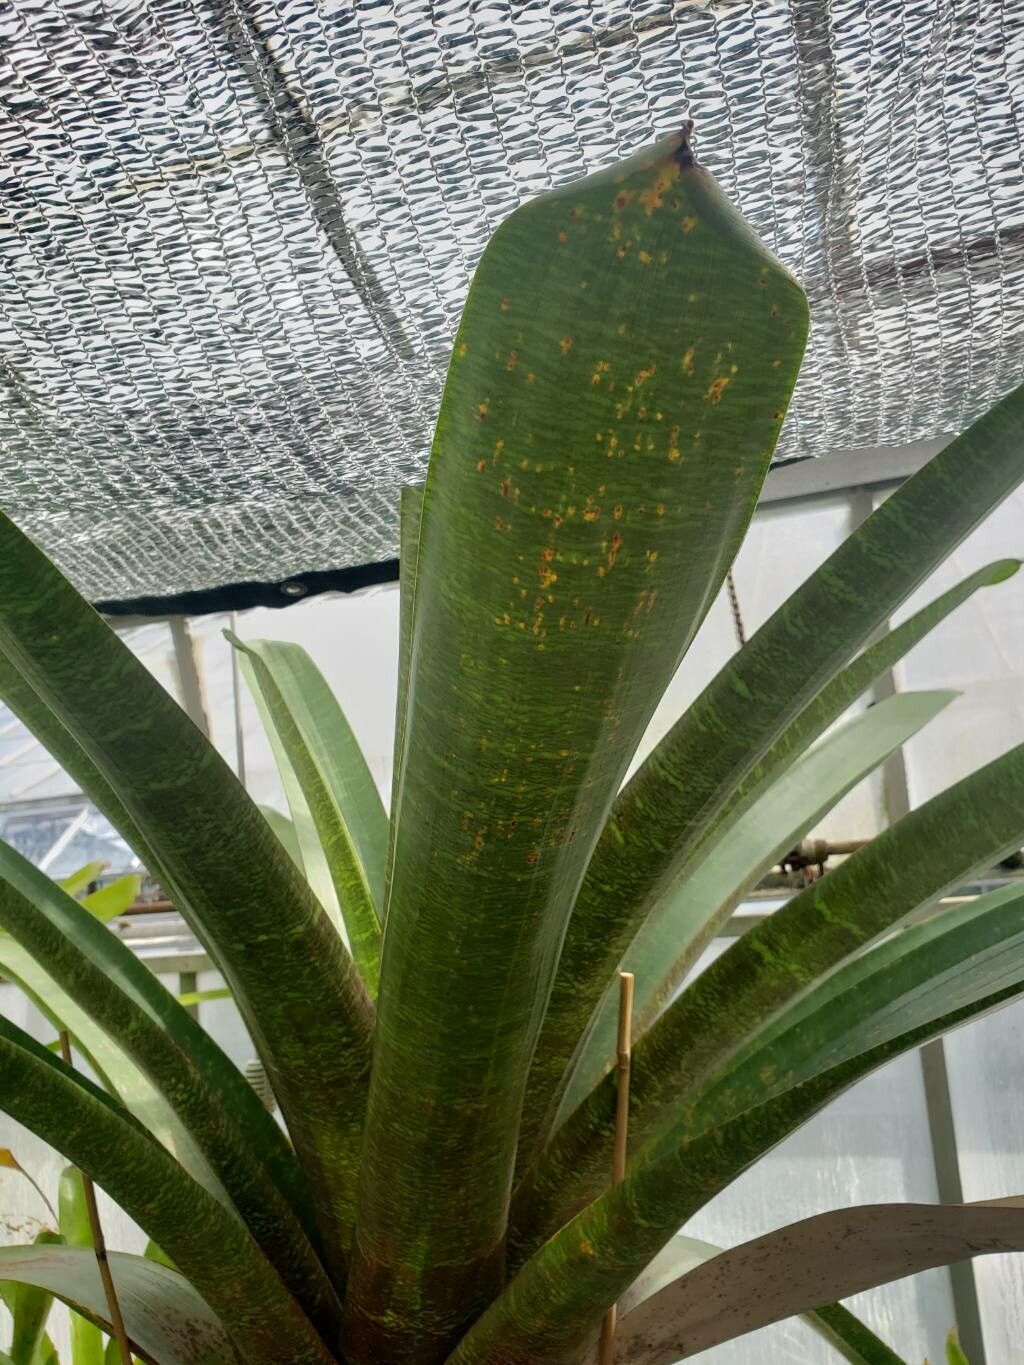
Oh, hello there! Come on in, grab a cuppa. Today, we’re going to chat about something really special: propagating Vriesea fosteriana. I’ve had the joy of gardening for a couple of decades now, and let me tell you, there’s a particular thrill in coaxing new life from a beloved plant. Vriesea fosteriana, with its striking, architectural leaves and often vibrant flower spikes, is a real showstopper. Seeing a tiny “pup” emerge and grow into its own beautiful plant is a gardening gift that keeps on giving.
Now, if you’re new to plant propagation, you might wonder if this is a good starter project. I’d say Vriesea fosteriana is moderately easy. It’s not quite as straightforward as, say, a Pothos, but with a little patience and a few key tricks, you’ll find success. And when you do, that incredible pride is so worth it!
The Best Time to Start
When it comes to Vriesea, the absolute best time to think about propagation is when you see offsets, or “pups,” forming at the base of the mother plant. This usually happens during its active growing season. For most Vriesea species, this means spring and early summer. The plant is full of energy then, and those new babies have the best chance to establish themselves quickly.
Supplies You’ll Need
Before we get our hands dirty, let’s make sure we have everything ready. It makes the whole process so much smoother!
- Sharp, clean pruning shears or a hobby knife: Sterilize them with rubbing alcohol to prevent any disease spread.
- Well-draining potting mix: A mix formulated for bromeliads or a general-purpose potting mix amended with perlite and orchid bark works wonderfully.
- Small pots or containers: Make sure they have drainage holes.
- Rooting hormone (optional but recommended): This can give your pups a little head start.
- Watering can with a fine spray or a mister: Gentle watering is key.
- A shady spot or grow light: New cuttings don’t like direct sun.
- Patience! This is truly the most important tool you’ll need.
Propagation Methods
Vriesea fosteriana primarily propagates through Offsets (Pup Removal). This is the most common and successful method for this type of bromeliad.
- Find the Pups: Look around the base of your mature Vriesea fosteriana. You’ll notice smaller plants, called pups or offsets, emerging from the parent plant’s rhizome. They should ideally be a decent size, about a third to half the size of the mother plant, and ideally have their own tiny root system visible.
- Carefully Separate: Using your clean pruning shears or hobby knife, gently cut the pup away from the mother plant. Try to get as close to the base of the pup as possible, ensuring you take some of the parent’s rhizome with it. If the pup is still very small and attached firmly, it might be best to wait a little longer.
- Let it Callus: This is a big one! After separating the pup, let it sit on a dry paper towel in a well-ventilated, shady spot for a day or two. This allows the cut end to dry out and form a protective callus. This step is crucial for preventing rot in the new pup.
- Potting Up: Once the cut end has callused, you can pot your pup. Use your well-draining potting mix in a small pot. Gently place the pup into the soil, ensuring the base is covered and it feels stable. Don’t plant it too deeply.
- Initial Watering: Water very sparingly at first. You want the soil to be lightly moist, not soggy. A gentle misting is often enough to start.
The “Secret Sauce” (Pro Tips)
Here are a few little tricks I’ve learned over the years that can really make a difference:
- Think “Airy” for the Roots: While you want to pot them, don’t pack the soil too tightly. Bromeliads, even their pups, appreciate good air circulation around their roots. A light touch when potting is best.
- Embrace the Humidity Tent: Especially if you’re worried about your pup drying out, you can create a little humidity tent. Place a clear plastic bag loosely over the pot, making sure it doesn’t touch the leaves. Poke a few small holes in the bag for ventilation. This creates a mini-greenhouse effect without suffocating the young plant. Remove it once you see signs of new growth.
- Bottom Heat is Your Friend: If you’re propagating in a cooler home, a gentle bit of bottom heat can speed things up significantly. A seedling heat mat placed underneath the pots can warm the soil just enough to encourage root development. It’s like a cozy sunbath for your pups!
Aftercare & Troubleshooting
Once your pups are potted, the real nurturing begins. Keep them in bright, indirect light. Water only when the top inch of soil feels dry. If you’ve used the humidity tent, start airing it out after a week or two.
What to watch out for? Rot is the enemy. If a pup starts to look mushy, brown, or black at the base, it’s likely rot. This usually happens from overwatering or not letting the pup callus properly. Unfortunately, if rot sets in severely, it can be hard to save. If you catch it early, you might be able to trim away the rotted parts, let it dry again, and hope for the best.
You’ll know they’re happy when you see new leaves emerging from the center, or a slight upward growth. That’s your sign they’ve taken root!
A Encouraging Closing
Propagating Vriesea fosteriana is a journey of patience and observation. Don’t be discouraged if your first attempt isn’t picture-perfect. Each plant is an individual, and each propagation attempt is a learning experience. Enjoy the process, celebrate the small victories, and soon you’ll have a little collection of these stunning bromeliads to share or admire. Happy growing!
Resource:
https://identify.plantnet.org/k-world-flora/species/Vriesea%20fosteriana%20L.B.Sm./data