Hello fellow garden enthusiasts! Today, we’re diving into the world of Vitex pseudolea, also known as the “false vitex” or sometimes even jokingly called the “lazy vitex” because it’s just so content to bloom gloriously with minimal fuss. I’ve spent two decades coaxing this beauty into life, and let me tell you, multiplying your stock of these fragrant, butterfly-attracting shrubs is incredibly rewarding. If you’re new to propagation, I’d say Vitex pseudolea is a pretty forgiving plant to start with. It’s not overly fussy, which is music to my ears!
The Best Time to Start
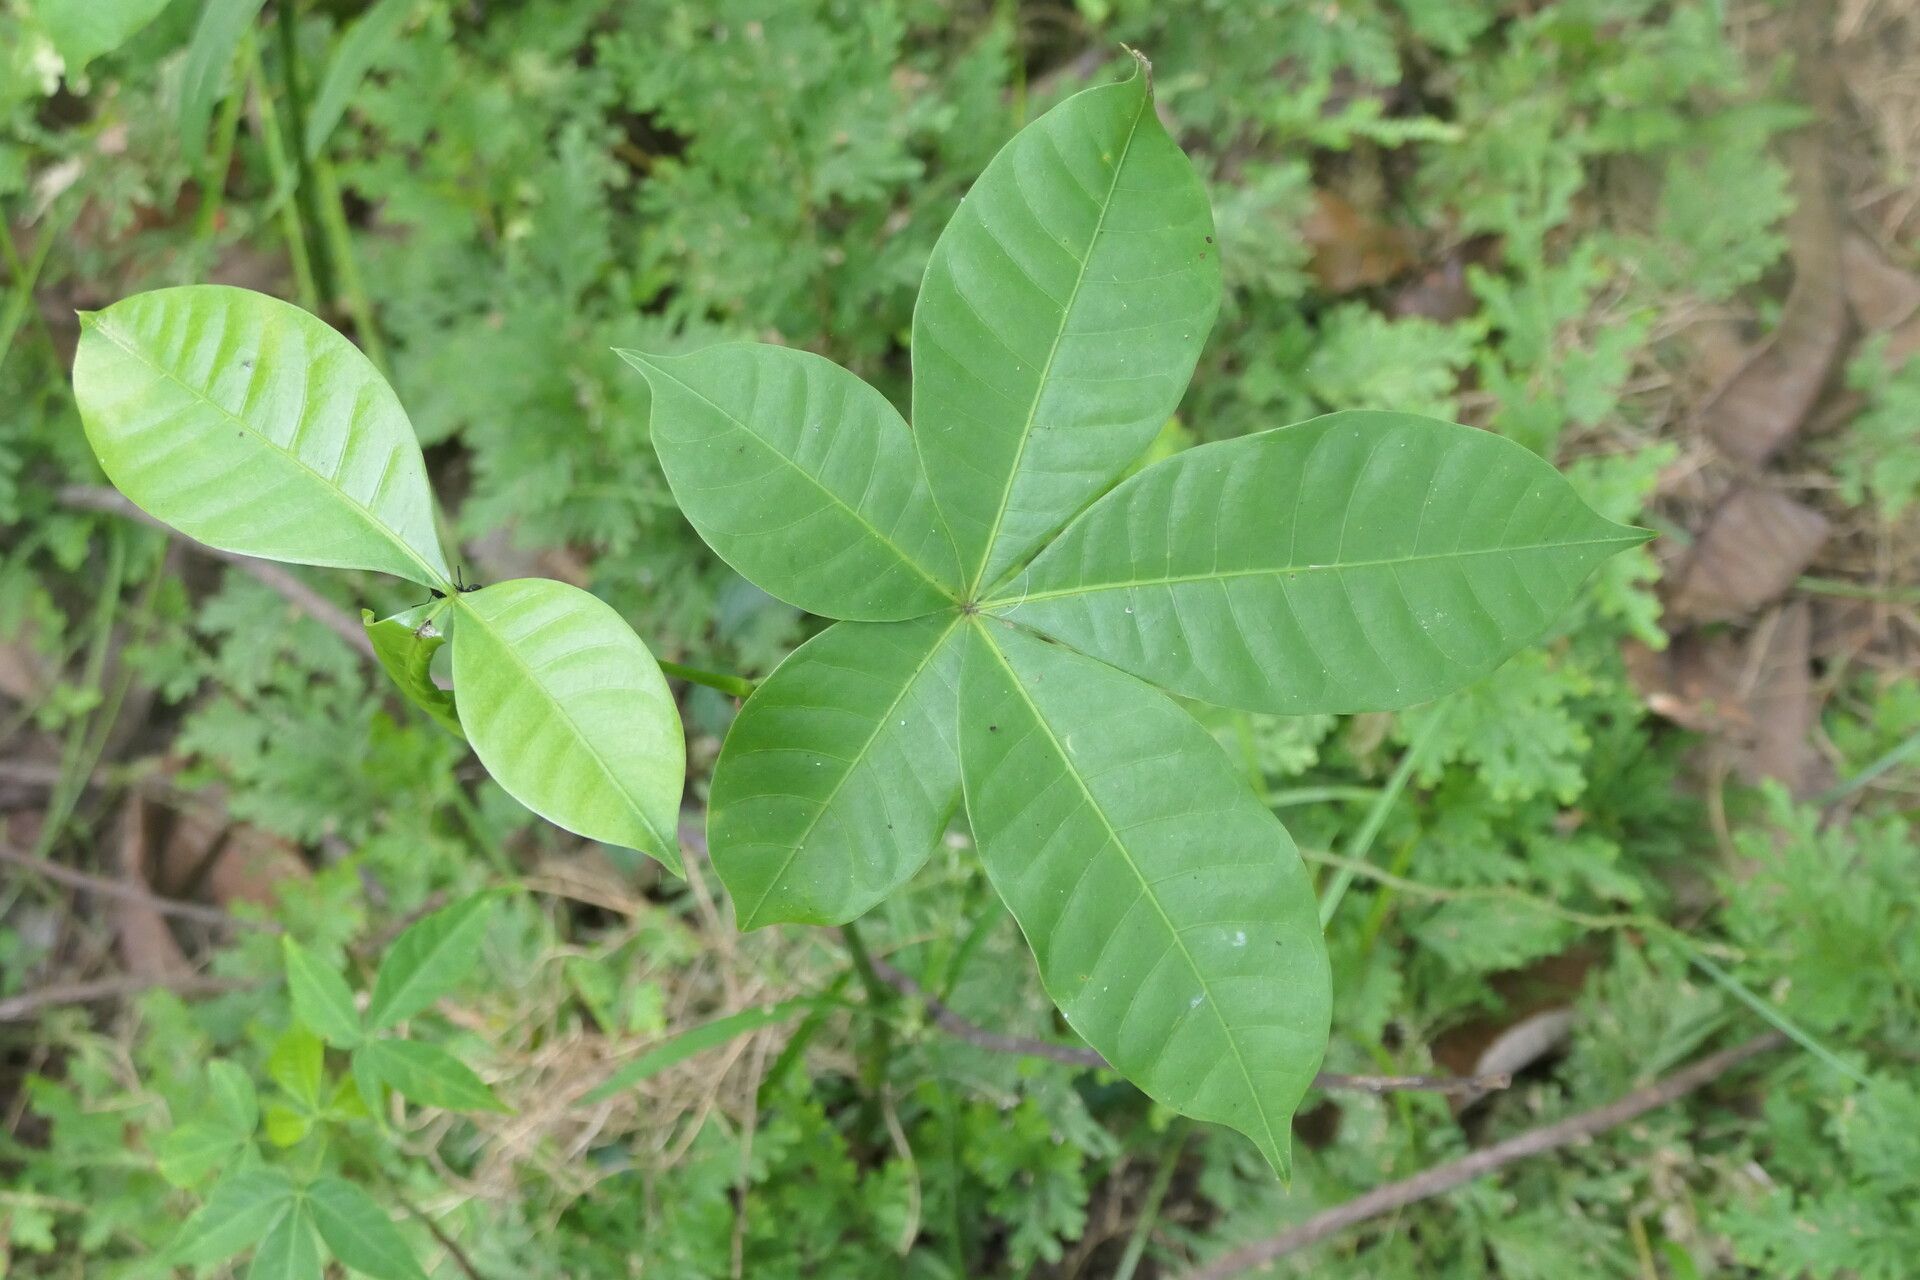
For the highest success rate with Vitex pseudolea, I find late spring to early summer is your sweet spot. You want to catch the plant when it’s actively growing and has plenty of energy. Look for new, but slightly hardened-off shoots – not the super soft, floppy new growth, but also not the really woody stems from last year. Think of them as being “pencil-thick” and firm.
Supplies You’ll Need
Gathering your supplies before you begin makes the whole process much smoother. Here’s what I usually have on hand:
- Sharp, clean pruning shears or a sharp knife: Sterilize them with rubbing alcohol to prevent disease.
- Rooting hormone powder or gel: This significantly boosts your success rate.
- A well-draining potting mix: I like a blend of peat moss, perlite, and a touch of compost. For a small batch, a bagged potting mix for cuttings works well too.
- Small pots or trays with drainage holes: Clean ones, please!
- A plastic bag or a clear dome: To create a humid environment for your cuttings.
- Labels: So you don’t forget what you planted!
- Water
Propagation Methods
My go-to method for Vitex pseudolea is stem cuttings. It’s reliable and I can usually get a decent number of new plants from a healthy parent.
- Take Your Cuttings: Using your clean shears, take 4-6 inch cuttings from healthy, current-season’s growth. Make your cut just below a leaf node (where a leaf attaches to the stem). This is where the plant has a good concentration of growth hormones. Remove the lower leaves, leaving just the top two or three.
- Apply Rooting Hormone: Dip the cut end of each cutting into the rooting hormone, tapping off any excess. Make sure the hormone covers the part of the stem that will be buried.
- Plant Your Cuttings: Fill your pots with your prepared potting mix. Make a small hole with your finger or a pencil, and gently insert the cutting, ensuring the rooting hormone is covered. Firm the soil lightly around the stem.
- Water and Cover: Water the soil gently until it’s evenly moist but not soggy. Then, cover the pot with a plastic bag or a clear dome to create a mini-greenhouse effect. This is crucial for maintaining humidity, which prevents the cuttings from drying out before they can form roots. If using a bag, prop it up with a few sticks so it doesn’t touch the leaves.
The “Secret Sauce” (Pro Tips)
Here are a few tricks I’ve learned over the years that make a real difference:
- Don’t Let Leaves Touch The Water: If you’re doing a bit of water propagation as a trial run or if your pot is shallow, make absolutely sure the leaves of your cutting don’t sit in the water. Only the stem should be submerged, and even better, rooting hormone really speeds things up.
- Bottom Heat is Your Friend: If you have a seedling heat mat, place your pots on it. The gentle warmth from below encourages root development much faster than ambient room temperature alone. It’s like giving your cuttings a warm hug!
- Mist, Don’t Drench: While humidity is key, you don’t want to create stagnant, waterlogged conditions. Lightly mist the inside of your plastic cover every few days if it looks dry, rather than overwatering the soil.
Aftercare & Troubleshooting
Once you start to see tiny white roots emerging from the drainage holes or your cuttings plump up and show new leaf growth, you’re in business! Gradually acclimate your new plants to normal humidity by opening the plastic bag or dome a little more each day over a week. Continue to keep the soil consistently moist, but not waterlogged.
The most common issue I see is rot. This usually happens from overwatering or poor drainage. If a cutting turns black and mushy, sadly, it’s a goner. Don’t beat yourself up; some just don’t make it. If you see mold on the soil surface, it’s another sign of too much moisture and not enough air circulation.
A Little Patience Goes A Long Way
Propagating plants is a journey, and Vitex pseudolea is a willing travel companion. Be patient, observe your cuttings, and enjoy the magic of watching new life emerge. Happy gardening, everyone!
Resource:
https://identify.plantnet.org/k-world-flora/species/Vitex%20pseudolea%20Rusby/data