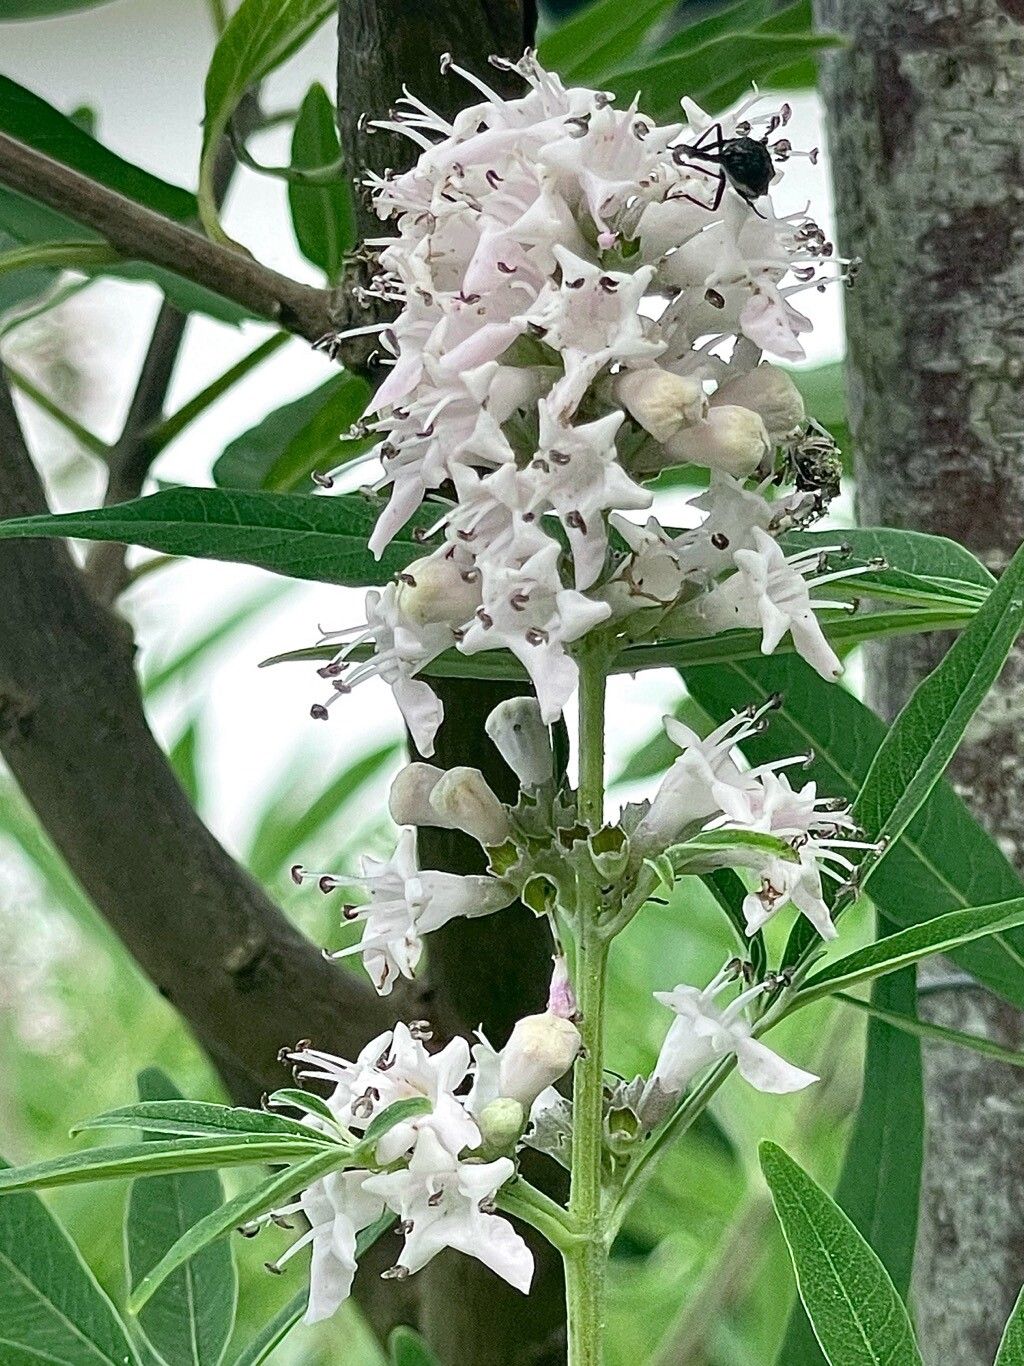
Hello there, fellow plant lovers! It’s so lovely to have you join me today. If you’ve ever admired those beautiful spires of blue or purple flowers gracing a summer garden, chances are you’ve met Vitex agnus-castus, commonly known as Chaste Tree. This plant is simply divine, isn’t it? The way it bursts into bloom, attracting all sorts of pollinators, is pure garden magic.
Best of all, Chaste Tree is incredibly rewarding to propagate. You can expand your own collection or share these lovely plants with friends. And guess what? For those of you who are just dipping your toes into the world of plant propagation, you’ll be happy to hear that Vitex is generally quite forgiving. It’s a fantastic plant to start with!
The Best Time to Start
When it comes to propagating Vitex, softwood cuttings are your best friend. The ideal time to take these is in late spring to early summer, after the strongest winter frosts have passed but before the new growth has started to harden off. You’re looking for stems that are flexible and bending, not stiff and woody. Think of that succulent, new growth that snaps easily rather than breaks.
Supplies You’ll Need
Gathering your supplies beforehand makes the whole process smoother. Here’s what I always have on hand:
- Sharp pruning shears or a clean, sharp knife: For making clean cuts.
- Potting mix: A well-draining mix is crucial. I like to use a blend of peat moss or coco coir, perlite, and a little bit of compost. You can also buy specific seed-starting or cutting mixes.
- Rooting hormone: While not always strictly necessary for Vitex, it can give your cuttings a significant boost. Look for a powder or gel.
- Small pots or seed trays: Clean ones, of course! Small peat pots or 4-inch plastic pots work wonderfully.
- Plastic bag or clear plastic dome: To create a humid environment.
- Water: For moistening the soil and for water propagation if you choose that route.
- Labels and a marker: So you don’t forget what you’ve planted where!
Propagation Methods
Let’s get our hands dirty! I find stem cuttings to be the most reliable method for Vitex.
Method 1: Stem Cuttings
- Take the Cuttings: On a pleasant morning, select healthy, vigorous stems from your mature plant. Using your clean shears, cut lengths of about 4 to 6 inches. Make the cut just below a leaf node (where a leaf attaches to the stem). This is where the magic happens when it comes to root formation.
- Prepare the Cuttings: Gently remove the lower leaves, leaving just two or three sets of leaves at the top. This reduces moisture loss and prevents leaves from rotting in the soil. If the remaining leaves are quite large, you can even trim them in half to further reduce water evaporation.
- Apply Rooting Hormone: Dip the cut end of each stem into your rooting hormone. Tap off any excess.
- Plant the Cuttings: Fill your pots with your prepared, moistened potting mix. Use a pencil or a finger to make a small hole in the center of the soil. Insert the treated end of the cutting into the hole, gently firming the soil around it. Make sure to plant enough cuttings – not all of them will make it, and that’s perfectly okay!
- Create a Humid Environment: Water the soil lightly again. Then, cover the pots with a clear plastic bag (propped up with stakes so it doesn’t touch the leaves) or a clear plastic dome. This traps moisture and creates a mini-greenhouse effect.
- Placement: Place your pots in a bright location that receives indirect sunlight. Avoid direct sun, which can scorch your delicate cuttings.
Method 2: Water Propagation (A Quick Check)
While I find stem cuttings in soil more successful for long-term health, you can get a quick visual on root development with water propagation.
- Prepare Cuttings: Follow steps 1 and 2 from the stem cutting method.
- Place in Water: Put the cuttings in a glass or jar filled with clean water. Make sure no leaves are submerged in the water.
- Change Water Regularly: Change the water every few days to keep it fresh and prevent bacterial growth.
- Watch for Roots: You should see tiny white roots emerge from the cut end within a few weeks. Once the roots are about an inch long, you can carefully transfer them to pots with your well-draining potting mix, following steps 4 and 5 from the stem cutting method.
The “Secret Sauce” (Pro Tips)
Here are a few tricks I’ve picked up over the years that really seem to help:
- Bottom Heat is Your Friend: Vitex loves a bit of warmth to encourage root development. If you have access to a heat mat (often used for seed starting), placing your pots on it can significantly speed up the rooting process. Just a gentle warmth, not scorching hot.
- Don’t Overwater! It sounds counterintuitive, but too much water is the quickest way to rot your cuttings. The goal is consistently moist, but not soggy, soil. Stick your finger in about an inch – if it feels dry, it’s time to water.
- Patience with Parent Plant: When taking cuttings, try to do so from sections of the plant that are not flowering. While it might seem like you’re sacrificing blooms, the plant will thank you by putting its energy into root development rather than flower production.
Aftercare & Troubleshooting
Once you start seeing new leaf growth, that’s a fantastic sign that roots are forming! You can gently tug on a cutting – if there’s resistance, you’ve got roots.
- Gradual Acclimation: Once your cuttings look robust, start gradually acclimating them to less humid conditions. Lift the plastic bag for a few hours each day, slowly increasing the time until you can remove it entirely.
- Transplanting: When your new plants have developed a good root system and are showing healthy top growth, it’s time to transplant them into slightly larger pots. Continue to use your well-draining mix.
- Common Issues: The most common problem you’ll encounter is rot. This is usually caused by overwatering or poor drainage. If a cutting looks mushy, turns black, or smells funky, it’s likely rotted. Unfortunately, there’s no bringing those back. Snip it out and check your watering habits for the remaining cuttings. Another sign of failure is if the leaves turn yellow and drop off without any signs of new growth – this could mean the cutting simply didn’t root and is dying from lack of water intake.
A Encouraging Closing
Propagating Vitex agnus-castus is a journey, and like any gardening endeavor, it’s filled with learning and the joy of nurturing life. Don’t be discouraged if not every cutting takes. Each attempt is a chance to refine your technique and to connect more deeply with these beautiful plants. Keep at it, be patient, and marvel as you watch those tiny cuttings grow into new, flowering Chaste Trees! Happy propagating!
Resource:
https://identify.plantnet.org/k-world-flora/species/Vitex%20agnus-castus%20L./data