Hello, fellow garden enthusiasts! It’s so good to be sharing a quiet moment with you today, virtual coffee in hand. We’re going to talk about a plant that’s been a quiet star in my garden for years: Vismia latifolia.
Bringing a Bit of Vismia Magic Home
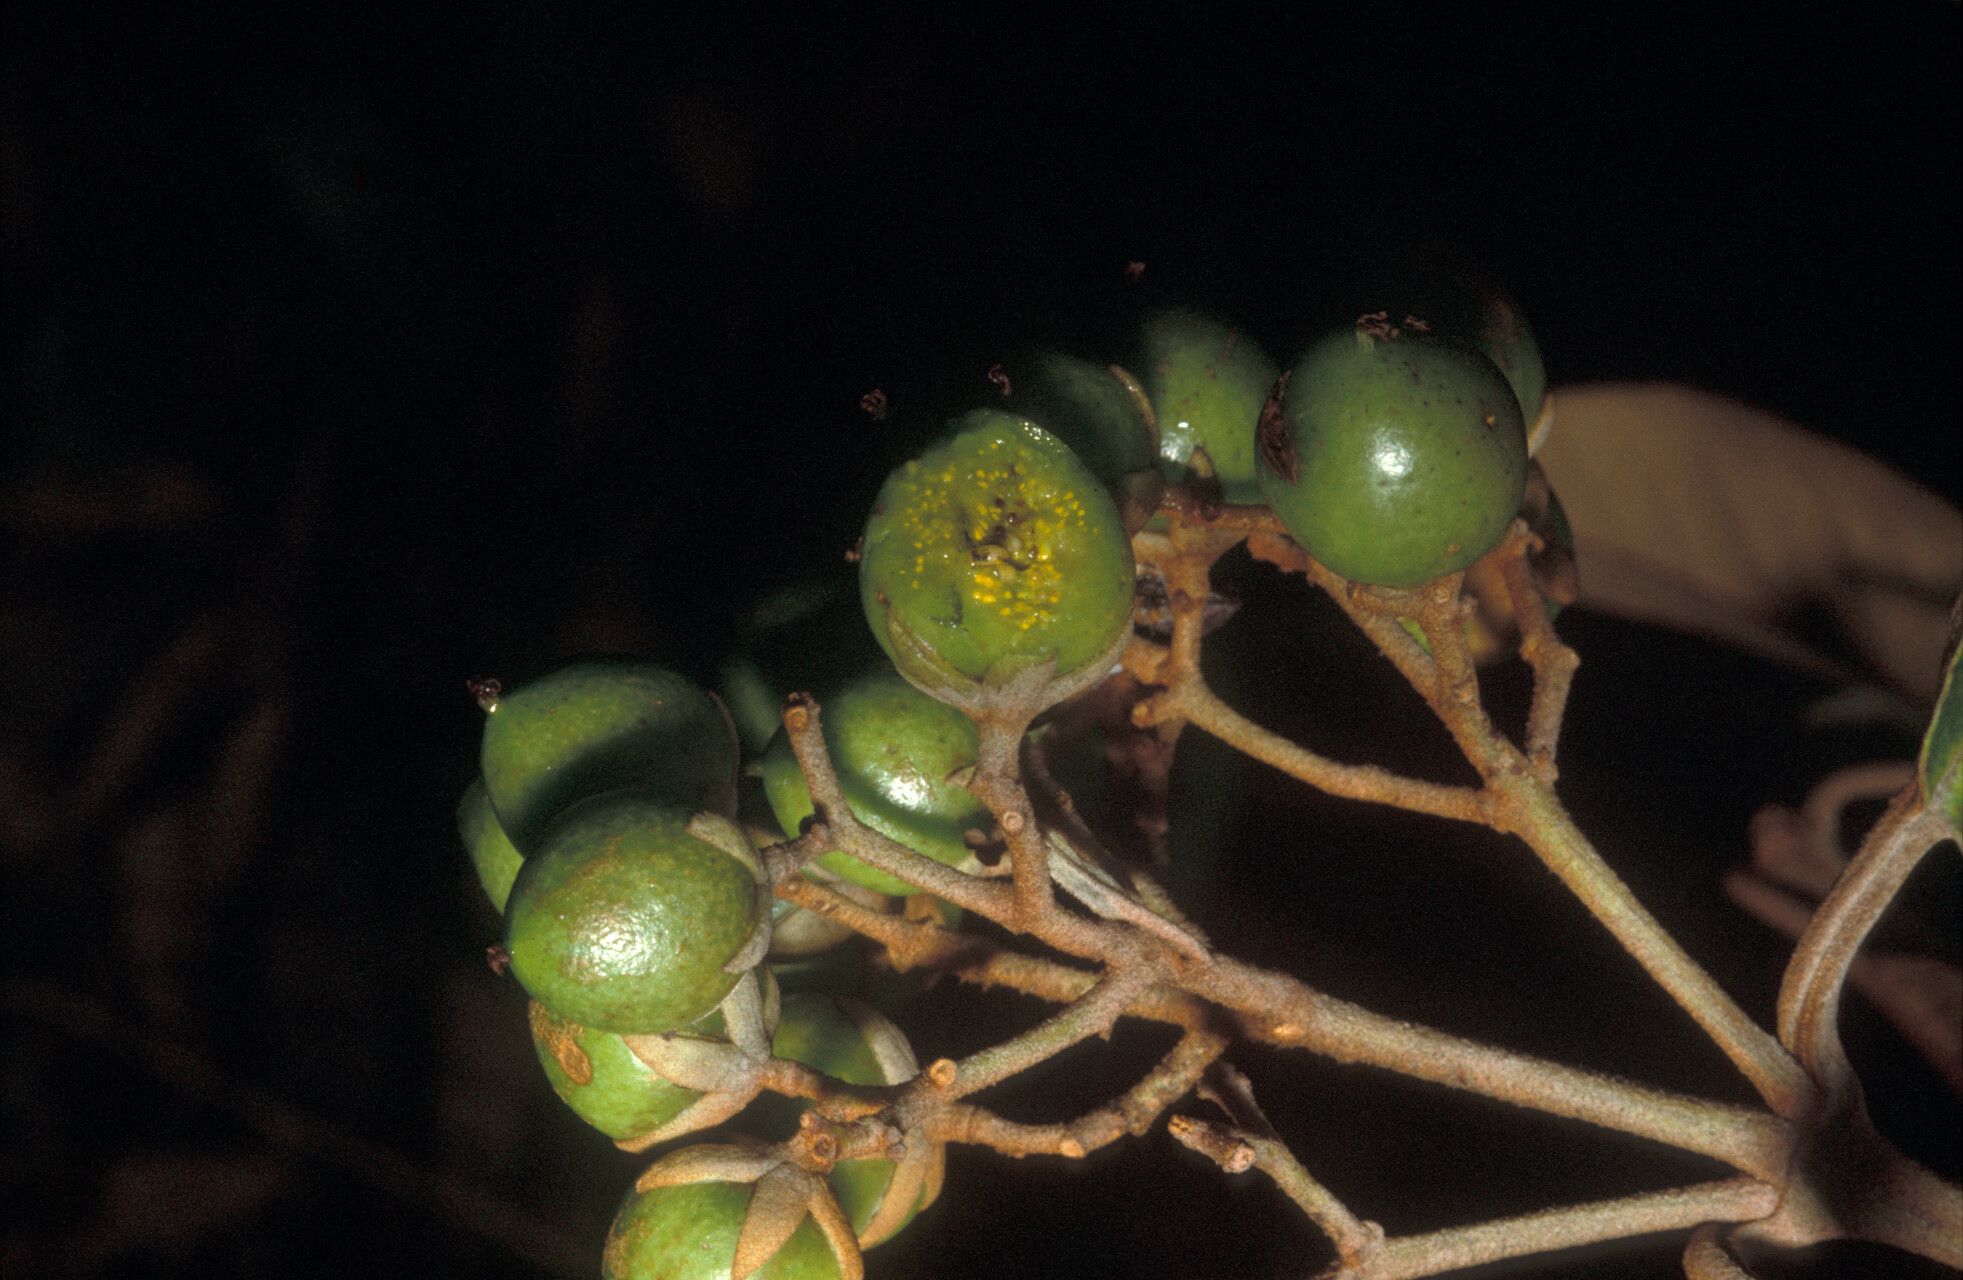
Have you ever spotted a Vismia latifolia and admired its lush, glossy leaves? Or perhaps the understated beauty of its understated flowers and berries has caught your eye? This tropical beauty offers such a wonderful tropical feel, and bringing new life into being from existing plants is one of the most satisfying parts of gardening for me. It feels like a little bit of magic, honestly. And the good news? While it has a reputation for being a tad particular, with a little guidance, propagating Vismia latifolia can be a truly rewarding experience, even if you’re relatively new to the world of plant propagation.
When Your Vismia is Ready to Share
The sweet spot for propagating Vismia latifolia, for me, is during its active growing season. This usually means late spring and throughout the summer months. You’re looking for stems that are growing vigorously but aren’t old and woody. Think soft, yet firm, growth. If a stem bends easily without snapping, it’s a good candidate.
Your Propagation Toolkit
Before we get our hands dirty, let’s gather our supplies. Having everything ready makes the process so much smoother.
- Sharp Pruning Shears or a Clean Knife: A clean cut is essential for healthy regeneration.
- Rooting Hormone (Optional but Recommended): This can significantly boost your success rate. Look for one containing IBA.
- Well-Draining Potting Mix: A mix designed for houseplants or a blend of peat moss, perlite, and a bit of compost works wonderfully.
- Small Pots or Trays: Clean pots are a must to prevent disease.
- Plastic Bags or a Propagator Lid: To create a humid environment.
- Gravel or Orchid Bark (for water propagation): To help keep cuttings stable.
Nurturing New Life: Propagation Methods
Vismia latifolia is typically best propagated from stem cuttings. It’s efficient and usually yields the best results.
Stem Cuttings:
- Select Your Cuttings: Find a healthy, non-flowering stem on your mature plant. Using your clean pruning shears, cut a section that is about 4-6 inches long. Make the cut just below a leaf node (where a leaf attaches to the stem). This is where new roots are most likely to form.
- Prepare the Cutting: Gently remove the lower leaves from your cutting. You want to leave just a couple of leaves at the very top. This reduces moisture loss. If the remaining leaves are particularly large, I like to cut them in half horizontally to further decrease evaporation.
- Apply Rooting Hormone: Dip the cut end of the stem into your rooting hormone. Tap off any excess.
- Potting Up: Fill your clean pots with the prepared potting mix. Gently insert the cutting into the mix, ensuring the leaf nodes are covered. Firm the soil gently around the stem.
- Create Humidity: Water the soil lightly. Then, cover the pot with a plastic bag (you can use a skewer or two to keep the bag from touching the leaves) or place it in a propagator with a lid. This humidity is crucial for these cuttings.
- Placement: Place your pots in a bright spot that receives indirect light. Avoid direct sun, which can scorch the delicate cuttings.
The “Secret Sauce”: My Insider Tips
You know, after years of tinkering, I’ve picked up a few tricks that seem to make a difference.
- The Warm Bottom: Vismia cuttings absolutely love a little warmth from below. Placing your pots on a heat mat designed for propagation can really speed up root development. It mimics the warm soil they’d encounter in their natural habitat.
- Patience with Watering: While we want humidity, don’t let the soil become waterlogged. A gentle watering when the top inch of soil feels dry is usually sufficient. Overwatering is a common culprit for rot, especially in the early stages when there are no roots to absorb the excess moisture.
- The “Sniff Test” for Readiness: Honestly, this is how I gauge if my cuttings are ready to come out of their humid environment. After a few weeks, when you see new leaf growth appearing at the top, that’s your sign. It means roots have formed and the plant is starting to establish itself.
Aftercare and What to Watch For
Once you start seeing that new growth, it’s an exciting moment! You’ll know your cutting has successfully rooted when you gently tug on it and feel resistance.
Continue to keep the soil lightly moist and the environment humid for a while longer. Gradually acclimate your new plant to lower humidity by opening the plastic bag or propagator lid for increasing periods each day over a week or two. Once it seems comfortable in your normal room environment, you can transplant it into a slightly larger pot if needed.
Now, about troubleshooting. The most common issue you might encounter is rot. If you notice your cutting turning black and mushy, it’s likely due to too much moisture and not enough aeration. Unfortunately, severely rotted cuttings are usually beyond saving, so prevention is key! If you see a cutting that just isn’t doing anything, it might be worth gently excavating it to see if any roots have formed. Sometimes, they just need a bit more time.
Go Forth and Grow!
Propagating plants is a journey, and every gardener, myself included, has had their share of experiments that didn’t quite work out. That’s perfectly okay! Don’t be discouraged. Be patient with your Vismia latifolia cuttings, offer them consistent care, and enjoy the process of nurturing new life. You’ll be rewarded with beautiful new plants to share and admire. Happy gardening!
Resource:
https://identify.plantnet.org/k-world-flora/species/Vismia%20latifolia%20(Aubl.)%20Choisy/data