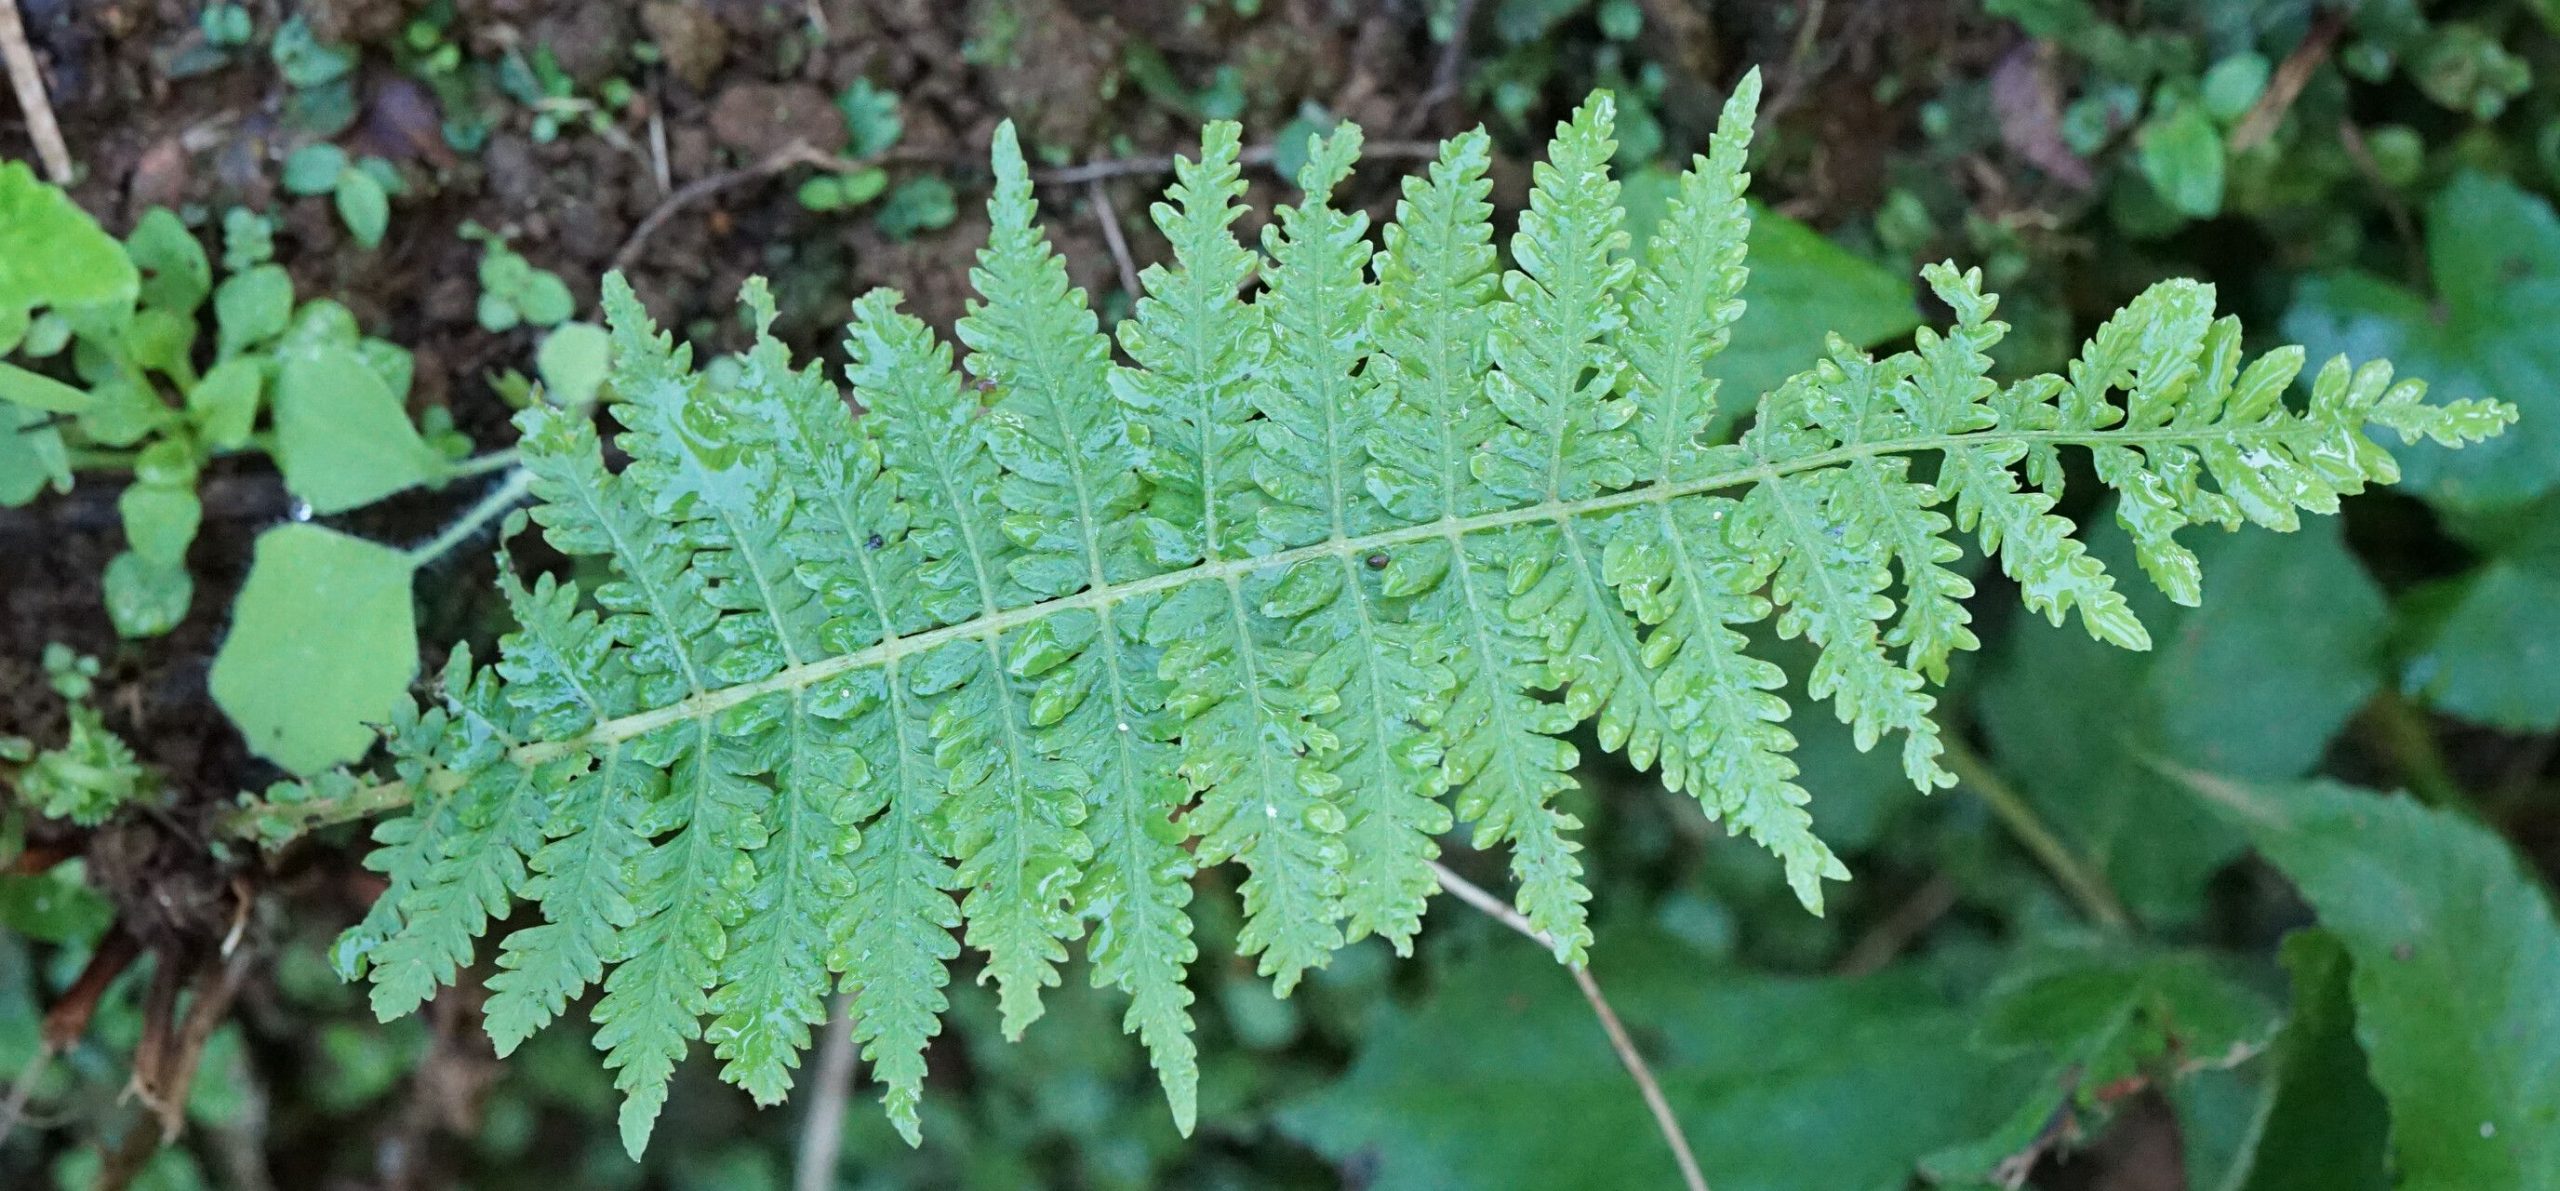
Hello fellow plant lovers! I’m so excited to chat with you today about a true gem in the fern world: Thelypteris resinifera, often called the resin fern. Its glossy, unfurling fronds have a certain elegance that just brightens up any shady corner. And the best part? You can easily bring this beauty into your own home or garden by propagating it! For those of you just starting out with ferns, I’d say Thelypteris resinifera is a fairly rewarding plant to propagate. It’s not overly fussy, which is always a plus!
The Best Time to Start
The absolute sweet spot for propagating Thelypteris resinifera is during its active growing season. Think late spring to early summer. This is when the plant is full of vigor and has the energy reserves to push out new roots. You’ll see new fronds emerging, which is a good sign your plant is ready and willing to share its magic.
Supplies You’ll Need
Gathering your tools beforehand makes the whole process smoother. Here’s what I always have on hand:
- Clean, sharp pruning shears or a knife: Essential for making clean cuts.
- A good quality potting mix: I like to use a blend that’s well-draining but still retains some moisture. A mix of peat moss, perlite, and a little compost usually does the trick. Or, grab a specialized fern mix!
- Small pots or trays: For your new cuttings. Make sure they have drainage holes!
- Clear plastic bags or a propagation dome: To create a humid environment.
- Rooting hormone (optional but recommended for cuttings): This can give your cuttings a helpful boost.
- A spray bottle: For misting.
- A saucer or tray: To catch any excess water.
Propagation Methods
Thelypteris resinifera is quite adaptable, and here are a couple of methods that have worked beautifully for me:
Division: The Easiest Route
This is hands-down the simplest way to multiply your resin fern.
- Gently unpot your mature fern. Try to do this when the soil is slightly moist, as it makes it easier to work with.
- Look for natural separation points. You’ll often see where the rhizome (the underground stem) has naturally split or where distinct crowns have formed.
- Carefully tease apart the divisions. You can use your fingers or a clean trowel to gently separate clumps. Aim for divisions that have at least one healthy leaf (frond) and some roots attached.
- Pot up your new divisions. Plant each division in its own small pot filled with your potting mix.
- Water thoroughly.
Stem Cuttings (Rhizome Cuttings)
This method might take a little more patience, but it’s very effective.
- Select a healthy rhizome segment. Look for a piece of the underground stem that has a growth bud or a tiny frond emerging. It should be at least an inch or two long.
- Make a clean cut with your sharp shears or knife. You can even cut it so that there’s a small piece of root attached.
- If using rooting hormone, dip the cut end into it, following the product’s instructions.
- Plant the cutting. Insert the cut end into your prepared potting mix, burying it just enough so that the bud or tiny frond is exposed to the air.
- Firm the soil gently around the cutting.
The “Secret Sauce” (Pro Tips)
Here are a few little tricks I’ve learned over the years that really make a difference:
- The humidity bubble is key! After potting your divisions or cuttings, tent a clear plastic bag loosely over the pot, or place it under a propagation dome. This creates a mini-greenhouse effect, keeping the air nice and humid. Make sure the leaves don’t touch the plastic bag, as this can encourage rot. I usually prop the bag up with a skewer or two.
- Bottom heat helps immensely for rhizome cuttings. Ferns just love a little gentle warmth from below. Placing your pots on a heated propagation mat can speed up root formation significantly. It mimics the warmth of spring soil.
- Don’t overwater! This is true for established plants, and even more so for propagation. The soil should stay consistently moist, but not soggy. Overwatering is the quickest way to invite fungal problems and rot, especially with cuttings.
Aftercare & Troubleshooting
Once your divisions or cuttings have been potted, the waiting game begins. Keep them in bright, indirect light – never direct sun, which can scorch tender new growth. Mist them regularly with your spray bottle to maintain that crucial humidity.
You’ll know you’re on the right track when you see new frond growth emerging! This usually takes anywhere from a few weeks to a couple of months, depending on the method and conditions.
If you notice leaves turning yellow and mushy or see fuzzy mold, that’s usually a sign of too much moisture or poor air circulation. Don’t be afraid to remove any affected parts immediately. Often, just adjusting your watering schedule or increasing ventilation can help.
A Little Patience, A Lot of Joy
Propagating plants is a journey, and it’s one I always find incredibly rewarding. Watching a tiny cutting or a divided clump transform into a beautiful, thriving fern fills me with such a sense of accomplishment. So, take a deep breath, gather your supplies, and give it a go. Patience is your best gardening tool, and before you know it, you’ll have more Thelypteris resinifera to share with friends or to fill every shady nook you have! Happy propagating!
Resource: