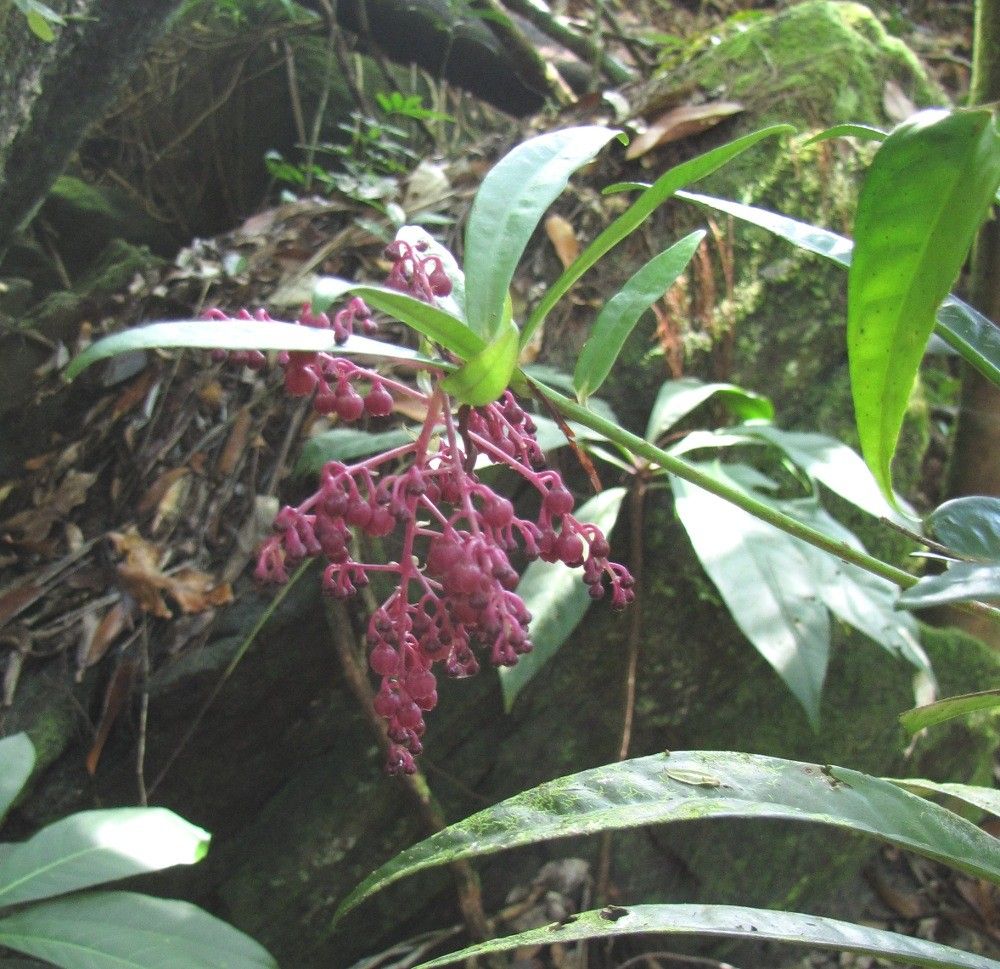
Oh, hello there! I’m so excited you’re curious about propagating Tapeinosperma colnettianum. This little gem, with its delicate foliage and often charming, subtle blooms, is just a joy to have in the garden or as a houseplant. Watching a tiny cutting flourish into a full plant is one of gardening’s greatest rewards, and this one is no exception. Now, I won’t lie to you – Tapeinosperma colnettianum can be a tad particular, so it might not be the absolute easiest plant for a complete beginner, but with a little patience and these tips, you’ll be well on your way to success.
The Best Time to Start
For the best shot at success with Tapeinosperma colnettianum, spring is your absolute best friend. Think about it: the plant is waking up, full of vigor and ready to grow. This is when it’s putting out its freshest, most energetic new shoots, which makes them perfect candidates for taking cuttings. You want to catch them when they’re actively growing, not when they’re stressed by heat or dormancy.
Supplies You’ll Need
Before we get our hands dirty, let’s gather our tools:
- Sharp Pruning Shears or a Clean Knife: Essential for making clean cuts that heal well.
- Rooting Hormone (Optional but Recommended): A little boost can make a big difference. I prefer the powder kind.
- Well-Draining Potting Mix: A good blend is key. I usually mix equal parts perlite and seed-starting mix, or a dedicated cacti and succulent mix works wonderfully.
- Small Pots or Propagation Trays: Clean, with drainage holes, of course.
- Plastic Bag or Dome: To keep humidity levels high around your cuttings.
- Watering Can or Mister: For gentle watering.
- Labeling Stakes/Marker: So you don’t forget what you’ve propagated!
Propagation Methods
Let’s dive into how we can get more of these lovely plants.
Stem Cuttings
This is my go-to method for Tapeinosperma colnettianum.
- Select Your Cuttings: Look for healthy, non-flowering stem tips that are about 3-4 inches long. You want new growth, but not the super soft, floppy bits. A slightly woody base is ideal.
- Make the Cut: Using your clean shears or knife, make a clean cut just below a leaf node. A leaf node is where a leaf joins the stem – this is where roots are most likely to form.
- Prepare the Cutting: Gently remove the lower leaves from the bottom inch or so of the stem. This prevents them from rotting once they’re in the soil. You can leave 2-4 leaves at the top.
- Apply Rooting Hormone (Optional): Dip the cut end into your rooting hormone, tapping off any excess. This step really helps encourage those roots to appear.
- Plant the Cutting: Fill your small pots with your pre-moistened potting mix. Make a small hole with your finger or a pencil and gently insert the cutting. Firm the soil around the base.
- Create a Humid Environment: Water the soil lightly. Then, cover the pot with a plastic bag (making sure the leaves don’t touch the sides!) or place it under a clear propagation dome. This traps moisture and keeps humidity high, which cuttings love.
- Find a Spot: Place the pot in a bright location, but avoid direct sunlight. A warm spot is best.
Water Propagation (A Little Trickier for This One)
While some plants root beautifully in water, Tapeinosperma colnettianum can be a bit more prone to rot if left too long this way. If you choose this method:
- Prepare the Cutting: Follow steps 1-3 from the stem cuttings method.
- Place in Water: Put the cutting in a clean glass or jar of distilled or filtered water. Make sure no leaves are submerged. Only the stem should be in the water.
- Change Water Regularly: This is crucial! Change the water every few days to keep it fresh and prevent bacteria buildup.
- Wait and Watch: You should see tiny roots emerging from the leaf nodes. Once the roots are about an inch long, it’s time to transplant them into potting mix immediately. Don’t let them stay in water too long.
The “Secret Sauce” (Pro Tips)
Here are a couple of things I’ve learned over the years that often make a real difference:
- Bottom Heat is Your Friend: If you have it, use a heating mat designed for propagation. This gentle warmth from below can significantly speed up root formation and increase your success rate, especially if your home is a bit on the cooler side.
- Don’t Overwater, But Don’t Let It Dry Out: This is a delicate balance. The potting mix should stay consistently moist, but not soggy. Think of a wrung-out sponge. If the leaves start to droop dramatically, it might be too dry. If the soil feels waterlogged, you might have too much moisture, which can lead to rot.
Aftercare & Troubleshooting
Once you see signs of new growth – tiny leaves unfurling or a gentle tug on the cutting with resistance – that’s your cue that roots have formed!
- Gradual Acclimation: If you used a plastic bag or dome, start by removing it for a few hours each day to gradually acclimate your new plant to normal humidity levels.
- Transplanting: Once the roots are well-established and the plant is looking robust, you can transplant it into a slightly larger pot with more of your regular potting mix.
- Watering: Water thoroughly when the top inch or two of soil feels dry.
- Troubleshooting: The most common issue you’ll face is rot. If a cutting turns black and mushy, it’s likely rotted. This is usually due to too much moisture, poor drainage, or a lack of air circulation. If you see wilting that doesn’t improve with watering, it could be a sign of root rot. Prevention is key: use that well-draining mix and avoid overwatering!
A Little Patience Goes a Long Way
Propagating Tapeinosperma colnettianum is a process that requires a bit of observation and patience. Don’t get discouraged if your first few attempts aren’t perfect. Keep experimenting, keep learning, and most importantly, enjoy the journey of growing new life. Happy gardening!
Resource:
https://identify.plantnet.org/k-world-flora/species/Tapeinosperma%20colnettianum%20Guillaumin/data