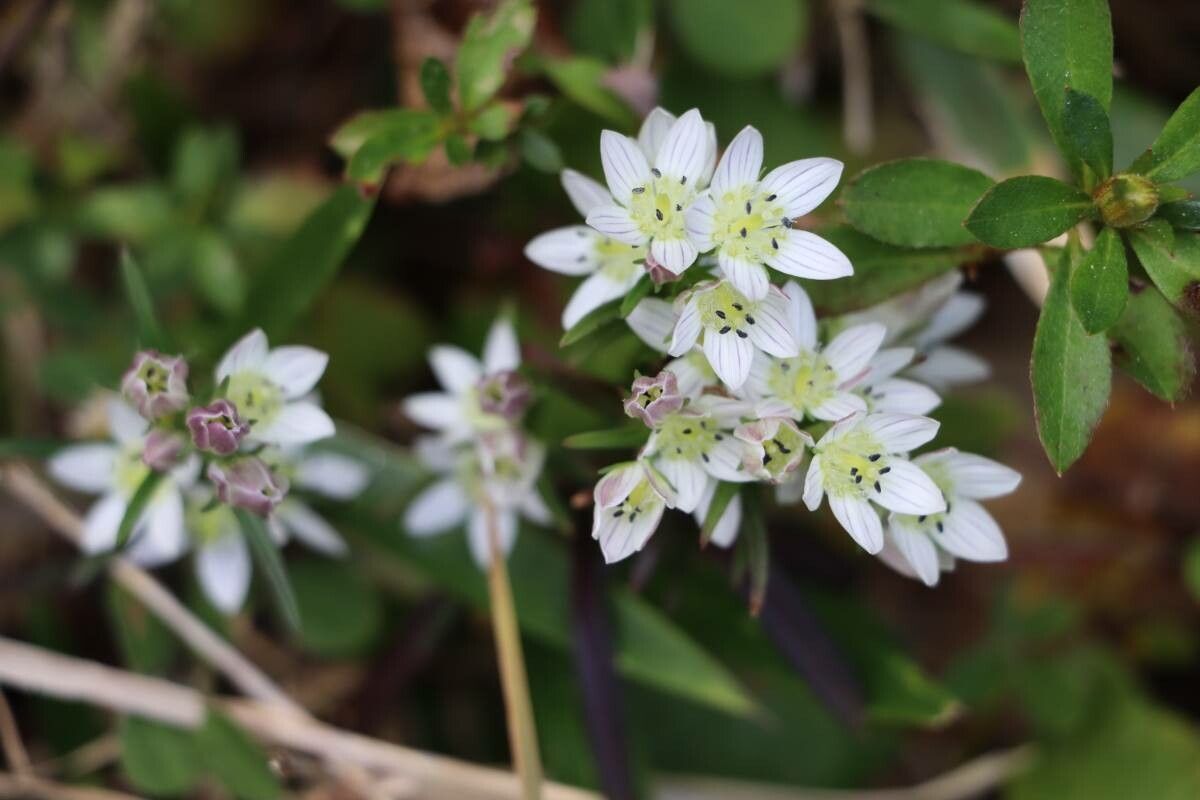
Hey there, fellow garden enthusiasts! Today, we’re diving into the wonderful world of Swertia japonica, a plant that really captures my heart. You know, that gorgeous burst of starry blue flowers in late summer and early autumn? It’s truly a gem for any woodland garden or that shady corner that needs a little sparkle. Propagating Swertia japonica can be just as rewarding as watching those beautiful blooms unfurl. Now, I won’t sugarcoat it – it’s not the easiest plant for absolute beginners to propagate, but with a little patience and the right approach, it’s definitely achievable and oh-so-satisfying.
The Best Time to Start
For the best shot at success with Swertia japonica, late spring to early summer is your sweet spot. This is when the plant is actively growing and has that youthful energy, making it more receptive to both division and cuttings. Waiting until after the initial flush of growth but before the plant puts all its energy into flowering is key.
Supplies You’ll Need
Grab your apron, and let’s get our gear ready! Here’s what you’ll want to have on hand:
- Sharp Pruning Shears or a Craft Knife: Cleanliness is crucial for preventing disease.
- A Well-Draining Potting Mix: I like a mix of peat moss, perlite, and a bit of good quality compost. About a 1:1:1 ratio works wonders.
- Small Pots or Seed Trays: Whatever will provide a snug, but not cramped, home for your new babies.
- Rooting Hormone (Optional but Recommended): A good quality powder or gel can give your cuttings an extra boost.
- Perlite or Vermiculite: For ensuring excellent drainage and aeration.
- Watering Can with a Fine Rose Attachment: To water gently without disturbing young roots.
- Labels: To keep track of your plantings!
Propagation Methods
Swertia japonica is best propagated through division or taking stem cuttings. Let’s break down how we do it.
By Division
This is generally the most reliable method for Swertia japonica.
- Timing is Everything: As we mentioned, late spring or early summer is ideal. Gently dig up the entire plant, being careful to disturb the roots as little as possible.
- Inspect the Roots: You’ll likely see distinct crowns or clumps forming.
- Gentle Separation: Using your hands or a clean, sharp spade or trowel, carefully separate the plant into smaller sections. Each section should have at least a few healthy roots and a growing point. Don’t be afraid to get a little rough, but aim for clean breaks rather than tearing.
- Replant Immediately: Pot up your divisions into your prepared potting mix. Water them in gently but thoroughly. Place them in a partially shaded spot and keep the soil consistently moist.
By Stem Cuttings
This method requires a bit more finesse, but it’s a great way to increase your stock.
- Select Your Cuttings: In late spring or early summer, look for healthy, non-flowering stems. You want pieces that are about 3-4 inches long. Make a clean cut just below a leaf node (where a leaf attaches to the stem).
- Prepare the Cuttings: Remove the lower leaves from the cutting, leaving just a couple at the top. This prevents them from rotting when buried. If you’re using rooting hormone, dip the cut end into the hormone powder or gel now.
- Planting Time: Fill your pots or trays with your well-draining mix. Make a small hole with a pencil or dibber and gently insert the cutting. Firm the soil around it.
- Water Well and Cover: Water gently to settle the soil. To create a mini greenhouse effect, which is crucial for cuttings, you can cover the pot with a clear plastic bag (supported so it doesn’t touch the leaves) or place it in a propagator.
- Location, Location, Location: Place your cuttings in a bright spot but out of direct sunlight. Keep the soil consistently moist, but not waterlogged.
The “Secret Sauce” (Pro Tips)
Here are a few little tricks I’ve picked up over the years that can make a big difference:
- Don’t Let the Leaves Touch the Water: Whether you’re rooting cuttings or dividing, any leaves submerged in water are a recipe for fungal rot. Always trim them off before planting or ensure they’re well above the soil line.
- Bottom Heat is Your Friend (for Cuttings): While not strictly essential, placing pots with cuttings on a heated propagator mat can significantly speed up root development. It mimics the warmth of spring and gives those roots a real kickstart.
- Patience with Division: When dividing, I often find it helps to let the freshly divided pieces sit for a few hours in a cool, slightly damp spot before replanting. This allows any cut surfaces to scab over just a touch, reducing the risk of rot.
Aftercare & Troubleshooting
Once you see signs of new growth – a tiny leaf unfurling or a tentative shoot emerging – you know you’re on your way! Gradually acclimate your new plants to less humid conditions if you used a plastic bag. Continue to water consistently, ensuring the soil dries out slightly between waterings.
What if things go wrong? The most common culprit is rot, often indicated by a black, mushy stem or leaves. This usually happens due to overwatering and poor air circulation. If you spot rot early, you might be able to save the healthy parts of the cutting or division by cutting away the affected bits and repotting in fresh, dry soil. Sometimes, it’s just a matter of the plant not being ready or the conditions not being quite right.
A Encouraging Closing
Growing plants from cuttings or divisions is like giving a gift that keeps on giving. Don’t get discouraged if your first attempt isn’t perfect. Gardening is a journey of learning and observation. Be patient with your Swertia japonica, give them a little extra love, and enjoy the magical process of multiplying these beauties to fill your garden with their enchanting blue blooms. Happy planting!
Resource:
https://identify.plantnet.org/k-world-flora/species/Swertia%20japonica%20(Schult.)%20Makino/data