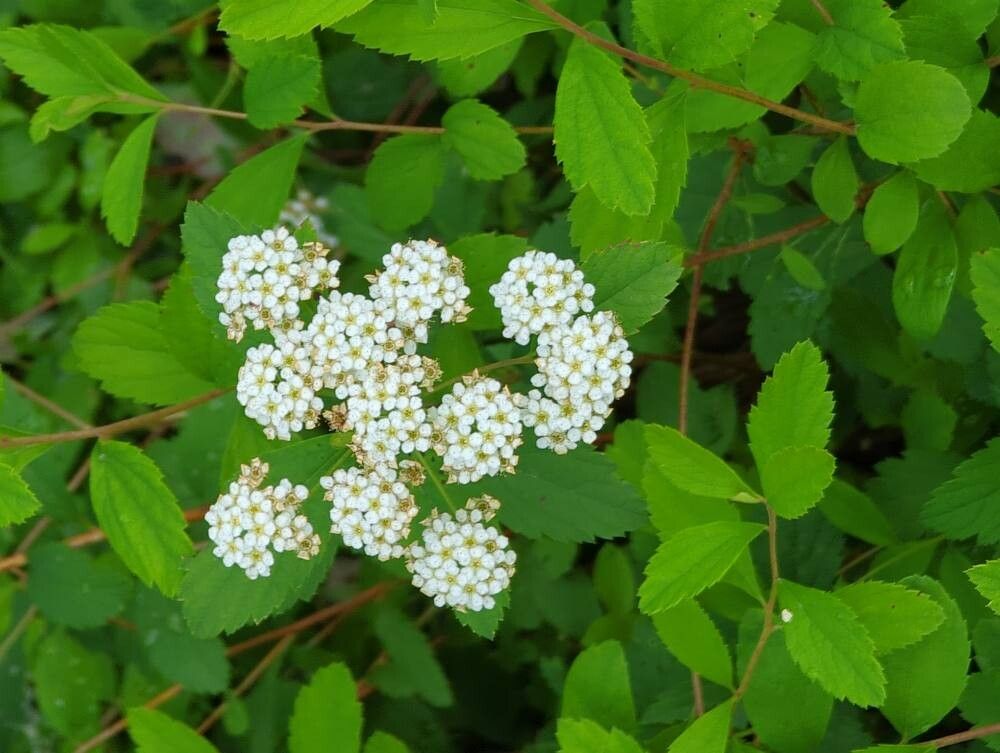
Hey there, fellow plant lovers! Today, we’re going to dive into something I find incredibly rewarding: propagating plants. Specifically, we’re talking about Spiraea miyabei, or Miyabe’s Spirea. If you’ve ever admired its graceful, arching branches and delicate white flowers in the springtime, you’ll know why this shrub is such a garden gem. It’s a sturdy, reliable bloomer that brings a lovely softness to any landscape.
And the best part? Propagating Spiraea miyabei isn’t as daunting as it might sound. I actually find it to be quite beginner-friendly, which is fantastic if you’re just starting out on your propagation journey. It means you can enjoy the satisfaction of growing new plants from your existing ones without too much fuss.
The Best Time to Start
Timing is everything, right? For Spiraea miyabei, the sweet spot for taking stem cuttings is when the plant is actively growing, but before it gets too woody. Think late spring to early summer, usually around May or June. This is when the new growth is flexible and full of life – perfect for rooting. Don’t worry if you miss this window; you can also try again with semi-hardwood cuttings in late summer.
Supplies You’ll Need
Gathering your tools beforehand makes the whole process smoother. Here’s what I always have on hand:
- Sharp Pruning Shears or a Knife: Clean cuts are crucial for successful rooting.
- Rooting Hormone: A good quality rooting powder or gel will significantly boost your success rate.
- Potting Mix: A light, well-draining mix is essential. I usually use a blend of peat moss and perlite or a specialized seedling starting mix.
- Small Pots or Seedling Trays: Make sure they have drainage holes!
- Plastic Bags or a Propagation Dome: This helps maintain humidity around your cuttings.
- Water: For moistening your soil and, if you choose, water propagation.
- Labels: To remember what you’ve planted and when!
Propagation Methods
I find stem cuttings to be the most reliable method for Spiraea miyabei. It’s straightforward and yields great results.
Stem Cuttings (Softwood/Semi-hardwood):
- Select Your Cuttings: Look for healthy, non-flowering stems that are about 4-6 inches long. They should be flexible but not floppy. You want stems that have a bit of give when you bend them, but aren’t stiff and woody.
- Make the Cut: Using your clean pruning shears or knife, make a cut just below a leaf node (where a leaf attaches to the stem). This is a prime spot for root formation.
- Prepare the Cuttings: Gently remove the lower leaves from the stem, leaving only 2-3 at the top. This prevents them from rotting in the soil and encourages the plant to focus its energy on root development.
- Apply Rooting Hormone: Dip the cut end of the stem into your rooting hormone. Make sure it’s well-coated. Tap off any excess.
- Plant Your Cuttings: Fill your pots or trays with your prepared potting mix and moisten it thoroughly. Make a small hole with your finger or a pencil, and insert the cutting, ensuring the rooting hormone coating is submerged. Gently firm the soil around the stem.
- Create a Humid Environment: Water the soil gently again. Then, cover the pot with a plastic bag or place it under a propagation dome. This creates a mini-greenhouse effect, keeping humidity high around the cuttings and preventing them from drying out. You can secure the bag with a rubber band or twist tie.
- Provide Light: Place the pots in a bright location with indirect sunlight. Avoid direct, scorching sun, which can fry your tender cuttings.
The “Secret Sauce” (Pro Tips)
Here are a couple of my little tricks that can really make a difference:
- Don’t Let the Leaves Touch the Water (if using water propagation): While I prefer soil for Spirea, if you’re tempted by water propagation for other plants, remember this golden rule: the leaves must stay dry. Any leaves submerged will rot and introduce disease to your cutting. For Spiraea miyabei, this translates to good soil drainage – the enemy of rot!
- Bottom Heat is Your Friend: If you have the inclination (and the space!), placing your pots on a gentle heated propagation mat can speed up root development significantly. It mimics the warmth of spring soil and gives those roots an extra kickstart. Just keep the temperature to a cozy 70-75°F (21-24°C).
Aftercare & Troubleshooting
Once your cuttings are planted, consistency is key. Mist the leaves occasionally if they look a bit wilted, and check the soil moisture regularly. It should be kept consistently moist but not waterlogged.
You’ll know your cuttings have rooted when you gently tug on them and feel resistance, or when you start to see new leaf growth pushing from the top. This usually takes 4-8 weeks, but can sometimes take longer.
The most common problem you’ll face is rot. If you see stems turning black and mushy, or if your cuttings just refuse to root and look sickly, it’s often due to overwatering or poor air circulation. Make sure your pots are draining well and don’t be afraid to remove any leaves that touch the soil.
A Encouraging Closing
Propagating Spiraea miyabei is such a rewarding way to expand your garden. It takes a little patience, a lot of observation, and the joy of watching something so small grow into something magnificent. Don’t be discouraged if your first few attempts aren’t perfect – that’s part of the learning curve! Just keep trying, and soon you’ll have a beautiful collection of these lovely shrubs. Happy propagating!
Resource:
https://identify.plantnet.org/k-world-flora/species/Spiraea%20miyabei%20Koidz./data