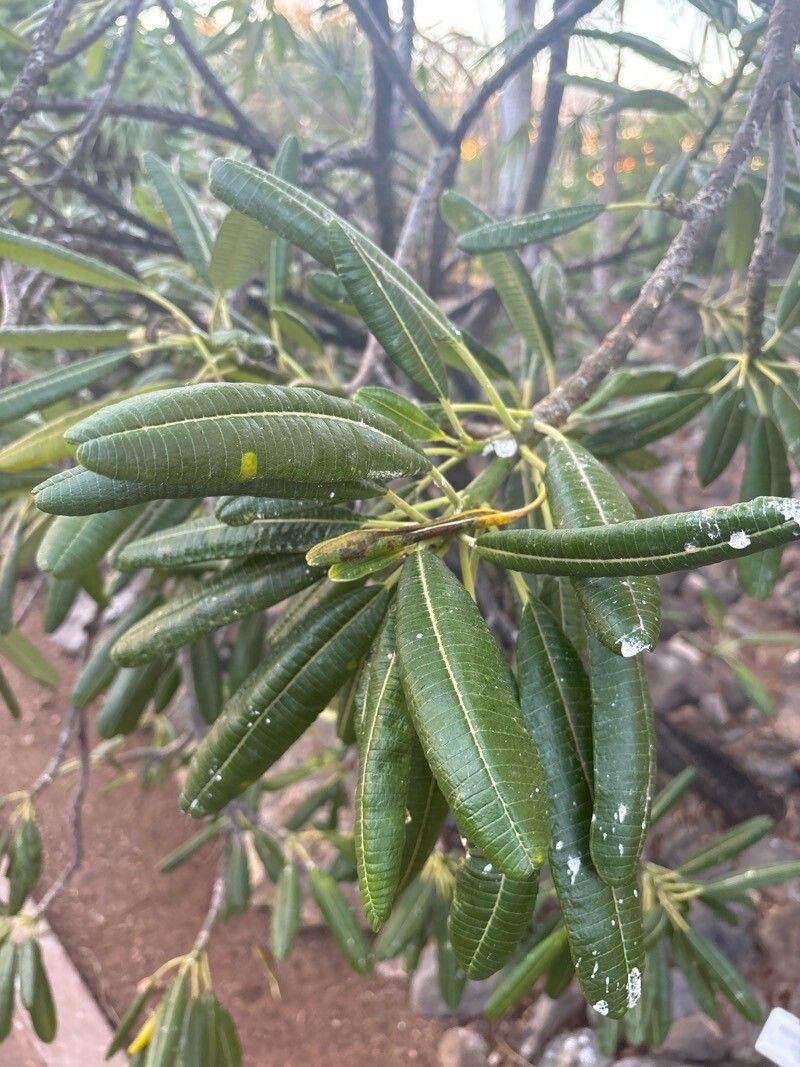
Hello fellow plant lovers! I’m so excited to share a little about one of my favorite tropical beauties: Plumeria emarginata. If you’ve ever seen these stunning trees, you know why they capture our hearts. Their delicate, fragrant flowers are just breathtaking, and the way they fill a space with such exotic charm is truly something special. Propagating them felt like a little bit of magic becoming tangible.
Now, you might be wondering if this is a task for the seasoned pro or if a beginner can jump right in. I’d say Plumeria emarginata is a fairly rewarding plant to propagate, and while there are a few tricks to learn, I think most gardeners will find success with a little patience. It’s a wonderful way to share this beauty with friends or simply to enjoy more of it yourself!
The Best Time to Start
Timing is everything, isn’t it? For Plumeria emarginata, the ideal time to propagate is during its active growing season. Think late spring or early summer. The plant is full of energy then, and those cuttings have a much better chance of rooting and taking off. You’re looking for healthy, mature stems that aren’t currently flowering.
Supplies You’ll Need
Gathering your supplies beforehand makes the whole process so much smoother. Here’s what I always have on hand:
- Clean, sharp pruning shears or a knife: We want to make clean cuts to prevent disease.
- Rooting hormone: I prefer the powdered kind for stem cuttings. It really gives them a boost.
- A well-draining potting mix: This is crucial! A cactus or succulent mix works perfectly, or you can create your own with peat moss, perlite, and coarse sand.
- Small pots or containers: Ones with drainage holes, of course!
- A sprayer bottle: For a light misting.
- Optional: A heat mat: This can be a game-changer for encouraging root development.
Propagation Methods
Let’s get our hands dirty! Stem cuttings are by far the most popular and successful method for Plumeria emarginata.
Method: Stem Cuttings
- Select your cutting: Choose a healthy, mature stem that’s at least 6-12 inches long. Look for a stem that’s woody but not brittle.
- Make the cut: Using your clean pruning shears or knife, make a clean, angled cut just below a leaf node. This is where new roots will emerge.
- Allow it to callus: This is a super important step! Let the cut end dry and “callus over” for a few days to a week. I usually place the cuttings upright in a dry vase or pot in a shaded spot until a firm scab forms. This prevents rot when you plant them.
- Apply rooting hormone: Once calloused, dip the cut end into your rooting hormone, tapping off any excess.
- Plant your cutting: Fill your pot with your well-draining potting mix. Make a hole in the center with your finger or a pencil, and insert the calloused end of the cutting about 1-2 inches deep. Gently firm the soil around it.
- Water lightly: Water the soil just enough to moisten it. You don’t want it soggy.
- Placement: Place the pot in a bright spot with indirect sunlight. Avoid direct, hot sun at this stage.
The “Secret Sauce” (Pro Tips)
Here are a few things I’ve learned over the years that can really make a difference:
- Don’t let the leaves touch the water: If you decide to try water propagation (which I sometimes do for smaller pieces), ensure the leaves are well above the water line. Rot loves to start with those soggy leaves. For stem cuttings in soil, though, just be mindful of them not pressing against wet soil constantly.
- Bottom heat is your friend: I use a heat mat under my pots, especially if the room is a bit cooler. It mimics the warmth of the soil in their natural tropical habitat and really encourages those roots to sprout.
- Patience is paramount: Plumeria emarginata can take their sweet time rooting. I’ve had cuttings that took 6-8 weeks, and sometimes even longer, to show signs of new growth. Resist the urge to pull them up and check!
Aftercare & Troubleshooting
Once you start seeing new leaves or feel a gentle tug when you (very carefully!) try to move the cutting, you know roots are forming!
- Gradual watering: Continue to water sparingly, allowing the soil to dry out between waterings. Overwatering is the biggest culprit for failure.
- Increasing light: As the plant grows stronger, you can gradually introduce it to more direct sunlight.
- Signs of failure: The most common issue is rot. If your cutting turns mushy or black, it’s likely rotted. This is usually due to too much moisture and lack of callus. If you see this, unfortunately, it’s best to discard it and start again. Yellowing leaves can sometimes mean it’s getting too much or too little water, so observe carefully.
A Little Encouragement
Propagating plants is such a fulfilling journey. It teaches us about patience, observation, and the sheer resilience of nature. Don’t be discouraged if your first attempt isn’t perfect. Each cutting is a learning opportunity. Enjoy the process, celebrate the small victories, and soon you’ll have your own beautiful Plumeria emarginata to admire! Happy gardening!
Resource:
https://identify.plantnet.org/k-world-flora/species/Plumeria%20emarginata%20Griseb./data