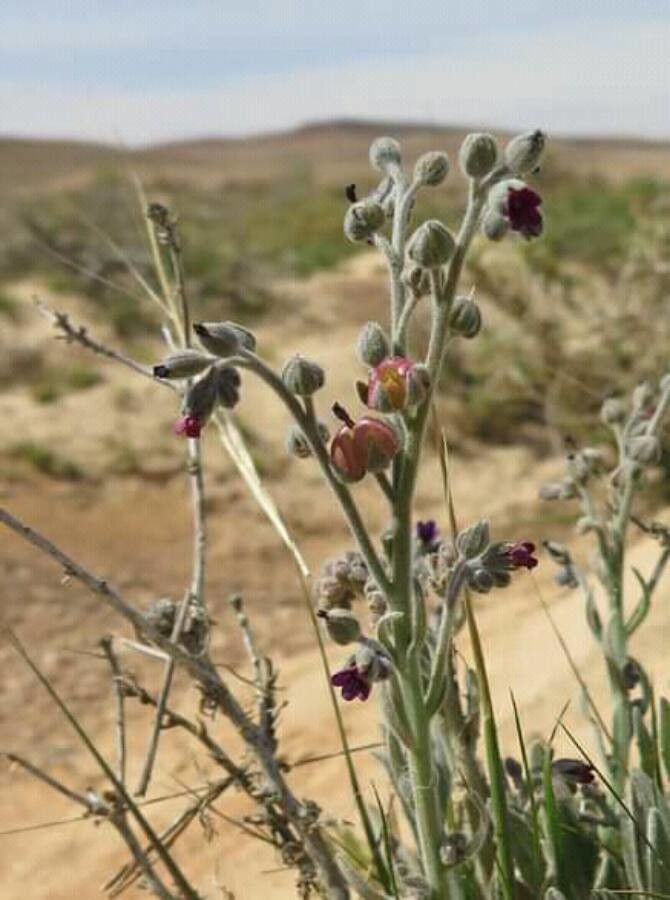
Oh, hello there! Pull up a chair and let’s chat about one of my absolute favorites: Paracaryum rugulosum. If you’re drawn to plants with a bit of character – those unique textures and intriguing forms – then this one’s for you. They have this wonderful way of adding a touch of the exotic to any space, be it indoors or out.
Propagating these beauties is such a rewarding endeavor. There’s a deep satisfaction in taking a piece of a beloved plant and nurturing it to become its own little self. Now, I won’t lie, Paracaryum rugulosum can be a little bit finicky for a true beginner, but with a few pointers, you’ll be well on your way. Don’t let that deter you; it’s a wonderful learning experience!
The Best Time to Start
My go-to time for propagating Paracaryum rugulosum is late spring to early summer. This is when the plant is actively growing and has plenty of energy to put into root development. You’ll want to select stems that are new and vigorous, not old and woody. Think of it like harvesting ripe fruit – you want the best, most robust parts of the plant to work with.
Supplies You’ll Need
Before we get our hands dirty, let’s gather our tools:
- Sharp pruning shears or a clean knife: For making clean cuts. Dulling tools can damage the stems.
- Small pots or seedling trays: With good drainage is key!
- Well-draining potting mix: I like to use a 50/50 blend of peat moss or coco coir and perlite or coarse sand. This ensures plenty of aeration and prevents waterlogging. You can also buy pre-made succulent or cactus mix.
- Rooting hormone (optional but recommended): This can significantly speed up root formation.
- Plastic bags or a propagator: To create a humid environment.
- Mister bottle: For light watering.
- Labels: So you don’t forget what you planted where!
Propagation Methods
While there are a few ways to go about this, stem cuttings are generally the most successful and straightforward method for Paracaryum rugulosum.
Step-by-Step: Stem Cuttings
- Select Your Cuttings: Look for healthy, non-flowering stems that are about 4-6 inches long. Gently twist or cut them from the main plant.
- Prepare the Cuttings: Remove any lower leaves from the stem, leaving at least two sets of leaves at the top. If the leaves are large, you can even cut them in half to reduce water loss.
- Apply Rooting Hormone (Optional): Dip the cut end of the stem into rooting hormone powder or gel. Tap off any excess.
- Plant Your Cuttings: Dip the treated end into your prepared potting mix. You can plant several cuttings in one pot, spaced a couple of inches apart.
- Water Gently: Water the potting mix lightly with your mister. You want it to be moist, but not soggy.
- Create Humidity: Cover the pot loosely with a plastic bag or place it in a propagator. This keeps the humidity high, which is crucial for cuttings that haven’t developed roots yet. Make sure the leaves aren’t touching the plastic if possible.
- Provide Bright, Indirect Light: Find a spot that receives plenty of bright, filtered light but avoid direct, intense sun, which can scorch the delicate cuttings.
- Be Patient: This is where the real waiting game begins! Check the moisture levels every few days and mist lightly if the soil feels dry.
The “Secret Sauce” (Pro Tips)
Here are a couple of things I’ve learned over the years that really make a difference:
- Let the Cuttings Callus: Before you dip them in rooting hormone and plant them, let the cut ends dry and callus over for a day or two in a dry, shaded spot. This helps prevent rot when they go into the soil. It’s like giving them a little protective barrier.
- Bottom Heat is Your Friend: Those little heating mats you can buy for seedlings? They are a game-changer for cuttings! Placing your pots on a gentle heat source can significantly speed up root development. Just make sure it’s not too hot – you don’t want to cook your cuttings.
Aftercare & Troubleshooting
Once you start to see signs of new growth – tiny new leaves emerging or a gentle tug on the cutting yielding resistance – it’s a good sign that roots have formed!
- Acclimatization: Gradually remove the plastic bag or propagator over a week or so. This helps the new plant adjust to the normal humidity levels.
- Watering: Continue to water sparingly, allowing the soil to dry out slightly between waterings.
- Repotting: Once the roots have filled the pot (you’ll see them peeking out the drainage holes), you can transplant your new baby into its own slightly larger pot.
The most common issue you’ll encounter is rot. If your cuttings turn mushy, black, or just sort of collapse, it’s usually a sign of too much moisture and not enough air circulation. Don’t get discouraged! Just try again, perhaps with less watering or a looser soil mix. Another sign of failure is if the leaves start to yellow and wither with no signs of rooting.
A Encouraging Closing
My dear fellow gardener, remember that propagation is an art, and like any art, it takes practice and patience. Don’t be discouraged if your first few attempts aren’t perfect. Each plant you try to propagate, success or not, teaches you something new. Enjoy the process, celebrate those tiny roots, and soon you’ll have a whole collection of your Paracaryum rugulosum to share! Happy growing!
Resource:
https://identify.plantnet.org/k-world-flora/species/Paracaryum%20rugulosum%20(DC.)%20Boiss./data