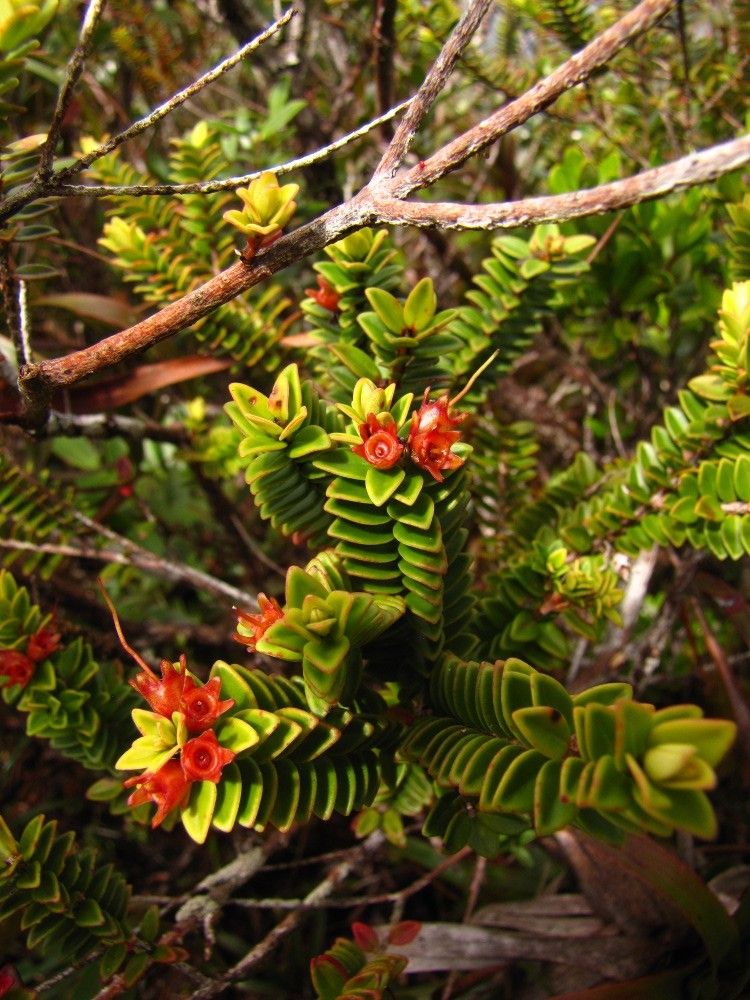
Oh, hello there! So glad you’ve stopped by my little corner of the garden world. Today, we’re diving into something really special: Metrosideros cacuminum. You know, these are the ‘Kakao’ Rata or ‘Scoria’ Rata, depending on who you ask! They’re just… magnificent. Those fuzzy, silvery leaves, the stunning crimson blooms that look like little fireworks – they truly add a touch of magic to any landscape.
And the best part? You can bring that magic home! Propagating your own Metrosideros cacuminum is incredibly rewarding. It’s like creating little pieces of your garden to share or to fill in those empty spots. Now, are they a walk in the park for absolute beginners? Honestly, they can be a little bit particular, but with a few pointers, you’ll be well on your way to success. Don’t let that deter you!
The Best Time to Start
For cuttings, I find late spring to early summer is the sweet spot. You want actively growing, but not too soft, new shoots. Think of it as capturing that vibrant energy just as the plant is really hitting its stride for the season. You can also try in early autumn, but you might find things move a little slower.
Supplies You’ll Need
Here’s what I always have on hand when I’m propagating:
- Pruning shears or sharp knife: Clean and sterilised, please!
- Small pots or seedling trays: With good drainage.
- A quality potting mix: I prefer a mix that’s light and airy. Think perlite, coco coir, and a bit of good compost. Aim for something that drains exceptionally well.
- Rooting hormone (optional but recommended): A powder or gel form works well. It really gives the cuttings a head start.
- A clear plastic bag or propagator lid: To create a mini-greenhouse effect.
- Watering can or spray bottle: For gentle misting.
- Labels: So you don’t forget what you’ve planted!
Propagation Methods: Stem Cuttings
This is hands-down my favorite and most reliable method for Metrosideros cacuminum.
- Gather Your Cuttings: Choose healthy, vigorous stems that are about 10-15 cm (4-6 inches) long. Look for wood that is firm but still flexible – not completely woody, and definitely not brand new, floppy growth. Make your cuts just below a leaf node. This is where the magic happens for root development.
- Prepare the Cuttings: Gently remove any lower leaves from the bottom half of the cutting. You want to avoid any foliage that will end up submerged in the soil.
- Dip in Rooting Hormone: If you’re using rooting hormone, dip the cut end into the powder or gel. Tap off any excess. This step really encourages root formation.
- Pot Them Up: Fill your small pots or trays with your well-draining mix. Make a small hole in the center of the soil with a pencil or your finger.
- Plant Your Cuttings: Gently insert the cutting into the hole, ensuring the lower leaf nodes are covered by the soil. Firm the soil gently around the base of the cutting.
- Water Gently: Water thoroughly but be careful not to dislodge the cuttings. A good initial watering is crucial.
- Create the Humidity Dome: Cover the pot with a clear plastic bag or place the tray inside a propagator with a lid. This traps humidity, which is vital for cuttings. Make sure the leaves aren’t touching the plastic.
The “Secret Sauce” (Pro Tips)
Here’s a little something from my own experience:
- Bottom Heat is Your Friend: If you have the space, using a heated propagator mat can make a world of difference. It encourages root development from the bottom up, speeding up the process nicely.
- Don’t Over-Water: This is a big one! While humidity is key, soggy soil is a recipe for disaster, leading to rot. Let the top of the soil dry out slightly between waterings. It’s better to err on the side of slightly too dry than too wet.
- A Light Mist is Enough: Instead of drenching the leaves inside the humidity dome, a light mist with plain water every few days is usually sufficient to keep things humid without encouraging fungal issues.
Aftercare & Troubleshooting
Once you see those little roots forming – and you’ll know because there might be a gentle tug on the cutting or even new leaf growth – it’s time to start transitioning them.
Gradually remove the plastic cover over a week or two. This helps the young plant acclimatize to normal humidity. Continue to water when the top inch of soil feels dry. You can move them into slightly larger pots once they have a decent root system.
Now, what if things go wrong? The most common culprit is rot. If your cutting turns black and mushy, or wilts dramatically and doesn’t perk up, it’s likely rotted. This is usually due to too much moisture and poor drainage. Don’t be too disheartened! Simply discard the rotted cutting and try again, keeping those advice points in mind. Sometimes, you’ll see no signs of life for a while – patience is key. They can be slow to establish!
A Encouraging Closing
Propagating your own Metrosideros cacuminum is such a fulfilling journey. It takes a bit of patience, a dash of observation, and a whole lot of love. Don’t be afraid to experiment! Each plant is a little different, and you’ll learn so much with every batch you grow. Happy propagating, and may your cuttings flourish!
Resource:
https://identify.plantnet.org/k-world-flora/species/Metrosideros%20cacuminum%20J.W.Dawson/data