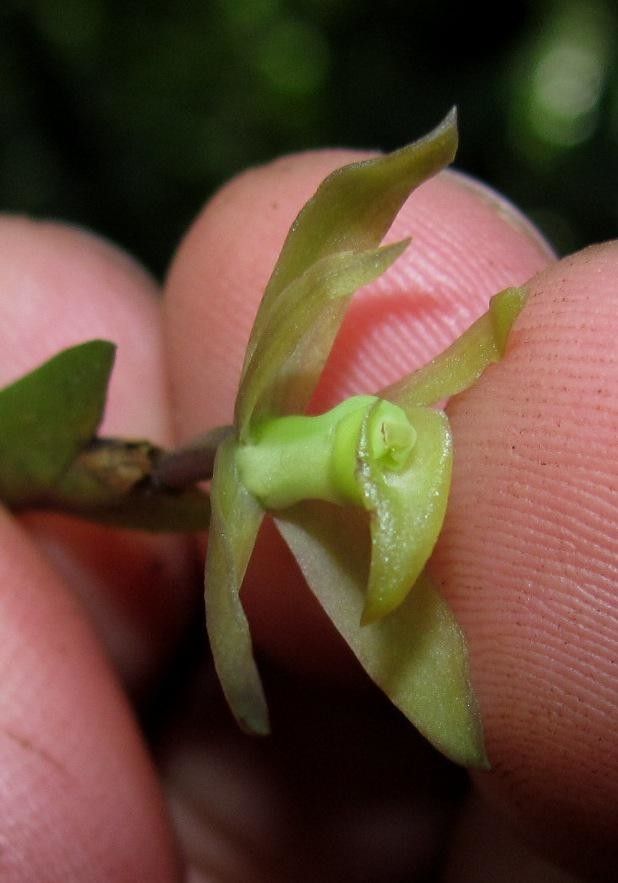
Oh, hello there! Pull up a chair and let’s talk about one of my absolute favorites: Jacquiniella equitantifolia. This little orchid is just a delight, isn’t it? With its wonderfully unique, flattened, strap-like leaves that hug the pot, it brings a bit of architectural charm to any windowsill. And the blooms? Ethereal little white flowers that often appear in charming clusters. Propagating it is so rewarding, a true testament to patience and observation. Now, I won’t lie, as an orchid, Jacquiniella equitantifolia can be a bit of a fussy beauty. It’s not the easiest plant for an absolute beginner to propagate, but with a little focused attention, you’ll be surprised at what you can achieve. Think of it as a wonderful challenge that pays off in spades.
The Best Time to Start
When it comes to coaxing new life from Jacquiniella equitantifolia, timing really is everything. You’ll find the most success if you propagate during its active growing season. For most of these little wonders, this means spring and early summer. This is when the plant has plenty of energy stored up from brighter days and is eager to put out new growth, making it much more receptive to taking root. Avoid propagating when the plant is dormant or stressed.
Supplies You’ll Need
You don’t need a whole elaborate setup, just a few key items to set yourself up for success:
- Sharp, sterile pruning shears or a clean hobby knife: For precise cuts.
- Orchid potting mix: A well-draining blend is crucial. I like a mix with fine bark, perlite, and a bit of sphagnum moss.
- Small pots or propagation trays: Clean, with good drainage holes.
- Rooting hormone (optional but recommended for ease): A powder or gel can give your cuttings a helpful boost.
- Filtered or distilled water: Tap water can sometimes contain minerals that aren’t ideal for delicate orchid roots.
- Clear plastic bags or a small propagation dome: To maintain humidity.
- Spray bottle: For lightly misting.
Propagation Methods
Jacquiniella equitantifolia is often propagated by division, which is essentially separating a mature plant into smaller, viable sections. This is because it tends to grow in clumps.
Division Method:
- Gently Unpot: Carefully remove your mature Jacquiniella equitantifolia from its pot. You want to be as gentle as possible with the roots.
- Examine the Roots: Gently tease away some of the old potting mix to get a good look at the root system. You’re looking for natural divisions or sections where a new pseudobulb (those swollen stem bases) has formed and is already developing its own roots.
- Make the Cut: Using your sterile pruning shears or hobby knife, carefully cut between the divisions. Aim to make sure each new division has at least two to three healthy pseudobulbs and a good set of roots. If a division is very small or lacks roots, it’s usually best to leave it attached to the mother plant.
- Allow to Dry (Optional but Recommended): This is a critical step for orchids to prevent rot. Let the cut surfaces of the divisions air dry for a day or two in a well-ventilated spot, away from direct sunlight. This helps the wounds callus over, creating a natural protection.
- Pot Up: Plant each division in its own small pot filled with your orchid mix. Make sure the roots are spread out, and the base of the pseudobulbs are just at the surface of the mix. You don’t want to bury them too deep.
- Initial Watering: Water very sparingly at first. Just a light misting is often enough. The goal is to keep the potting mix barely moist, not wet.
The “Secret Sauce” (Pro Tips)
Here are a couple of my personal tricks that have saved many a delicate plant for me:
- Humidity is Key, But Drainage is King: While your new divisions need that humid environment to encourage root growth (that’s where the plastic bag or dome comes in), they can instantly rot if their roots sit in soggy media. It’s a constant balancing act. I often use a very coarse orchid bark mix and check the moisture levels by weight. If it feels heavy, it’s too wet.
- Don’t Be Tempted to Overwater: I know this sounds obvious, but it’s so tempting with new little plants. They look so vulnerable! But resist. For orchids, slightly dry is always better than too wet. Mist the air around them, or lightly mist the leaves if you’re using a dome, but let the roots breathe.
- Consider a Warming Mat: If you have one handy, placing your pots on a gentle bottom heat mat can make a world of difference for propagation. Orchids love a bit of warmth at their roots, and it can really stimulate them to start growing new ones. Just make sure it’s a gentle warmth – you don’t want to cook them!
Aftercare & Troubleshooting
Once your divisions are potted, keep them in a spot with bright, indirect light. The plastic bag or dome will be your best friend here, maintaining that vital humidity. Mist lightly every few days, and open the bag/dome for a little air circulation for an hour or so each day to prevent fungal issues.
You’ll know they’re happy when you start to see new root tips emerging from the base of the pseudobulbs, or perhaps a new leaf unfurling. This can take weeks, so patience is a must!
The most common problem you’ll face is rot. If you see a pseudobulb turning mushy, black, or waterlogged, it’s a sign of too much moisture and/or poor air circulation. Unfortunately, if rot sets in deeply, it can be hard to save. That’s why the drying period and careful watering are so important. Another sign of trouble is if the leaves start to shrivel and become papery – this usually means the new plant isn’t getting enough moisture or can’t absorb what’s available due to lack of roots.
A Encouraging Closing
So there you have it! Propagating Jacquiniella equitantifolia is a journey, and it’s one that’s incredibly rewarding. Don’t get discouraged if your first attempt isn’t perfect. Every plant, every division, is a learning experience. Observe your plant, trust your instincts, and most importantly, enjoy the process of coaxing new life into your home. Happy gardening!
Resource: