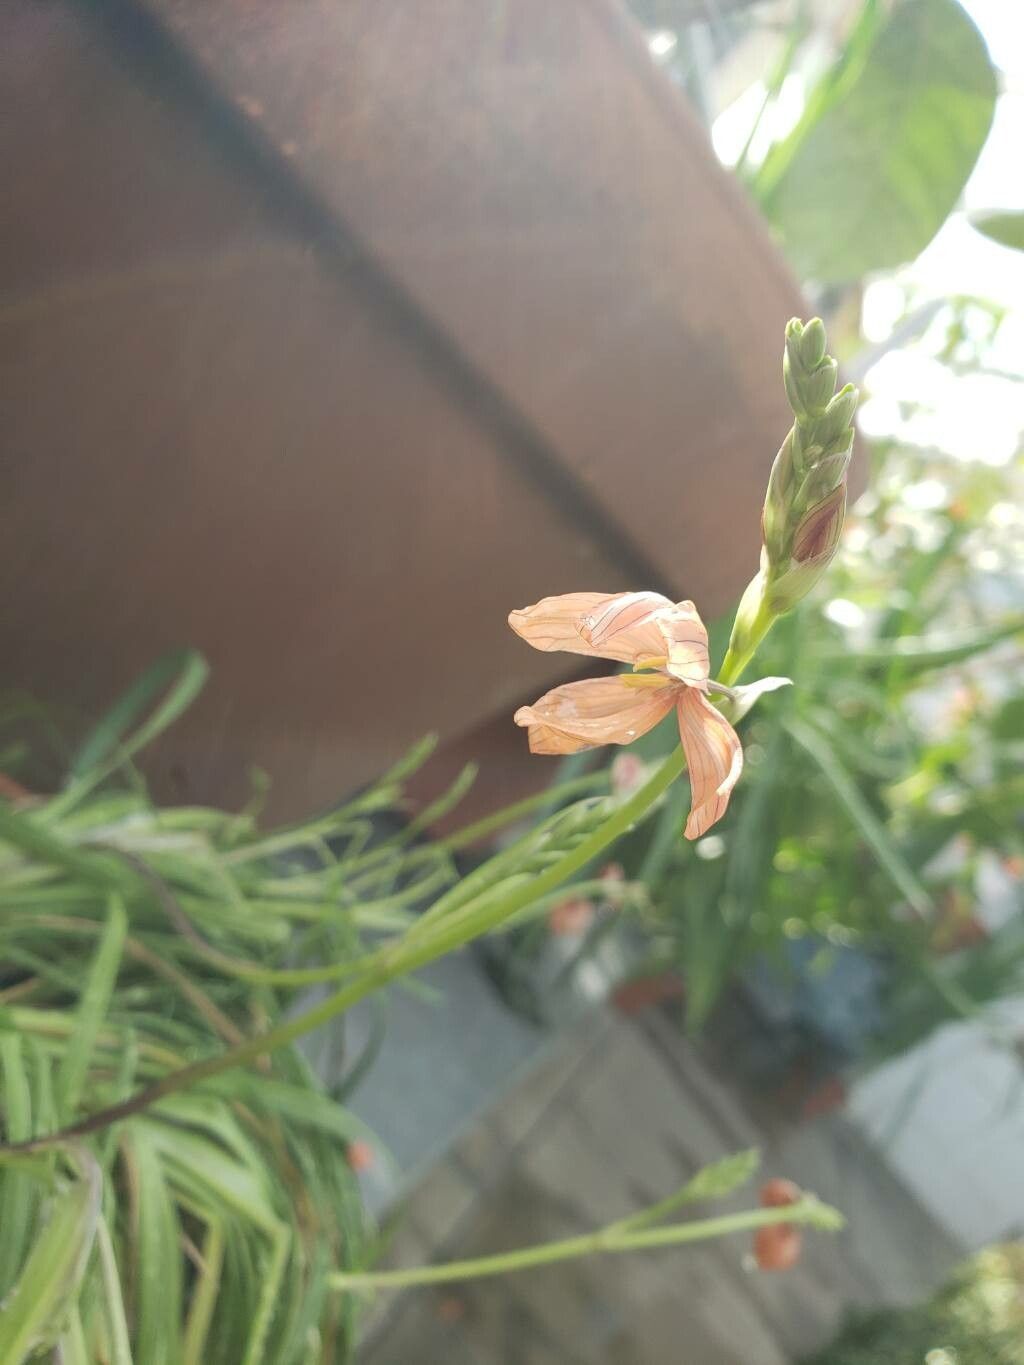
Hello, fellow garden enthusiasts! Today, we’re diving into the delightful world of Ixia pumilio, often called the Dwarf Ixia, and trust me, it’s a little gem worth getting to know. These charming little blooms, with their delicate petals and vibrant colors, are like tiny jewels scattered across the spring garden. Propagating them is a wonderfully rewarding endeavor, allowing you to expand your collection of these beauties without a hefty price tag. For beginners, I’d say Ixia can be a moderately easy plant to propagate; it requires a little attention to detail, but nothing too daunting.
The Best Time to Start
The absolute sweet spot for propagating Ixia pumilio is during its dormant period. This usually falls in late summer or early autumn, after the plant has finished flowering and its foliage has begun to yellow and die back naturally. This is when the energy is stored in the corms, making them robust and ready for a new beginning. Starting too early while the plant is actively growing can stress it, and starting too late in cooler, wetter weather might invite rot.
Supplies You’ll Need
Here’s a little gathering of what you’ll want to have on hand:
- Sharp pruning shears or a clean knife: For making precise cuts.
- Well-draining potting mix: A good blend of potting soil, perlite, and a bit of sand is ideal. You want to avoid waterlogging at all costs.
- Small pots or seed trays: Enough to hold your corms comfortably.
- Soft brush: For gently cleaning off soil from corms.
- Optional: Rooting hormone: While not strictly necessary for Ixia, it can give a little boost.
- Optional: Labels and a marker: To keep track of what you’ve planted and when.
Propagation Methods
For Ixia pumilio, the primary and easiest method of propagation is by dividing the corms. Think of them like tiny underground bulbs.
- Excavate with Care: During their dormant period (late summer/early autumn), gently dig up your Ixia pumilio plant. Use a trowel or garden fork to loosen the soil around the base, being careful not to damage the delicate corms.
- Clean and Separate: Once unearthed, gently brush away the excess soil. You’ll notice clutches of small, bulb-like structures – these are the corms. They might be attached to the parent corm or nestled nearby. Carefully break apart these clumps. You’re looking for healthy-looking corms. If you see any that are soft, mushy, or discolored, it’s best to discard them.
- Plant Them Up: Fill your small pots or seed trays with your well-draining potting mix. Plant the individual corms about 2-3 inches deep, with their pointy end facing upwards. Give them a little space, maybe 2-3 inches apart.
- Water Lightly: Give the soil a gentle watering to settle it around the corms. Don’t drench them; just moisten the soil.
- Placement: Keep the pots in a cool, dry, and dark place until you see signs of new growth. This might take a few weeks or even a couple of months, depending on when you planted them.
The “Secret Sauce” (Pro Tips)
Here are a few little tricks I’ve learned over the years that can really help your Ixia propagation efforts:
- Don’t Rush the Dormancy: Seriously, this is the big one. Resist the urge to dig them up too early just because you’re excited. Wait until that foliage has truly died back. Trying to divide green corms is like trying to harvest apples before they’re ripe – it just won’t work out well.
- Air Them Out Before Planting: Once you divide the corms, especially if they seem a bit damp, I like to let them air dry in a shallow tray in a shaded, well-ventilated spot for a day or two before planting. This helps any small nicks or cuts heal over, reducing the risk of rot.
- Think “Drainage, Drainage, Drainage”: I cannot stress this enough for Ixia. Their corms are susceptible to rot if they sit in soggy soil. When you select your pots, ensure they have drainage holes, and use that gritty, well-draining mix we talked about.
Aftercare & Troubleshooting
Once you start seeing those first little green shoots emerge, it’s time to give them a bit more attention.
- Light: Move the pots to a bright, sunny location.
- Watering: Water them when the top inch of soil feels dry. Avoid overwatering, especially in the cooler months.
- Feeding: Once they’re actively growing, you can give them a light feeding with a balanced, liquid fertilizer every 4-6 weeks.
The most common problem you’ll encounter is rot. If you see a corm turning mushy and smelling unpleasant, that’s a sure sign of rot. This almost always comes back to too much moisture and poor drainage. If you notice this, try to remove the affected corm immediately and ensure the other pots have very good drainage and are watered less frequently. Another sign of trouble could be a lack of growth, which might mean the corms weren’t viable or weren’t planted at the right time.
Propagating your Ixia pumilio is a gentle art. Be patient with your new sprouts, give them the right conditions, and you’ll be rewarded with a cascade of their dazzling blooms year after year. Enjoy the process, and happy gardening!
Resource:
https://identify.plantnet.org/k-world-flora/species/Ixia%20pumilio%20Goldblatt%20&%20Snijman/data