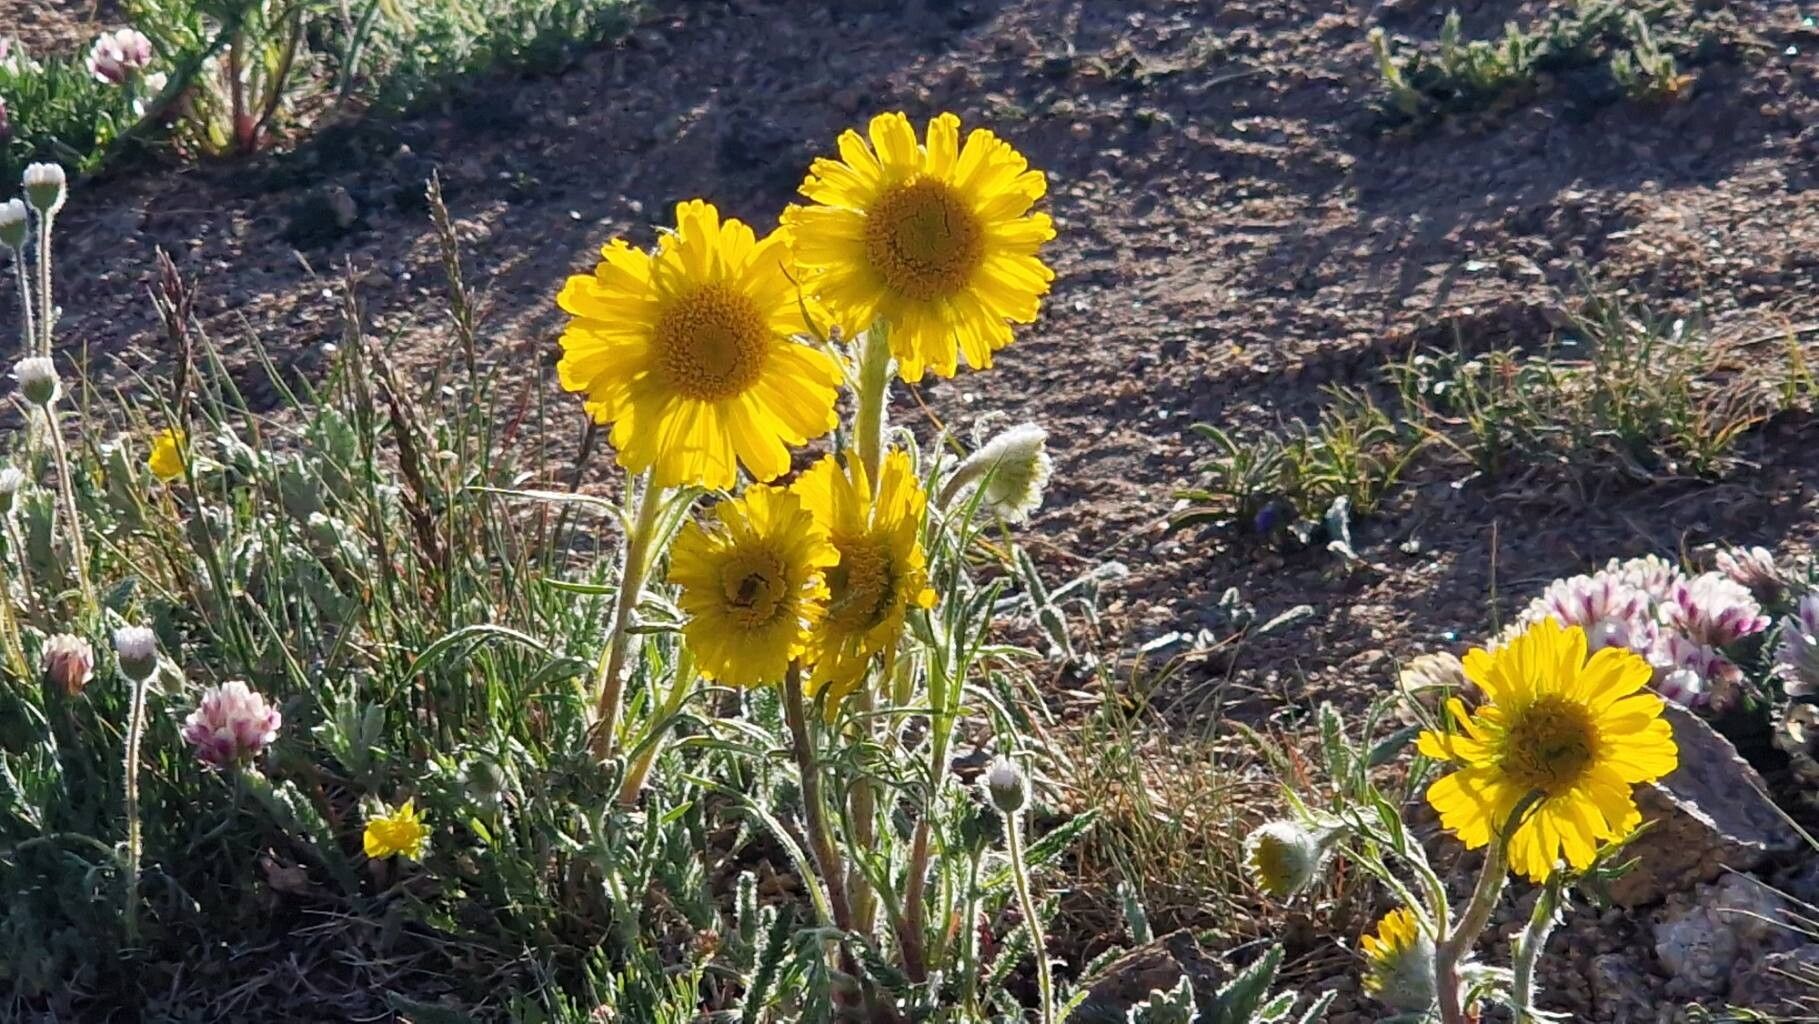
Well hello there, fellow garden enthusiasts! Grab your favorite mug, and let’s chat about a truly radiant bloom: Hymenoxys grandiflora, or as it’s sometimes charmingly called, “Temple of Gold.” If you’ve ever marveled at its cheerful, sunflower-like blossoms, you’re not alone. These little bursts of sunshine are a welcome sight in any garden, and the joy of coaxing new plants from existing ones? Pure gardening gold.
I’ll be honest, propagating Hymenoxys grandiflora isn’t usually something I’d hand to a brand-new gardener for their very first solo attempt. It takes a little finesse, a bit of patience. But don’t let that deter you! If you’ve got a bit of experience under your belt and a healthy dose of determination, you’ll find it incredibly rewarding. Think of it as leveling up your garden skills!
The Best Time to Start
For the highest chance of success with Hymenoxys grandiflora, aim for late spring or early summer. This is when the plant is actively growing and has plenty of energy. Look for fresh, healthy stem growth that hasn’t yet produced flowers. These younger, sappy stems are generally more responsive to propagation. You want to catch it at its peak vibrancy!
Supplies You’ll Need
Here’s what I always have on hand when I embark on a propagation project like this:
- Sharp, clean pruning shears or a craft knife: For making precise cuts. Sterilize them with rubbing alcohol to prevent disease.
- Rooting hormone (optional but recommended): A powder or gel that encourages root development.
- Well-draining potting mix: I usually use a mix of peat moss, perlite, and a little bit of compost. For Hymenoxys, I find a slightly grittier mix works wonders.
- Small pots or seed trays: Ones with drainage holes are a must!
- Plastic bags or a propagator: To create a humid environment for your cuttings.
- Watering can with a fine rose: Gentle watering is key.
- Gloves: To keep your hands clean.
Propagation Methods
My go-to method for Hymenoxys grandiflora is stem cuttings. It’s reliable and gives you the best chance of getting strong, healthy new plants.
Here’s how I do it:
- Take Your Cuttings: On a bright, sunny morning (when the plant is hydrated), use your sterilized shears to cut a healthy, non-flowering stem. You’re looking for lengths of about 4-6 inches. Make the cut just below a leaf node (where a leaf attaches to the stem).
- Prepare the Cuttings: Gently remove the lower leaves from the stem. Leave at least two sets of leaves at the top. If the remaining leaves are very large, you can carefully trim them in half to reduce water loss through transpiration.
- Apply Rooting Hormone (if using): Dip the cut end of the stem into your rooting hormone, tapping off any excess. This step isn’t strictly necessary, but I find it gives a good boost.
- Plant Your Cuttings: Fill your small pots with the well-draining potting mix. Make a hole in the center with a pencil or your finger. Insert the cut end of the stem into the hole, ensuring the leaf nodes are buried. Gently firm the soil around the base of the stem.
- Create a Humid Environment: Water the soil gently. Then, cover the pot with a plastic bag (making sure no leaves touch the plastic if possible) or place it inside a propagator. This traps moisture and keeps the humidity high, which is crucial for cuttings.
- Placement: Place your pots in a bright spot but out of direct, hot sunlight. A greenhouse, a sunny windowsill, or even a shaded part of your patio works well.
The “Secret Sauce”
Here are a few little tricks I’ve picked up over the years that often make all the difference:
- Bottom Heat is Your Friend: Hymenoxys grandiflora absolutely loves a bit of warmth from below. Placing your pots on a propagation heat mat can significantly speed up root formation. It encourages the roots to develop from warmth, not just by sitting in damp soil.
- Don’t Drown Them: While humidity is key, overwatering is the quickest way to kill a cutting. The soil should feel moist but not soggy. I often water them well initially, then only water again when the top inch of soil feels dry. Sometimes, I’ll even mist the leaves occasionally if the air feels particularly dry.
- Patience with Pods: Sometimes, you might see tiny flower buds starting to form on your cuttings. Pinch these off immediately. The plant’s energy should be going into root development, not flowering. Delaying flowering will increase your chances of successful rooting.
Aftercare & Troubleshooting
Once your cuttings have started to root, you’ll see promising new growth appearing. This usually takes anywhere from 3 to 6 weeks, sometimes longer. A good sign is when you gently tug on a cutting and feel resistance – the roots have taken hold!
When you see this, you can gradually acclimate them to lower humidity. Remove the plastic bag or open the propagator vents a little more each day over a week. Continue to water them as needed, allowing the soil to dry slightly between waterings. Once they have a good root system and are growing well, you can transplant them into slightly larger pots or their final garden location.
The most common problem you’ll encounter is rot. If a cutting turns black and mushy, it’s likely rotted. This is usually due to too much moisture and poor air circulation. If you see this, discard the affected cutting and check the others for signs of dampness. Ensure good drainage and don’t overwater! Yellowing leaves can also be a sign of too much water or not enough light.
A Little Encouragement
Propagating plants is such a wonderful way to deepen your connection with your garden. It requires a bit of attention and care, but watching a new little Hymenoxys grandiflora emerge from a single stem is incredibly gratifying. Be patient with yourself and the process. Enjoy the journey, and soon you’ll have a whole patch of sunny wonders to share! Happy gardening, everyone!
Resource: