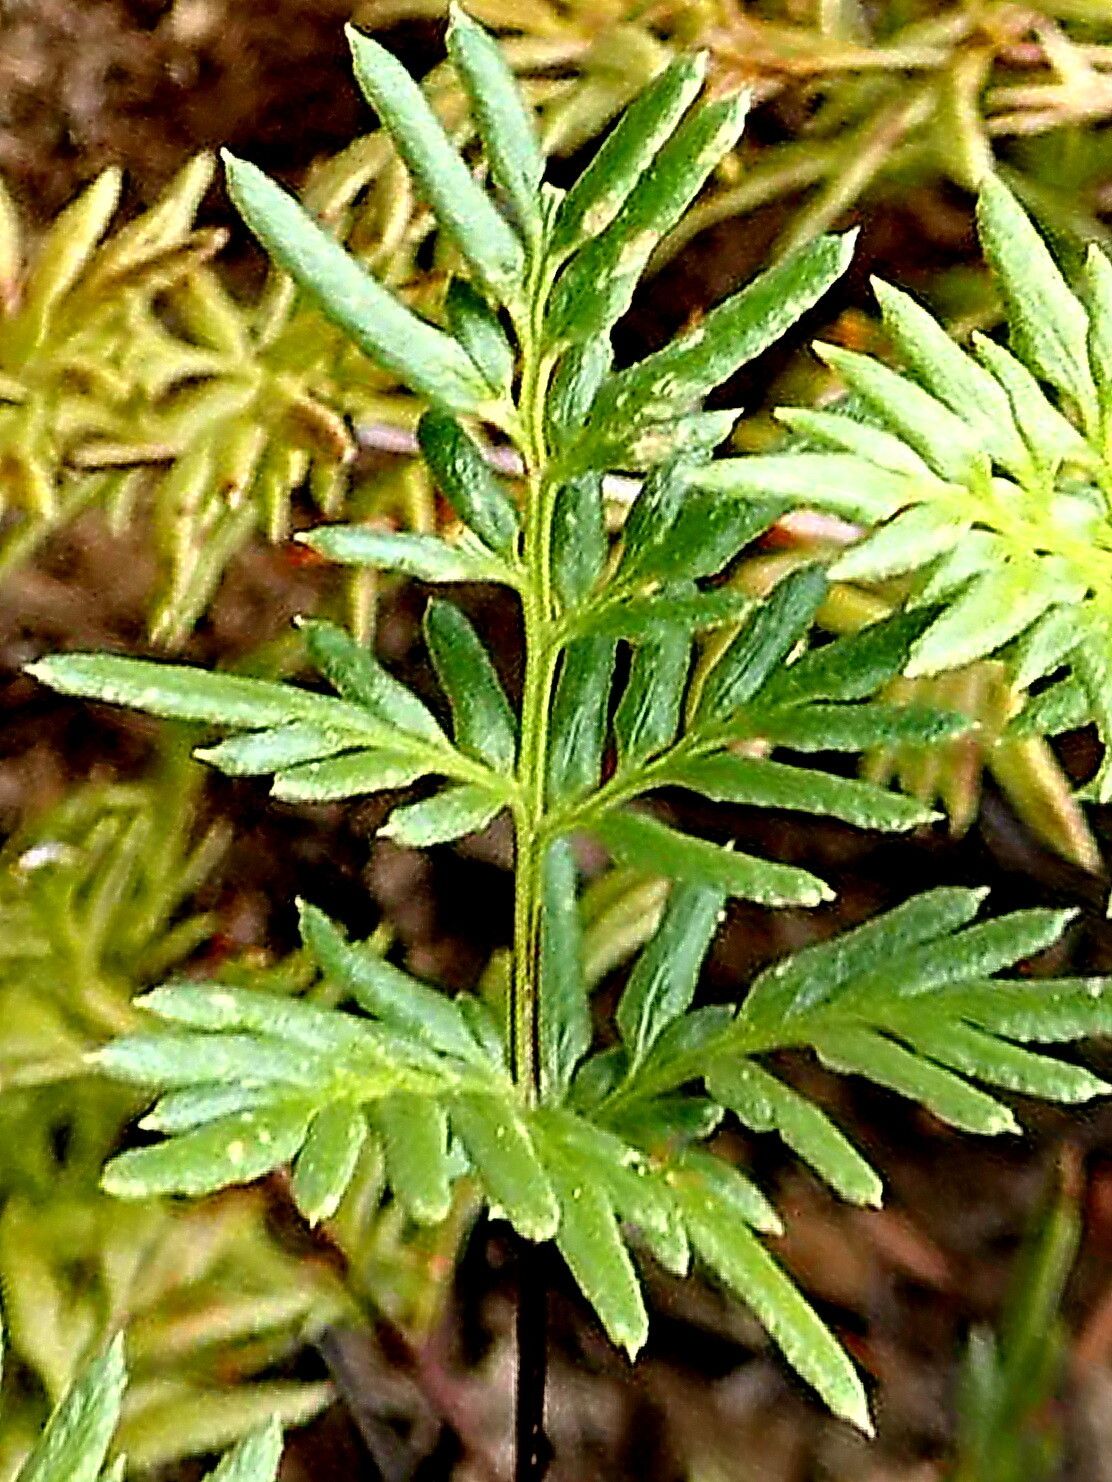
Oh, hello there, fellow plant lover! Pull up a chair, let’s chat about something truly special: Hemionitis densa. If you’ve met this little beauty, you’ll know why it captures our hearts. That delicate, lacy foliage, the way it unfurls… it’s just pure magic. And the best part? You can share that magic by propagating your own. It’s incredibly rewarding to nurture a tiny piece of your favorite plant into a whole new, thriving individual. Now, is it a walk in the park for absolute beginners? I’d say it’s moderately easy. It requires a bit of attention to detail, but with a few pointers, you’ll be singing its praises from your own propagation success!
The Best Time to Start
For Hemionitis densa, the sweet spot for propagation is during its active growth phase. Think late spring through early summer. The plant is bursting with energy then, so cuttings are more likely to root readily. Trying this when the plant is dormant in winter will likely lead to disappointment, as it just isn’t as motivated to put out new roots.
Supplies You’ll Need
Before we get our hands dirty, let’s gather our tools:
- Sharp pruning shears or a clean knife: For making clean cuts.
- Well-draining potting mix: A good blend for ferns, often containing equal parts peat moss, perlite, and orchid bark.
- Small pots or propagation trays: Choose something that will hold moisture but also allow for air circulation.
- Clear plastic bags or a propagation dome: To create a humid environment.
- Optional: Rooting hormone: While not strictly necessary for Hemionitis densa, it can give an extra boost.
- A gentle mister: For keeping humidity levels up.
Propagation Methods
For Hemionitis densa, I find the most reliable methods are a bit specific due to its rhizomatous nature and frond structure.
Division: The Natural Way
This is often the easiest and most successful method.
- Gently remove your Hemionitis densa from its pot.
- Carefully examine the root ball. You’ll often see where the plant naturally divides itself at the rhizomes (the creeping stems).
- Using your fingers or a clean knife, gently tease apart the clumps. Aim to get at least one or two healthy fronds and a good portion of roots with each division.
- Pot each division into its own small pot filled with your well-draining potting mix.
Frond Cuttings (with a Twist!)
This method requires a bit more finesse, focusing on those lovely developing fronds.
- Look for a newly emerging frond that has started to unfurl but isn’t fully mature. These are the most receptive.
- Using your sharp shears, make a clean cut just above the rhizome, taking the frond with a small piece of the rhizome attached if possible.
- You can dip the cut end lightly in rooting hormone if you choose.
- Plant the cutting into your prepared potting mix, ensuring the rhizome portion is just covered.
The “Secret Sauce” (Pro Tips)
Here are a couple of things I’ve learned over the years that make a real difference:
- Think Humidity, Humidity, Humidity! Hemionitis densa absolutely thrives in high humidity. Once you’ve potted up your divisions or cuttings, cover them with a clear plastic bag or pop them under a propagation dome. Make sure the leaves aren’t directly touching the plastic, as this can encourage rot. A few skewers can help prop it up.
- Bottom Heat is Your Friend: While not essential, placing your pots on a gentle heat mat can significantly speed up root development. It mimics the warmth of the soil during the growing season and gives those little roots a nudge to get going. Keep the temperature around 70-75°F (21-24°C).
Aftercare & Troubleshooting
Once your new Hemionitis densa starts showing signs of life – you might see tiny new fronds unfurling – it’s time for cautious transition. Gradually increase light exposure and reduce humidity over a week or two. Continue to keep the soil consistently moist but never waterlogged.
The most common sign of trouble is rot, which usually manifests as mushy, blackened stems or fronds. This is almost always due to overwatering and poor air circulation. If you see this, remove the affected parts immediately and allow the remaining plant to dry out slightly more. Damping off on very young seedlings is also a risk, so good airflow is key.
A Little Patience Goes a Long Way
See? Not so scary, is it? Propagating Hemionitis densa is a wonderful way to multiply your joy. Remember to be gentle, provide that crucial humidity, and trust the process. Be patient; these little miracles take their own sweet time to establish. Enjoy every step of it!
Resource:
https://identify.plantnet.org/k-world-flora/species/Hemionitis%20densa%20(Brack.)%20Christenh./data