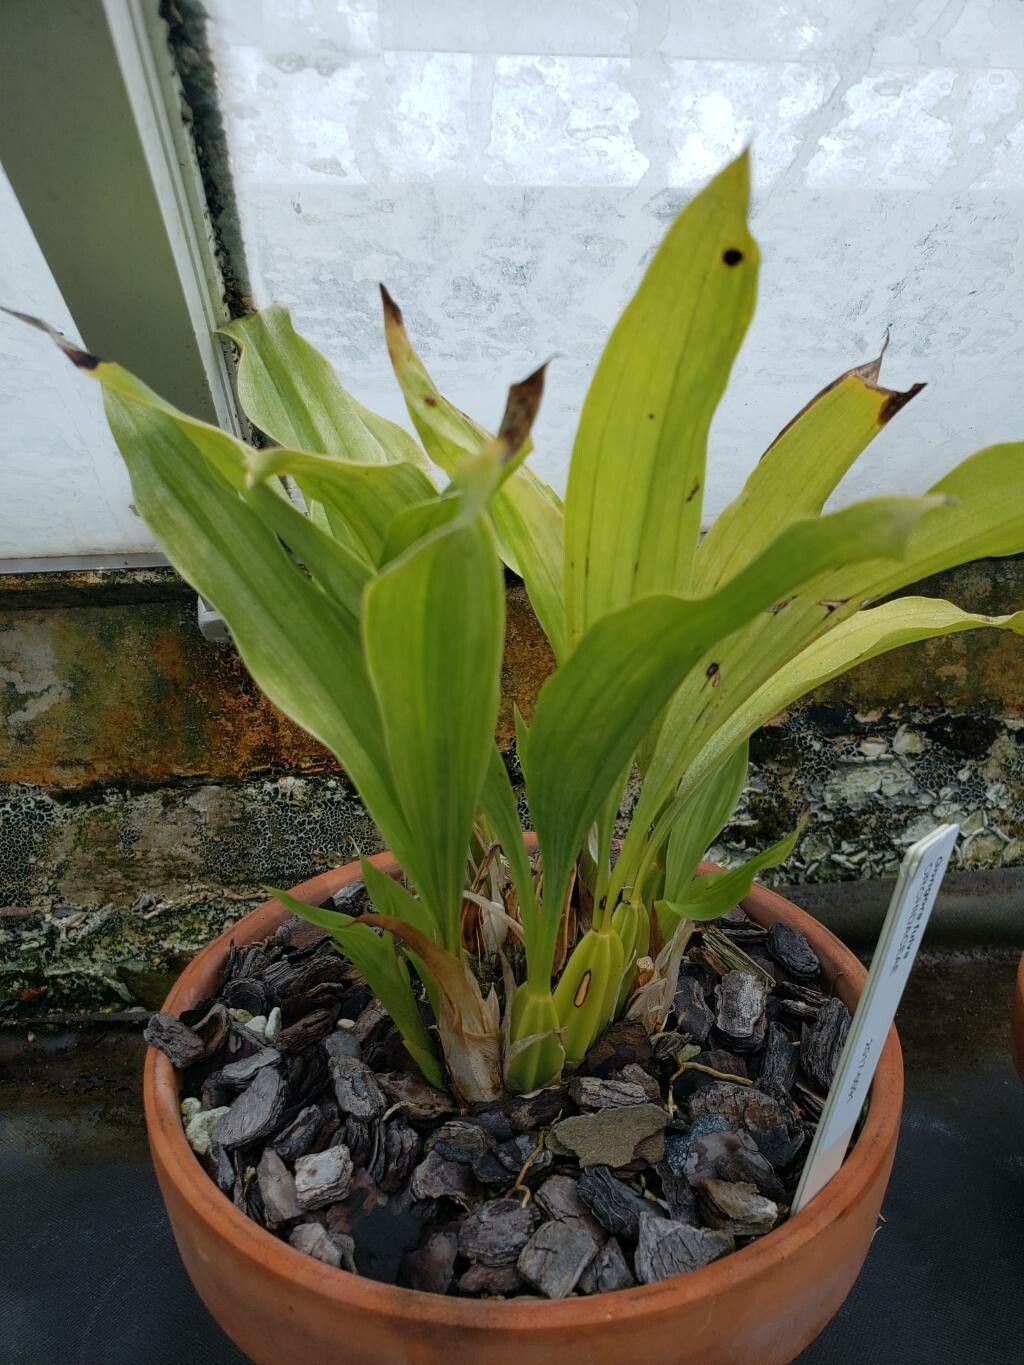
Hey there, fellow plant lovers! I’m so excited to talk to you today about a truly special orchid: the Gongora fulva. If you haven’t met this beauty, imagine vibrant, pendulous flower spikes cascading downwards, often with a wonderfully unique fragrance. It’s a real showstopper, and trust me, the satisfaction of coaxing a new Gongora fulva into existence from just a piece of the original is just incredible.
Now, if you’re a beginner, I’ll be honest, Gongoras can be a little bit of a learning curve. They have their own specific needs that differ from some of the more common orchids. But don’t let that discourage you! With a little attention and these tips, you’ll be well on your way to success. Think of it as a rewarding challenge.
The Best Time to Start
For Gongora fulva, the sweet spot for propagation is generally during active growth, which usually happens in the spring or early summer. This is when the plant has plenty of energy stored up to dedicate to forming new roots and shoots. Trying to propagate when the plant is dormant or stressed is like asking someone to run a marathon after a long illness – it’s just not the best time.
Supplies You’ll Need
Before we dive in, let’s gather our tools. Having everything ready makes the process so much smoother.
- Sharp, sterilized pruning shears or a clean knife: For making clean cuts.
- Orchid bark mix (fine to medium grade): A well-draining medium is crucial. I like to add a bit of perlite for extra aeration.
- Sphagnum moss (long-fibered): Great for retaining some moisture without becoming waterlogged.
- Small pots or community trays: With good drainage holes!
- Rooting hormone (optional, but recommended): Helps give those new roots a good start. A powder or gel works well.
- Spray bottle with filtered water: For misting.
- Labels and a marker: To keep track of your new babies!
- Clear plastic bags or domes: To create a humid microclimate.
- Bottom heat source (optional, but helpful): A seedling heat mat can significantly speed up root development.
Propagation Methods
Gongora fulva is most successfully propagated through division. While stem cuttings are common for some plants, Gongoras tend to do best when you respect their pseudobulbs and rhizomes.
Division: The Main Event
- Gently remove the orchid from its pot. If it’s tightly packed, you might need to coax it out. Inspect the roots.
- Identify natural divisions. Look for areas where the rhizome (the thick, creeping stem) has produced a new pseudobulb with its own set of roots. Ideally, you want to divide where there are at least two or three established pseudobulbs per division, with healthy roots attached.
- Using your sterilized tool, carefully cut through the rhizome to separate the divisions. Be as gentle as possible to minimize damage to the roots.
- Remove any old, decaying potting medium. You want to start with a clean slate.
- Inspect the cut surfaces. If there’s any sign of rot or damage, you can dust the cut with a bit of orchid fungicide, though this is usually not necessary if you’re working with a healthy plant and clean tools.
- Pot each division. Place the division in a pot with a fresh orchid bark mix. Tuck the pseudobulbs into the mix, ensuring the roots are spread out. Don’t bury the pseudobulbs too deeply. They need access to air.
The “Secret Sauce” (Pro Tips)
Here are a few things I’ve learned over the years that can really make a difference with Gongoras:
- The “Water Line” Rule: When you pot your new divisions, make sure the base of the pseudobulbs sits right at or just barely above the surface of the potting medium. If whole pseudobulbs are buried, they’re much more prone to rot. Think of it as giving them a little to drink without drowning them.
- Embrace the Humidity, But Not the Sog: Newly divided orchids need higher humidity to encourage root growth. Tent a pot with a clear plastic bag, or use a humidity dome, but make sure there’s some air circulation. You want it moist, not a swamp. I often poke a few holes in the bag if it looks too steamy.
- Patience with the Pseudobulbs: Don’t panic if the older pseudobulbs look a little deflated after division. The plant is focusing its energy on the new growth. As long as you have healthy roots and at least one plump pseudobulb per division, it’s in good shape. The older ones will often rehydrate and plump back up once the new growth takes off.
Aftercare & Troubleshooting
Once your divisions are potted, it’s time for tender loving care.
- Watering: Water very sparingly for the first week or two. You want the potting mix to be lightly moist, not wet. Misting the leaves and pseudobulbs occasionally is often enough. As new roots start to form and the plant settles in, you can gradually increase watering, but always let the potting mix almost dry out between waterings.
- Light: Provide bright, indirect light. Avoid direct sun, which can scorch the leaves.
- Temperature: Gongoras generally prefer warm temperatures, similar to Phalaenopsis.
- Troubleshooting: The biggest scare you might face is rot. If you see a pseudobulb turning black and mushy, it’s almost always due to overwatering. Act quickly! You might be able to cut away the rotted part and try to salvage healthy tissue, but prevention is key. If new growth looks stunted or dried out, check your humidity and watering routine.
A Little Encouragement to Grow
Propagating orchids, especially ones as unique as Gongora fulva, is a journey. There might be a misstep or two, and that’s perfectly okay. The most important thing is to observe your plant, learn from it, and celebrate every tiny bit of progress. Be patient, enjoy the process of nurturing these living beauties, and soon you’ll have your own little orchid family blooming! Happy growing!
Resource:
https://identify.plantnet.org/k-world-flora/species/Gongora%20fulva%20Lindl./data